Hello ScrapbookPal friends! I know it's a little early to start thinking of summer, but I can't help it with the flowers and fruit in this yummy collection from Pinkfresh Studios! The collection is called Freshly Picked, and the products include Pinkfresh Studio - Press Plates - Freshly Picked, Pinkfresh Studio - Stencils - Freshly Picked, Pinkfresh Studio - Dies - Freshly Picked, and a stamp set (which includes one more sentiment than the press plates). I decided to purchase the press plate instead of the clear stamp set. A press plate will allow you to get a crisp outline of the images using ink, or you can switch it up and use it with foil and your favorite foiling system (Spellbinders - Glimmer Hot Foil System for example). You can also use a press plate and your die cut machine to do dry embossing!
I wanted to show you the beautiful details in this set. Initially I had thought I might watercolor the design, so that's why I used water color paper with the press plate. As I moved along, I changed my mind, and decided to use the matching stencils that I had purchased. What I noticed using the stencils and ink on the watercolor paper was that the paper sucked up all the ink, and the ink dried much lighter than I wanted it. That's okay though, because I would eventually use all of the pieces. Back to my Spellbinders - BetterPress Letterpress System to create more images on my favorite white cardstock (like you might use for Copic coloring).

Just look at the details in these prints and stencils!!! That tiny little strawberry flower has 3 parts to it, and it is literally the size of a pencil eraser! It's incredible the amount of detail these companies are able to achieve! That little white gel pen highlight on the strawberries? That was a stencil cutout on the last stencil. I could have used ink instead, but I wanted to try the pen. The absolute best part is that there is ONE press plate (or stamp) that creates all of the flower and fruit images, and ONE die that cuts them all out, all at the same time!! There is practically no way to mess up and waste time, effort, and paper! Just line up one element, and the others follow.

Now, what to do with all these lovely pieces? Let's make a background. I'm thinking picnic. I recently picked up the Altenew - Stencils - Watercolor Plaid Builder. I liked how it looks haphazard, but is really a set of two stencils that you can mix and match to make lines, or overlap to make plaid designs. Stencils like this that you can use in multiple ways feel like such a bargain to me!

I decided to make a window on the front of my card, open to the inside of the card, and planned to decorate it with the flowers and fruit. I cut an oval in my card front, and used Pinkfresh Studio - Dies - Essentials: Double Stitched Rectangles to cut out my plaid background so that I could add a colored border frame around it. For that, I just used direct-to-paper inking on another A2 sized piece of white cardstock.

As I said before, I made some extra flowers and fruit because I accidently started with watercolor paper. Plus, it's really so easy using the stencils and dies that do all the pieces at once! Once I got the first card done, I "freshly picked" two more background colors out of the Ranger - Tim Holtz - Distress inks that I had selected for my flowers and fruit.

I assembled the card using Scrapbook Adhesives Foam Squares Variety Pack, Scrapbook Adhesives Thin Foam Squares Variety Pack, and Bearly Art Precision Craft Glue to attach everything to my A2 white cardbase. I added some no-hole sequins from Spellbinders. I think you can see best with the red strawberry themed card that when you open the card up, the sentiment and strawberry will be on the inside of the card.

I started with the yellow card, and ended up liking the red strawberry card the best! But the three cards hardly took any more time than making the first one. Here's a reminder that if something works well, make one in every color! Kind of like shoe shopping, am I right? Thank you for visiting my blog. My supplies are listed below, and available at ScrapbookPal.com!
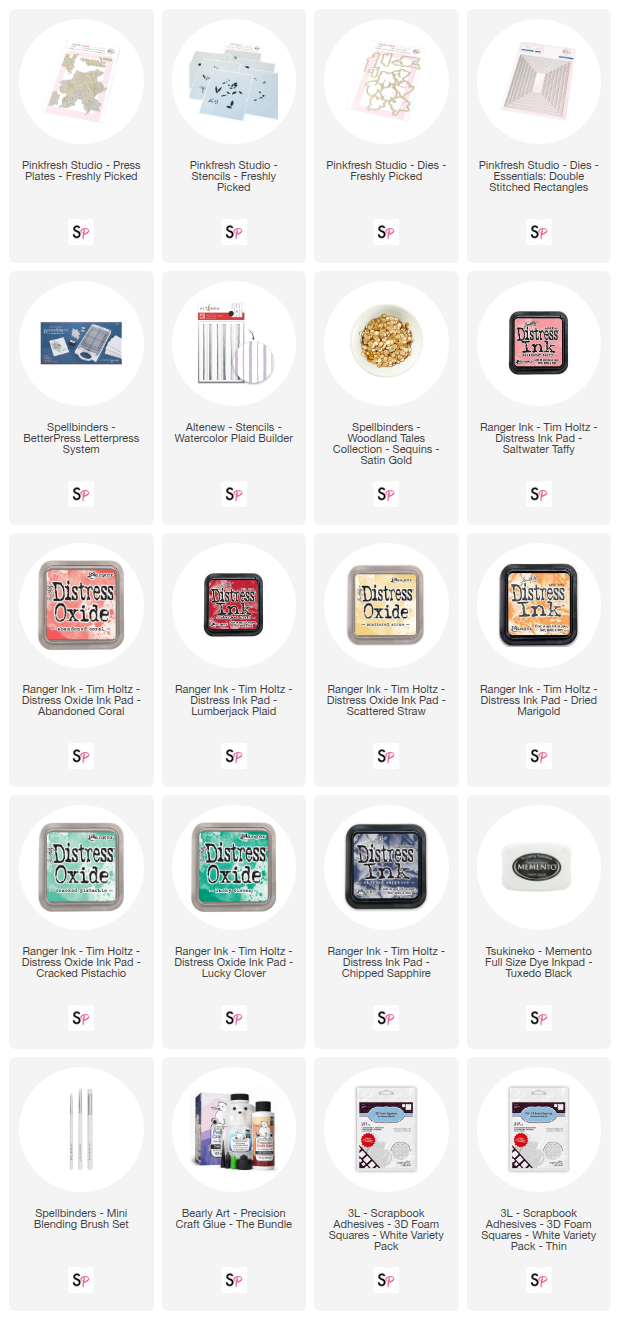
Products used in this project, available at ScrapbookPal.com: