Spellbinders Propagation Garden

Posted by Kathy Schweinfurth on

Let's grow!  Spellbinders Propagation Garden Collection reminds me how amazing it is to watch nature renew and grow!  When I was a teen, I would 'split' plants and take saplings to grow into new plants.  It always gave me a thrill to see them flourish!  These beautiful, detailed dies create fabulous, unique projects that are perfect to give to folks of all ages for many occasions!
For my first card...
1)  I embossed white cardstock with Spellbinders Bamboo Trellis 3D Embossing Folder for the background.
2)  The 'frame' with the 'dowel' and 'hardware' was created using Spellbinders Propagation Garden Frames die set.  First, I edged and blended some Honey Bee Brilliant White onto the frame diecuts.  After assembling just the frame part, I popped up the diecuts onto the card using foam adhesive.
3)  The lovely plants and roots are from Spellbinders Propagated Plants die set - so fun to mix and match and assemble.
4)  Of course those propagated plants need to be put in water and the Spellbinders Laboratory Glassware die set contains the perfect things! (PS - I'll definitely be using this glassware set for Halloween!)
5) Once I assembled the plants and the glassware, I popped them up and adhered to the card.  Then I adhered the dowel and hardware as shown followed by popping up the beaker/plant on the bottom right of the card with foam adhesive.
6)  I love the Spellbinders Propagation Garden Sentiments stamps & dies set!  It's not only perfect for the Propagation Collection, but can be used for many other cards/occasions too.


For my next card...

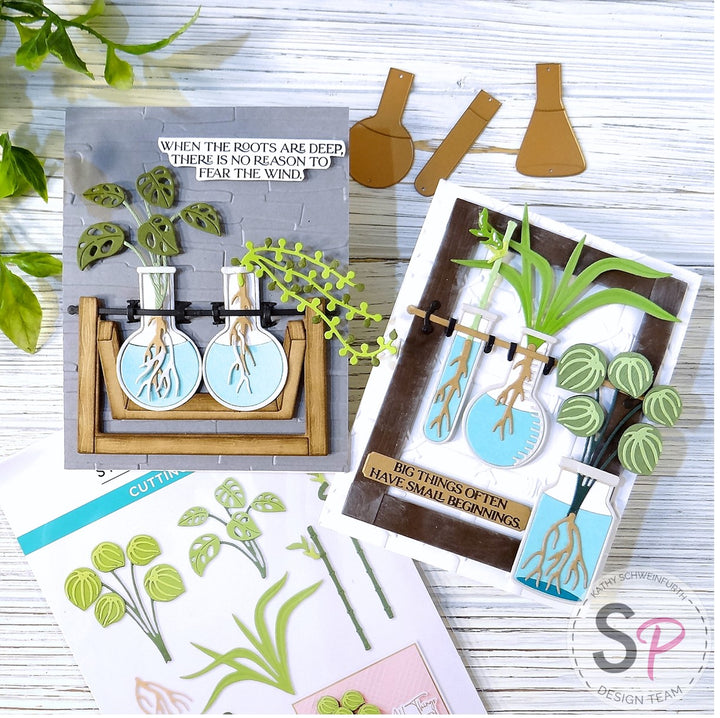
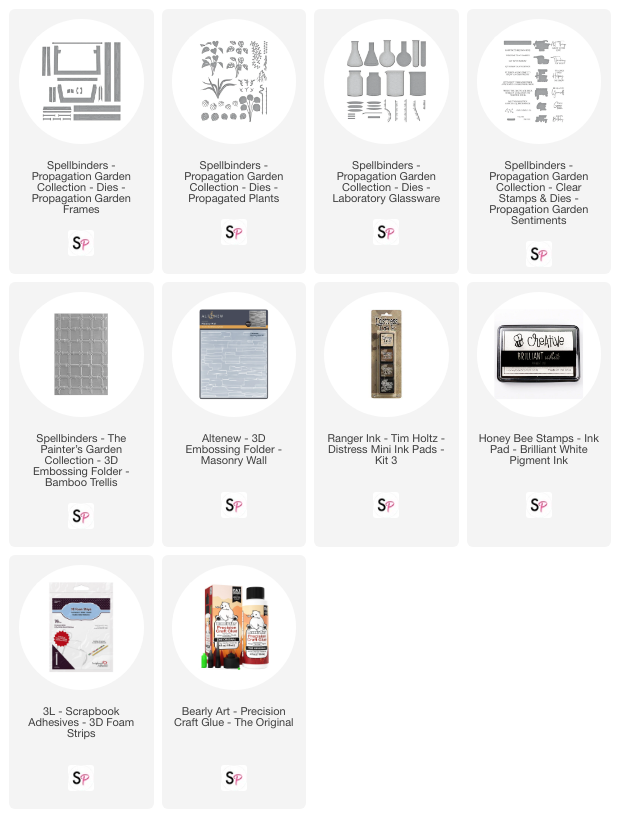
 1)  I embossed gray cardstock with Altenew's Masonry Wall 3D Embossing Folder for the background.

 2)  The wooden holder and hardware to hold the glassware were created using Spellbinders Propagation Garden Frames die set.  First, I edged the frame diecut pieces with Distress Ink - Walnut Stain.  Then, I assembled the holder and then continued to Step 3 before adhering it to the card.

 3)  The plants and roots are from Spellbinders Propagated Plants die set and again, I used the Spellbinders Laboratory Glassware die set  to hold the 'water' and plants. Once assembled, I adhered the assembled plants/glassware and the metal-looking dowel to the holder as shown.  Then popped them up with foam adhesive; adhering the assembled diecuts to the card.

 4) I then adhered the 'hardware' diecuts to 'hold' the glass/plants to the dowel. 

 5)  To finish, I selected another fabulous sentiment from the  Spellbinders Propagation Garden Sentiments stamps & dies set and popped it up onto the card.


ALL PRODUCTS USED:

← Older Post Newer Post →

Comment

  • Such a sweet & creative collection!!

    Renee Rodriguez on

Leave a comment

Stories

RSS

Honey Bee Stamps | Across The Miles+Lovely Layers Hummingbird | Card Making Tutorial

Sarah wyles By Sarah wyles

  Hi everyone!! Sarah Wyles here, (@Mother0froyalty on IG), and I am playing with Honey Bee Stamps Across the Miles stamps and dies along with...

Read more

Fun Birthday Card Using Honey Bee Stamps Supplies

By Lieschen Harshbarger

Hi crafty friends! Lieschen here excited to share with you another fun card tutorial. Today's card features Honey Bee Stamps Wonderful Wishes stencil and the You're...

Read more