Good morning everyone! Sarah Wyles (Mother0froyalty on IG) I hope your having a great day and thank you for stopping by to check out this card!
Today I am playing with the Altenew Build-a-Grarden Morning Glory Bundle and its just perfect! I really love any floral set that can be used in so many ways!

I started this card by stamping out the Morning Glory flowers. I love these stamps I have to say because they stamp so easily! After I stamped two sets of these, I pulled out another set of dies you can get in the shop, Spellbinders Heartfelt Thanks and Scallops. I wanted a resting place for my flowers and I already had a color pallet in mind.

I opened the stencils and started off slowly, making sure where each opening was supposed to be. These stencils are labeled so well, along with the stamp set, so that you don't have a problem getting color where it belongs. Once I figured that out things went pretty smooth except for me getting ink outside where it belonged.

It was ok though, because there are ways of fixing oopsies and I do. I moved on and blended out both flower sets and then blended some squeezed lemonade around the outside of my yellow scalloped piece as well.
After diecutting the flowers out, I using a white gel pen to fix my oopsies and started to put may card together. I used liquid, Tombo Mono multi liquid glue to adhere my Morning Glories to the glitter cardstock so that I was sure it would stay. I popped my scentament up on some 3L 3D foam squares and added it to the front of my card. I decided that I wanted a little more dimension so I added 3D foam to the back of my yellow scalloped piece as well and adhered it to my card base.

It was time to add a little more to my card, so I opened it up and used the second flower set I had to decorate the inside of my card too!

I added the flowers to the right side first and trimmed the extra off and then added the extra up to the top left and my sentiment to the center and called my card done!
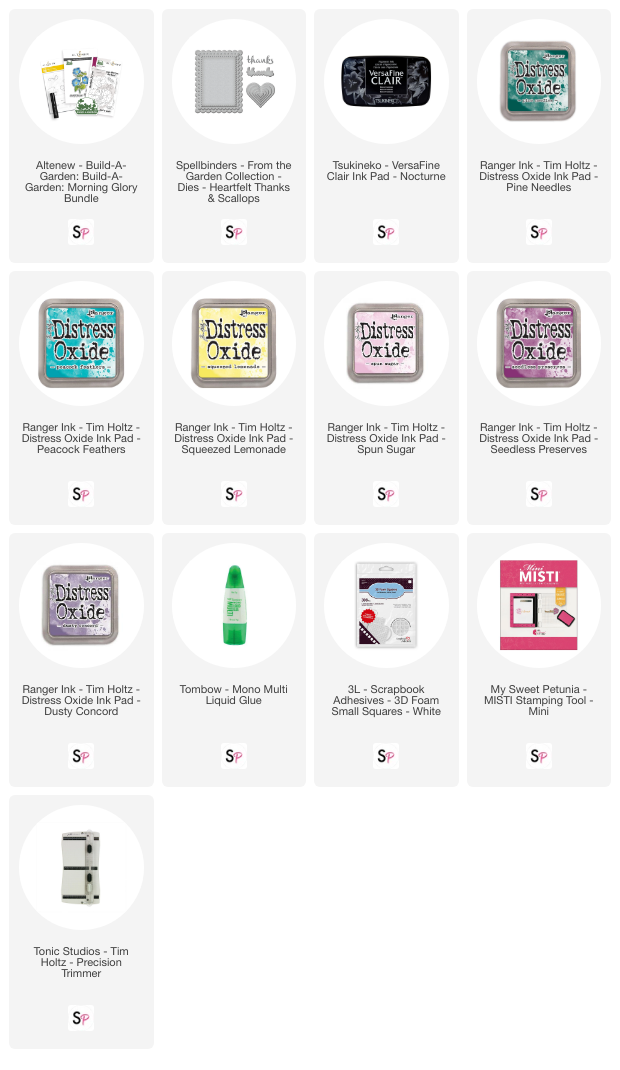
I hope you enjoyed this card, make sure to head over the the ScrapbookPal youtube channel and check out the process video along with all the other beautiful videos there from the rest of the team. And you can check the supplies list below and grab all kinds of goodies from the shop!
Supplies:


Comment
Sarah this is absolutely gorgeous!!