
Instructions:
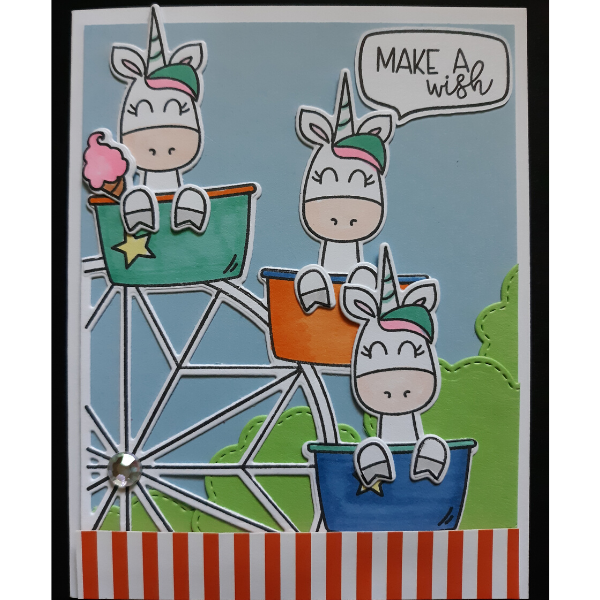
Step 1: Stamp and die cut animals and Ferris wheel from Avery Elle Peek-a-boo Pets and Avery Elle Peek-a-boo Fair sets.
Step 2: Color die cut pieces with Copic markers.
Step 3: Trim and cut card stock sky blue mat layer to 4" x 5 1/4" and adhere on an A2 card base.
Step 4: Trim patterned paper strip and place along bottom of mat layer along with all die cut pieces to create your scene. Adhere with foam tape and foam squares.
Step 5: Die cut and stamp sentiment bubble from Avery Elle Speech Bubbles set and adhere.
Instagram: cardsbykaren5
Supplies Used:
Avery Elle Clear Stamps - Peek-a-boo Fair - SKU: ST-20-03
Avery Elle Elle-ments Die - Peek-a-boo Fair - SKU: D-20-03
Avery Elle Clear Stamps - Peek-a-boo Pets - SKU: ST-19-08
Avery Elle Elle-ments Die - Peek-a-boo Pets - SKU: D-19-08
Avery Elle Clear Stamps - Speech Bubbles - SKU: ST-20-04
Avery Elle Elle-ments Die - Speech Bubbles - SKU: D-20-04
Scrapbook Adhesives foam squares - SKU: 1614
Scrapbook Adhesives foam tape - SKU: 1618
Lawn Fawn Glue Tube - SKU: LF1664
Cardstock

