

Hello everyone! It’s Sweta from @table_in_the_attic, and I am so excited to be back on the ScrapbookPal.com blog celebrating crisp fall days! Today, I’m sharing an adorable autumn scene bursting with rich fall colors, pumpkins, and the cutest woodland critter.
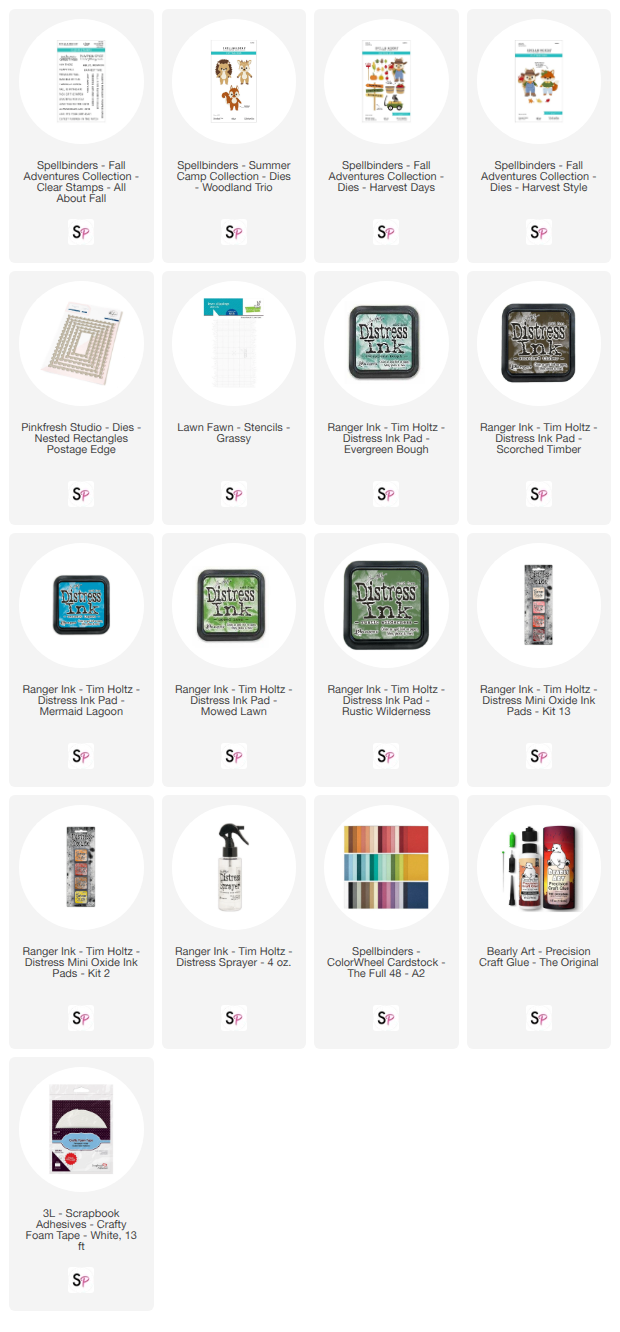
I’m working with the delightful Spellbinders Summer Camp Collection Woodland Trio Dies paired with the Spellbinders Fall Adventures Collection Harvest Style Dies and the Spellbinders Fall Adventures Collection Harvest Days. If you love building layered characters with cardstock and adding realistic depth with ink blending, follow along for this step-by-step tutorial!
Step 1: Die-Cutting the Critter, Cart, and Harvest Details
To get started, I die-cut all the pieces for the squirrel, wagon, hay bale, and pumpkins. I used a combination of sheets from Spellbinders Colorwheel Cardstock The Full 48 A2 in warm autumn shades: Merlot, Cinnamon, Fern, Persimmon, and Tuscan.
Crafter’s Tip: For an extra cozy touch, cut the squirrel's overalls out of patterned plaid paper rather than plain cardstock! It gives your dressed-up critter an authentic, country-autumn vibe.

Step 2: Ink Blending the Die Cuts and Assembling
Before assembling, I added rich dimension to every single die-cut piece by ink blending along the edges with my detail blending brushes. I used Ranger Ink Tim Holtz Distress Ink Pad Scorched Timber, Evergreen Bough, Aged Mahogany, and Crackling Campfire. Inking the edges makes a world of difference—it turns flat cardstock cuts into shaded, lifelike objects!
Once all the pieces were inked, I used Bearly Art Precision Craft Glue The Original to assemble the squirrel in his boots, bandana, plaid overalls, and cowboy hat, as well as the green harvest cart loaded with hay and stacked pumpkins.

Step 3: Blending the Postage Sky & Grassy Hillside
For my background panel, I cut a panel from watercolor cardstock using the Pinkfresh Studio Nested Rectangles Postage Edge Dies. To keep the perforated postage edges pristine and white, I masked off the stitched border using low-tack masking tape.
Inside the masked area, I ink blended a soft, sunny blue sky using Mermaid Lagoon and Tumbled Glass Distress Inks. At the bottom, I layered the Lawn Fawn Grassy Stencil and blended Mowed Lawn and Rustic Wilderness to create a layered grass border.
To add visual texture to the sky, I used the Ranger Ink Tim Holtz Distress Sprayer to spritz fine water droplets across the panel, letting them react for a few seconds before dabbing them dry with a clean paper towel.

Step 4: Stamping the Greeting & Final Assembly
Once the background panel was dry, I peeled away the masking tape and stamped the "autumn greetings" sentiment from the All About Fall Clear Stamps in the top right corner using deep Aged Mahogany Distress Ink.
I created a horizontal A2 card base from kraft cardstock and adhered the postage panel directly on top using Bearly Art Precision Craft Glue. To bring the scene forward, I adhered the squirrel, harvest cart, and extra loose pumpkin using 3L Scrapbook Adhesives Crafty Foam Tape White for plenty of cozy dimension!

I love the warm autumn feel of this sweet squirrel pulling his harvest cart across the lawn! Die-cutting pieces from patterned paper and taking that extra minute to ink blend the edges really makes a seasonal card come alive. I hope this tutorial inspires your next fall crafting session!
Happy crafting!
Supply List