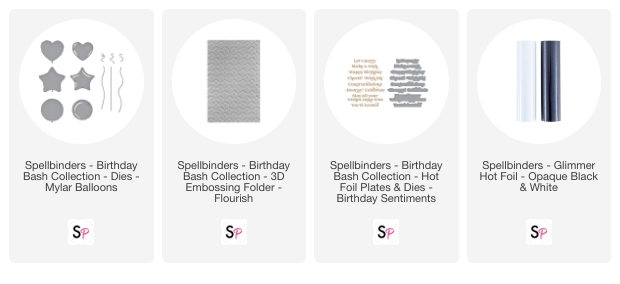
Hi crafty friends! Tiffany here with more inspiration to share. Today, I am using some new products from Spellbinders and Simon Hurley, the Birthday Bash Collection! This set of products are a perfect addition to your birthday card-making stash. I've been loving 5x7 inch cards lately, so I decided to make another one.

I started by pulling a panel from my background stash. It was a red, orange, and yellow panel that I created with pigment powders on watercolor paper. You could recreate a similar panel by ink smooshing any water-reactive ink on watercolor paper. I die cut several balloons using the Mylar Balloons die set. With the shadow layer, I die cut yellow cardstock that I pulled from my scrap cardstock stash. This is a great die set to use up scraps. For more detail and dimension on the yellow layer, I ink blended some Catherine Pooler Orange Twist ink on each balloon. I adhered the layers together with thin foam tape.

Next, I created my own stencil using the negative die cut piece from the circular balloon. On a 5x7 panel of white cardstock, I stenciled balloons over the background in a few places using the same orange ink. I also splattered the panel with orange ink. Later, I decided I need some color variation, so I went over some of the stenciled balloons with red ink.

I added additional, light ink blending around the edges of the panel so it wasn't so stark white. I used orange, red, and yellow inks that matched my analogous color scheme. I added additional splatters in red. After the panel dried, I used the Flourish 3D embossing folder. I accidentally embossed the wrong way so the pattern was impressed into the cardstock, but I decided I liked that look. So lean into your happy accidents!

I die cut the balloon strings from gold glitter cardstock and adhered the balloons in place, trimming off any excess hanging over the edge. For additional sparkle, I added gold glitter glue to the balloons. I matted the entire panel with orange cardstock. I ink blended the orange cardstock with red ink in the upper left for color variation.

For the sentiment, I used the Birthday Sentiments hot foil and die set combo. I hot foiled a sentiment on colored cardstock using the opaque white foil. I love the look of white opaque foil on colored cardstock.


I hope you enjoyed this card! It came together pretty easily, and I can see myself making this in multiple colors. Until next time, happy crafting!

Supplies:


