

Hello ScrapbookPal friends! I had the opportunity to play with the new Checkmate Collection from Spellbinders. I encourage you to go to the Spellbinders website to see how they put the chess and checkers pieces together. It wasn't intuitively obvious for me! When I am creating a new card design, I try hard not to look at the samples, because I don't want it to influence my creative process. However, I might have spent days trying to get these Spellbinders - Checkmate Collection - Dies - Chess & Checkers pieces together without looking at the website for help!

I really like the fact that you can get the matching stencils for the Harlequin embossing folder. There are five stencils in the set, so you can have a standard two-color checkerboard, or make each stencils a different color, and have four (or more) colors. This makes it incredibly easy to change it up however you want. The fifth stencil is the shadow for each of the chess pieces in the die set. I thought that was unique too, as I don't think I have any other dies that came with a matching shadow. I really like the concept and hope they come out with more.

I went old school with this card and pulled out my Ranger Ink mini blending tools to get some ink down quickly. It works great with stencils like this (no intricate cutouts). I used Gathered Twigs and Old Paper Distress Oxide inks for a neutral theme. I then splattered the background with Gathered Twigs. I decided where I wanted my chess pieces on the card and then added the King and Queen shadows with Hickory Smoke Distress Ink.
Looking at the Spellbinders - Checkmate Collection - Clear Stamps & Dies - Well Played Sentiments, I picked "another year? check." and "checkmate!". I got stuck on the idea that I wanted a big checkmark, but I couldn't find one in my stamp or die stash, so I decided to make one. I sketch one on a piece of scrap paper, and then I used that as a template to cut one out of black paper. My husband would have said I'm breaking the rules, and I'm not a rule follower, but I did it anyways, and I love how it came out!

I used my favorite glue and foam squares to bring this A2 sized side fold card together. Thank you for checking out my card! My supplies are listed below, and available at ScrapbookPal.com!
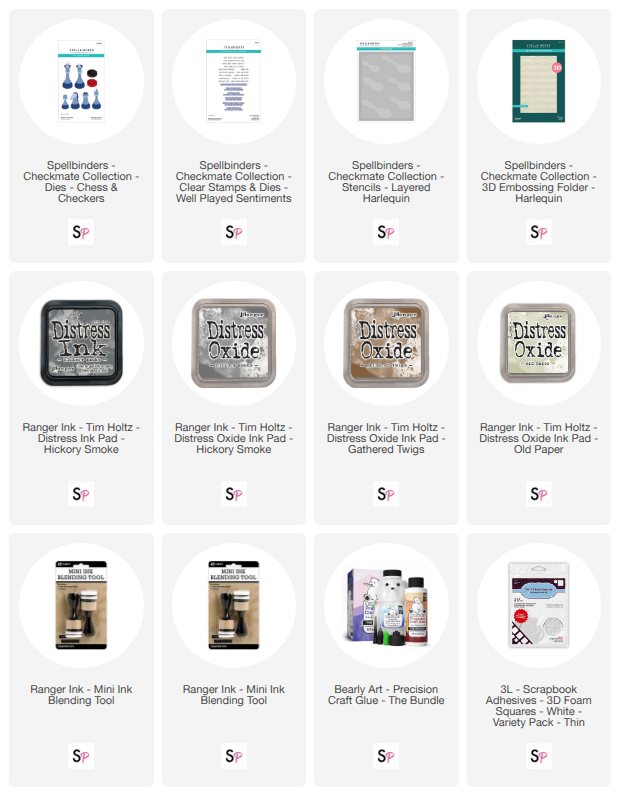
Products used in this project, available at ScrapbookPal.com: