


Hello ScrapbookPal friends! I didn't think I was in the mood for winter yet, but this new Snow Garden Collection from Spellbinders did the trick! This little chickadee is absolutely adorable! I had to have it! He looks all fluffed up, like he's trying to keep warm. I can just imagine the chickadees visiting my bird feeder again this winter. It will be here before we know it. And so will the holiday card giving season! Time to get cracking!
I had a hard time picking my favorites from this collection, but besides the Hemlock, Cones and Chickadee Dies, I really liked the American Holly Dies. I liked how the leave are so realistic, almost even the same size as the holly I have here in Virginia. I also got the Snow Garden Sentiments Hot Foil Plate and Die Set. I have been trying to build up my holiday sentiments collection, and I really liked the font and size of these. They're very elegant, and seem to go well with the botanical theme in this collection.
I started the process with the hardest part first - making the pinecones. I noticed the pinecone die said to cut it twice. I decided to use a lighter weight brown cardstock that I had in my stash, since the pieces are so small. I started by shaping the pieces. Then I tried to stack them all together to form a pinecone. Epic fail. I got glue all over the place and the pieces weren't staying where I wanted them. Good thing it's just paper (and lots of glue). I started over, and this time made smaller stacks of three layers at a time. This worked much better. Once the stacks of 3 were dry, I could shape them a little more, and layer them together, resulting in a stack of all 12 layers. I let this dry again, and then used my fingers to shape/squish the pine cones a little more, until I liked how it looked. I'm not gonna lie, this took some time and lots of patience! I originally thought I'd make 5 pinecones, then after I got 2 of them together, I thought, "Two. That's perfect".

The pinecone die has to be cut twice to make one hemlock pine cone. I have a tree near my house, and they really are this small and cute. I used the second smallest flower shaping tool in my Sizzix Paper Sculpting Kit (Mine happens to be black because it is Tim Holtz branded. ScrapbookPal carries a white set). After I glued three layers together, I used a little Walnut Stain Distress Ink to add some shading.
I wanted my berries to be a little larger than the die cut that comes in the American Holly Die set. I used some clear acrylic water droplet embellishments, and colored them red with Ranger Alcohol Ink. These droplets are flat on the back, and rounded like a water drop. Once dry, the alcohol ink won't rub off.

After I had the hard part (pinecones) done, and the easy part (berries), I got to the rest of the card. I cut 3 of the hemlock sprigs out of green paper. I colored the branch part with a Copic Marker, E29. I used a slightly different but coordinating green paper for the holly leaves, and used the E29 marker to lowlight the center of the holly leaves. Then I used the smallest Sizzix Paper Sculpting shaping tool to go over the creases in the leaves, to give them some movement and dimension. I used some Distress Ink to add some color and shading to the leaves.
I cut the chickadee twice out of watercolor paper, and use my Distress Inks and a Ranger Water Brush to "paint" the colors on the bird. I thought his beak needed to be more clearly defined, so I used a C5 Copic Marker for that. I stacked the two birds together for more dimension after it was dry. For the sentiment, I use gold hot foil with the "Seasons Greetings" plate from the Snow Garden Sentiments Hot Foil Plate and Die Set.


To assemble the card, I started with a piece of black paper cut with the largest Spellbinders Fluted Classics Rectangle die. I used the next smaller rectangle die to cut a piece of woodgrain cardstock to apply in the center of the card. Then I just played around with my pieces until I came up with an arrangement that I was happy with. I used both Bearly Art liquid glue and Scrapbook Adhesives foam squares to attach the diecuts and berries to the background.
This was my first Christmas card of the year! Even though it's just September, I've usually started making my holidays cards by now. I had better get busy! This will be a special card to someone in my family - definitely not one to try to reproduce a lot of! Those pinecones! Oy! Thank you for reading my blog post. All of the supplies are listed below, and available at ScrapbookPal.com!
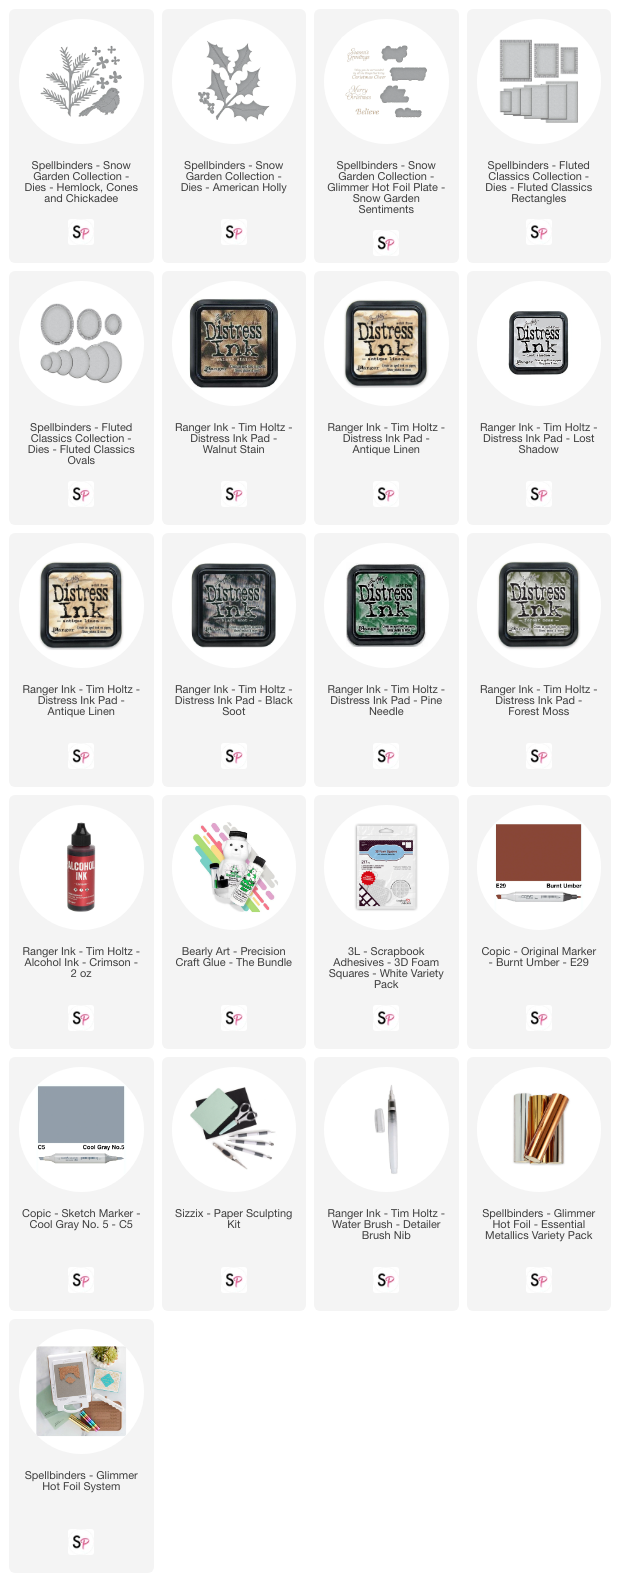
Supplies:


Comment
Beautiful card!