Hello ScrapbookPal friends! Today I'm sharing a gatefold card that I made with the Stampendous Bear Hugs dies and the Stampendous Bear Hugs Faces and Sentiments stamps. I love the additional pieces that you get with each set. In the die set, there are dies to impress a face into the larger bear, and add details to the face. There is also a scarf and bowtie or hair bow, some hearts, a honey pot, and a cheerleader cone and pom poms. The stamp set has several faces to choose from, 11 words/sentiments, and a cute little bumble bee. I can see using these face stamps on any inanimate object for a little bit of silly fun. You can really get a ton of different designs by combining the pieces of these two sets. Not a fan of bears? There are also Kitty and Puppy sets in this collection!
I wanted to use the bee stamp, because he's so cute, so I started by looking through my paper stash to see if I had anything honeycomb shaped. I found one small piece of paper, so that gave me a place to start with for my color selections. I'm not sure how, but the idea of making a gatefold card popped into my head. I had never made one before. I also rarely put anything on the inside of my cards, but I did this time. Totally stepping outside of my box on this one!

I started by die cutting some pieces, like the bears, and the honey pot. I stamped the faces on the bears, and the paws on the bigger bear. Since I had a stamped face on the little bear, I did the same with the big bear, instead of using the face die. There isn't a stamp for the paws on the little bear, so I tried drawing them on, but I didn't like how it came out, so I just cut out a new one (it's just paper!). I actually made 4 or 5 little bears with different color cardstock before I settled on one that I liked.
For the focal point on the front of the card, I used the Spellbinders Fluted Classic Ovals Die set to make a frame, and then cut a white oval as well. This is a new set for me too. The cool thing about the Fluted Classic Ovals set is that you can cut an oval with the fluted edge, or cut the fluted frame, or cut an oval "window" with a fluted frame, or just a bunch of plain ovals. Lots of possibilities with this set too. There are three different fluted oval sizes, and 6 different solid ovals. I used the middle oval set for this card. I love that they thoughtfully made the set with several options. I feel like I got a good deal for my crafting dollars with this one. I positioned my honeypot and smaller bear on the oval to figure out where I wanted to stamp. I then stamped the "Thank You so much" sentiment and a few bees.
To make the gatefold card, I cut a piece of cardstock 5.5" tall and 8.5" wide. I scored the cardstock at 2.125" on each side, leaving the 4.25" middle section for the base of the card. I cut my patterned paper to go on each side of the front of the gatefold card, and then added the oval focal point to the right half of the card. I diecut a piece of fun foam to put behind the honey pot for dimension before I adhered it to the card. Then I saw the word "honey", and thought that would be cute with the sentiment, so I added it. I'm definitely not suggesting doing this in the order that I did! Sometimes I get wrapped up in creating, and don't think things through. I would have finished stamping, then colored in the bees, then added the diecuts, and then added the oval to the card front.

The bees and sentiments were stamped with Versafine Onyx Black ink pad. I colored the bees with Copic marker Y13. For the inside of the card, I cut a piece of white cardstock 4 1/8" by 5 3/8". I stamped the sentiment, attached the bear, and filled in the white space with the paw print stamps, using the Distress Oxide Peacock Feathers ink pad to match my paper. I cut out two bowties and stacked them together to dress up Mr. Bear a bit. This card would be equally cute made into a regular A2 side folding portrait card.


This was a fun card for me, because I tried a couple different things, and I think it came out pretty well. Thank you for reading my blog post. All of the supplies are listed below, and available at ScrapbookPal.com!
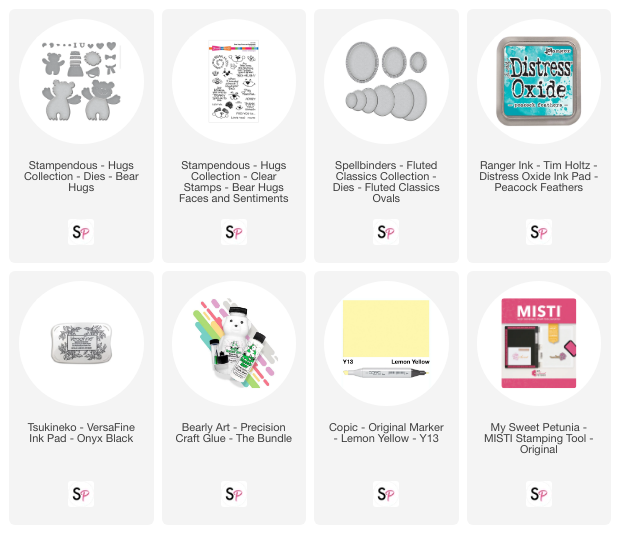
Supplies: