

How to Create a Shimmery Floral Card with Altenew Blossoming Trio & Solar Paste
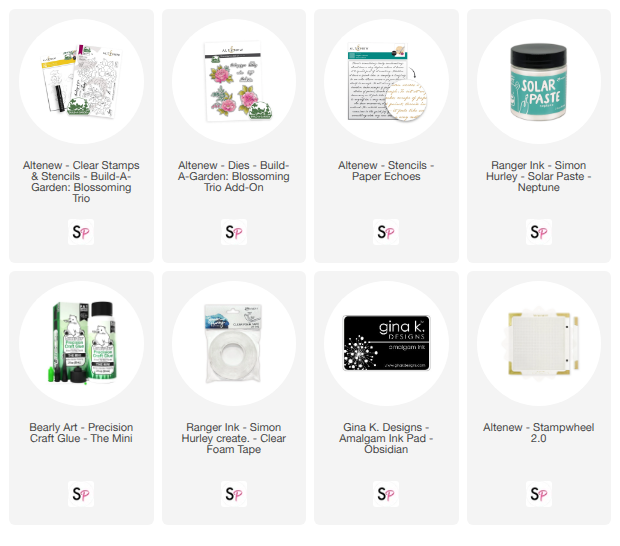
Hello everyone! It’s Sweta here, and I am so excited to be back on the ScrapbookPal.com blog sharing a vibrant, sun-kissed floral card. Today, I’m featuring the gorgeous Altenew Clear Stamps & Stencils Build-A-Garden Blossoming Trio along with the Build-A-Garden Blossoming Trio Add-On Dies.
What I love most about Altenew's stenciling systems is how seamlessly everything comes together. Both the stencils and the stamp images are clearly labeled, making layering effortless. If you're ready to see how a little ink blending, custom die snipping, and shimmery texture paste can transform a card layout, let’s jump into the step-by-step tutorial!
Step 1: Layering Vibrant Colors with Stencils and Stamps
To start, I stamped the outlines of two large floral blooms from the Build-A-Garden Blossoming Trio Clear Stamp Set onto white cardstock using Gina K Black Ink.
Next, I brought in the coordinating stencil set to color in the petals and foliage. Using small blending brushes, I ink blended a glowing yellow palette across the flower petals and rich teals and greens across the surrounding leaves. Because the stencils feature clear alignment guides for each corresponding flower, ink blending these intricate blooms was smooth and stress-free!

Step 2: Die-Cutting and Custom Floral Trimming
Once all the ink blending was complete, I used the Build-A-Garden Blossoming Trio Add-On Dies to cut out the main floral elements.
Crafter’s Tip: Don't be afraid to customize your die cuts! While arranging the die-cut flowers over my background, I noticed that the small set of hanging flower buds and a few leaves from the top flower were interrupting the overall flow of my desired layout. I grabbed my detail scissors and snipped off the hanging buds and extra leaves. Instead of discarding them, I set them aside so I could repurpose them in the bottom-right corner during final assembly.

Step 3: Creating a Scripted, Shimmery Background
For the background panel, I selected a deep navy cardstock to make the bright yellow flowers pop. I positioned the Altenew Stencils Paper Echoes over the navy cardstock and used a palette knife to apply a smooth layer of Ranger Ink Simon Hurley Solar Paste Neptune through the script design.
As the paste dried, it transformed into a breathtaking, teal-to-blue metallic script that catches the light beautifully against the dark paper.

Step 4: Final Assembly and Embellishments
To frame the script panel, I mounted it onto a textured teal postage-edge mat, which was then layered onto an A2 white card base.
Using Bearly Art Precision Craft Glue The Mini, I adhered one of the yellow blooms and glued the other one using foam tape for added dimension. I tucked the trimmed yellow flower buds neatly beneath the bottom right flower to anchor the cluster. I popped up the sentiment "with love" right in the middle of the upper flower and finished the card by scattering a few clear embellishment drops across the background to catch the light alongside the Solar Paste.

I absolutely love how the bright yellow petals stand out against the deep navy and shimmery teal script! Repurposing and snipping your die-cut floral pieces gives you total design control. I hope this technique inspires you to rearrange and snip your stamped florals on your next project.
Happy crafting ✂️
Sweta
@Table_in_the_Attic