Hello everyone! It is Sweta here, and I am so excited to share my latest Design Team project for ScrapbookPal.com. Today’s card is all about movement, shine, and a very festive feline!
![]()
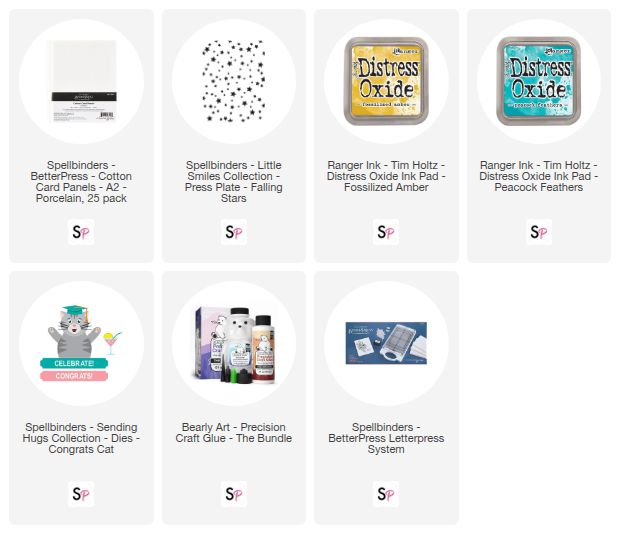
To start this card, I wanted a background that really popped. I reached for the Spellbinders BetterPress Cotton Card Panels and the Falling Stars Press Plate from the Little Smiles Collection.
Creating the Background
I inked the plate with Fossilized Amber Distress Oxide Ink and ran it through my system. To fill in the sky, I turned the plate 180 degrees and re-inked it using Peacock Feathers Distress Oxide Ink. For a little something extra, I decided to dry emboss the panel. Using a silicone mat and the appropriate sandwich for my die-cutting machine, I gave the stars some physical depth. This step is totally optional, but it adds a wonderful tactile dimension to the finished piece!

Die-Cutting and Assembly
Next, it was time to build our main character from the Spellbinders Sending Hugs Collection.
The Congrats Cat pieces were die-cut primarily out of black cardstock, while smaller detail pieces like the face and paws were cut from white cardstock to allow for custom coloring with Copic markers. If you are in a hurry, you can easily skip the coloring and just die-cut those pieces from colored cardstock instead! Once the pieces were ready, Bearly Art Glue helped bring this celebratory friend together. The sentiment banner, cut from black mirror cardstock, was attached to the bottom of the cat so the edges hang slightly off for added interest.

Adding Movement
To make the card interactive, an action wobbler was added to the back of the cat. These small plastic springs come with double-sided tape already attached, making it simple to peel the backing and stick them right on. To help the "CONGRATS!" sentiment really stand out, an outline banner die-cut in holographic mirror cardstock provided that perfect hit of rainbow shine.

Final steps
In the final steps, I adhered the starry background panel to an A2 card base before attaching the wobbly cat and the holographic banner. A few sparkling embellishments tied the whole celebration together.
![]()
Now, all that is needed is a reason to celebrate! This card is perfect for a graduation, a new job, or any big "paw-some" achievement.
Happy crafting! — Sweta @Table_in_the_Attic
Supply List -