

Hi crafty friends! Today I am sharing an A6 size card showcasing the Gina K. Designs Little Makers Stamp Set and Gina K. Designs Little Makers Die Set. This adorable cat stitching her own work of art inspired me to add a cross-stitched element to the card to compliment the cat’s symbolism that will create a card perfect for someone special in your life who simply needs a little pick-me-up. The design team at Gina K. Designs are so talented and this stamp set will pull at the heart strings of any sewing, knitting, or stitching enthusiast you may know. I had so much fun designing this card and hope it inspires you to get crafty with this stamp and die set.

Creating the Focal Points
For the stitched element, I used the Honey Bee Stamps Lovely Layers: Circle Embroidery Hoops die set and die cut the individual dies from the following cardstock colors:
Embroidery Cloth: Alabaster
Embroidery Hoop: Reddish Brown
Hoop Clamp: Gold Mirror
Hoop Screw: Brushed Silver

After die cutting all the pieces, I used 4-ply embroidery floss to stitch the floral image onto the circle embroidery cloth die cut. Once the cross-stitching was completed, I turned my focus to the large square-ish die cut that is meant to represent the cloth behind the embroidery hoop and added shading to the creases using Copic Sketch alcohol markers in the colors E43, E81, E40, and 0 (colorless blender). I wanted to add a bit of depth to the embroidery hoop, so I used Copic Sketch alcohol marker E57 and carefully outlined the outer and inner edges of the embroidery hoop die cut. Next, I used Bearly Art Precision Craft Glue to adhere the three die cuts that make up the embroidery hoop, glued the hoop die cuts to the cross-stitched panel, and glued the cross-stitched panel to the alcohol marker colored square cloth die cut.

While the cross-stitched die cuts were drying, I stamped the cat cross-stitching stamp from the Gina K. Designs Little Makers stamp set using Lawn Fawn Jet Black ink onto a piece of white cardstock. Once the ink dried, I began coloring in the adorable kitty image using Copic Sketch alcohol markers – the color combinations are listed below:
Aida Cloth: Copic Sketch Markers E43, E81, E40
Stitching on Aida Cloth: Copic Sketch Marker R56
Thread Spool: Copic Sketch Markers R56, R83, E43
Dress: Copic Sketch Markers G28, G07, G03
Cat’s Fur: Copic Sketch Markers C4, C2, C0
Pad’s on Cat’s Feet and Nose: Copic Sketch Markers RV23, RV10
Bow on Cat’s Head: Copic Sketch Markers RV99, R56, R83
After I completed coloring the cat, I used the Gina K. Designs Little Makers Cutting Dies to die cut the cat and cut two more blank die cuts of the outline to add some weight and definition to the image. I glued the cat die cut layers together with Bearly Art glue and set aside to dry while I worked on the card’s background.
Building the Background
To create the background, I ran a piece of berry colored cardstock through my die cutting machine in the Honey Bee Stamps Burlap 3D embossing folder and trimmed it to measure 4.25” x 6” and also trimmed a piece of alabaster colored cardstock to measure 4.5” x 6.25” (this will be my matting layer). I used a Simon Hurley Small Ink Blending Brush and VersaFine Clair Chianti Ink Pad and ink blended the edges of the berry cardstock to add depth to the background layer.

Creating the Sentiment
For the sentiment, I selected the “handmade Just for You” stamp from the Gina K. Designs Little Makers stamp set, stamped it onto white cardstock using VersaFine Clair Nocturne Ink and die cut the greeting using the coordinating die from the Gina K. Designs Little Makers Cutting Dies, cut two additional blank ones from white cardstock to add dimension, and glued the three layers together. I placed Scrapbook Adhesives Thin 3D Foam Squares on the back side of the sentiment and adhered it to the card front. I used liquid glue to adhere the berry cardstock panel to the front, center of the alabaster cardstock panel.
Assembling the Card
First, I glued the card’s background panels (the alabaster and berry cardstock panels) to a side folding, A6 size card base. I added glue to the back side of the cross-stitched element and adhered it at an angle to the upper half of the card front. Next, I added Scrapbook Adhesives Thin 3D Foam Squares to the back side of the cat element and adhered it to the card front and did the same for the sentiment. Lastly, I added a sprinkling of berry colored enamel dots I had in my stash, brushed Wink of Stella Clear Glitter Pen onto the cat’s bow, and a dollop of Ranger Glossy Accents to the cat’s nose to complete the card.

Thank you for checking out today’s blog post and be sure to shop at ScrapbookPal.com for all your card making and paper crafting needs – until next time, happy crafting!
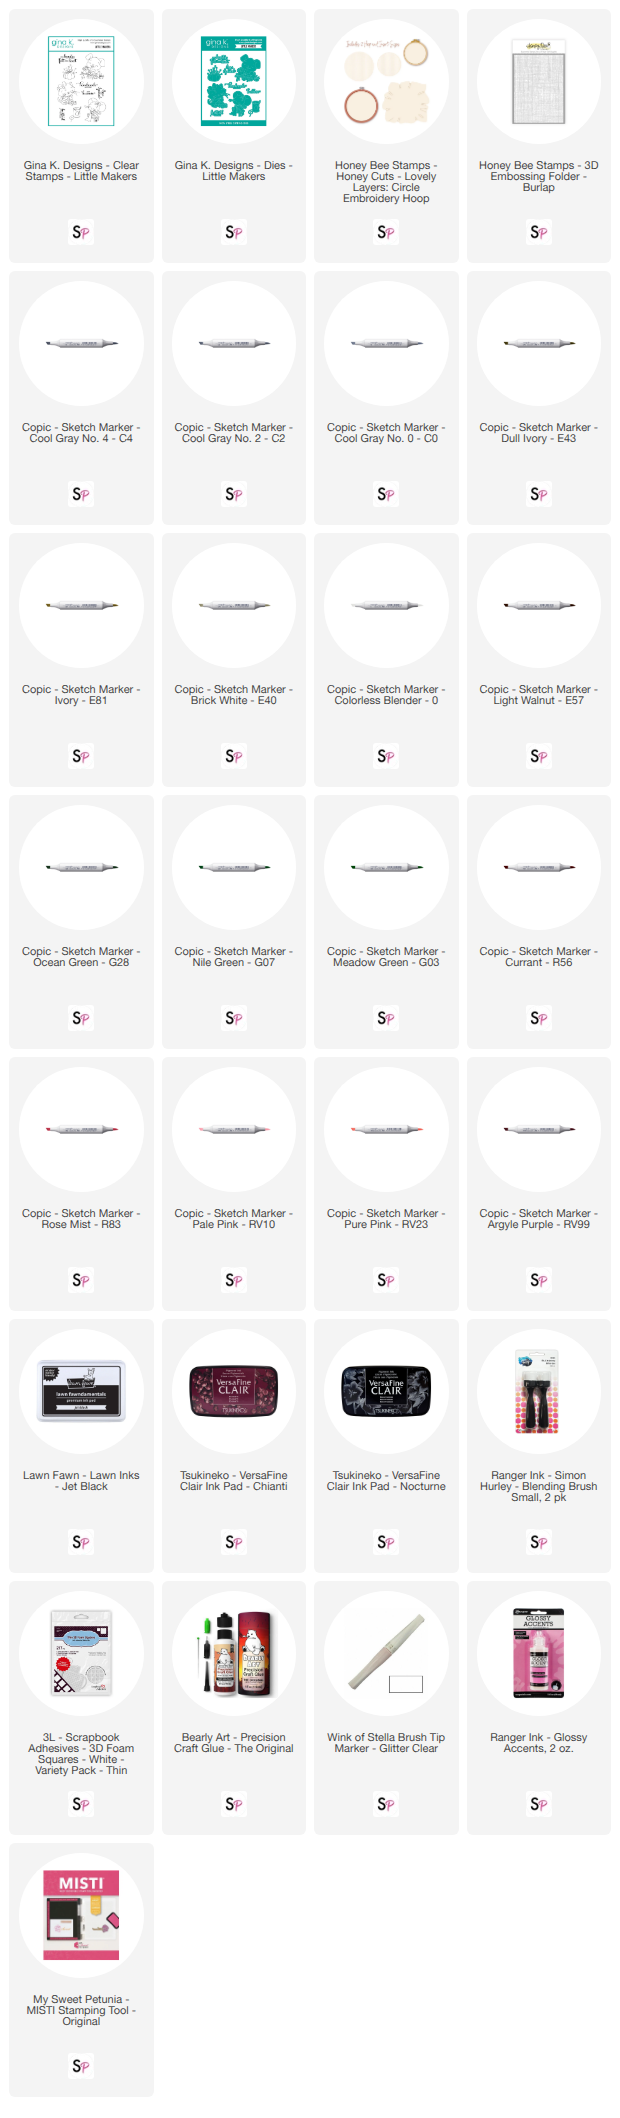
SUPPLY LIST: