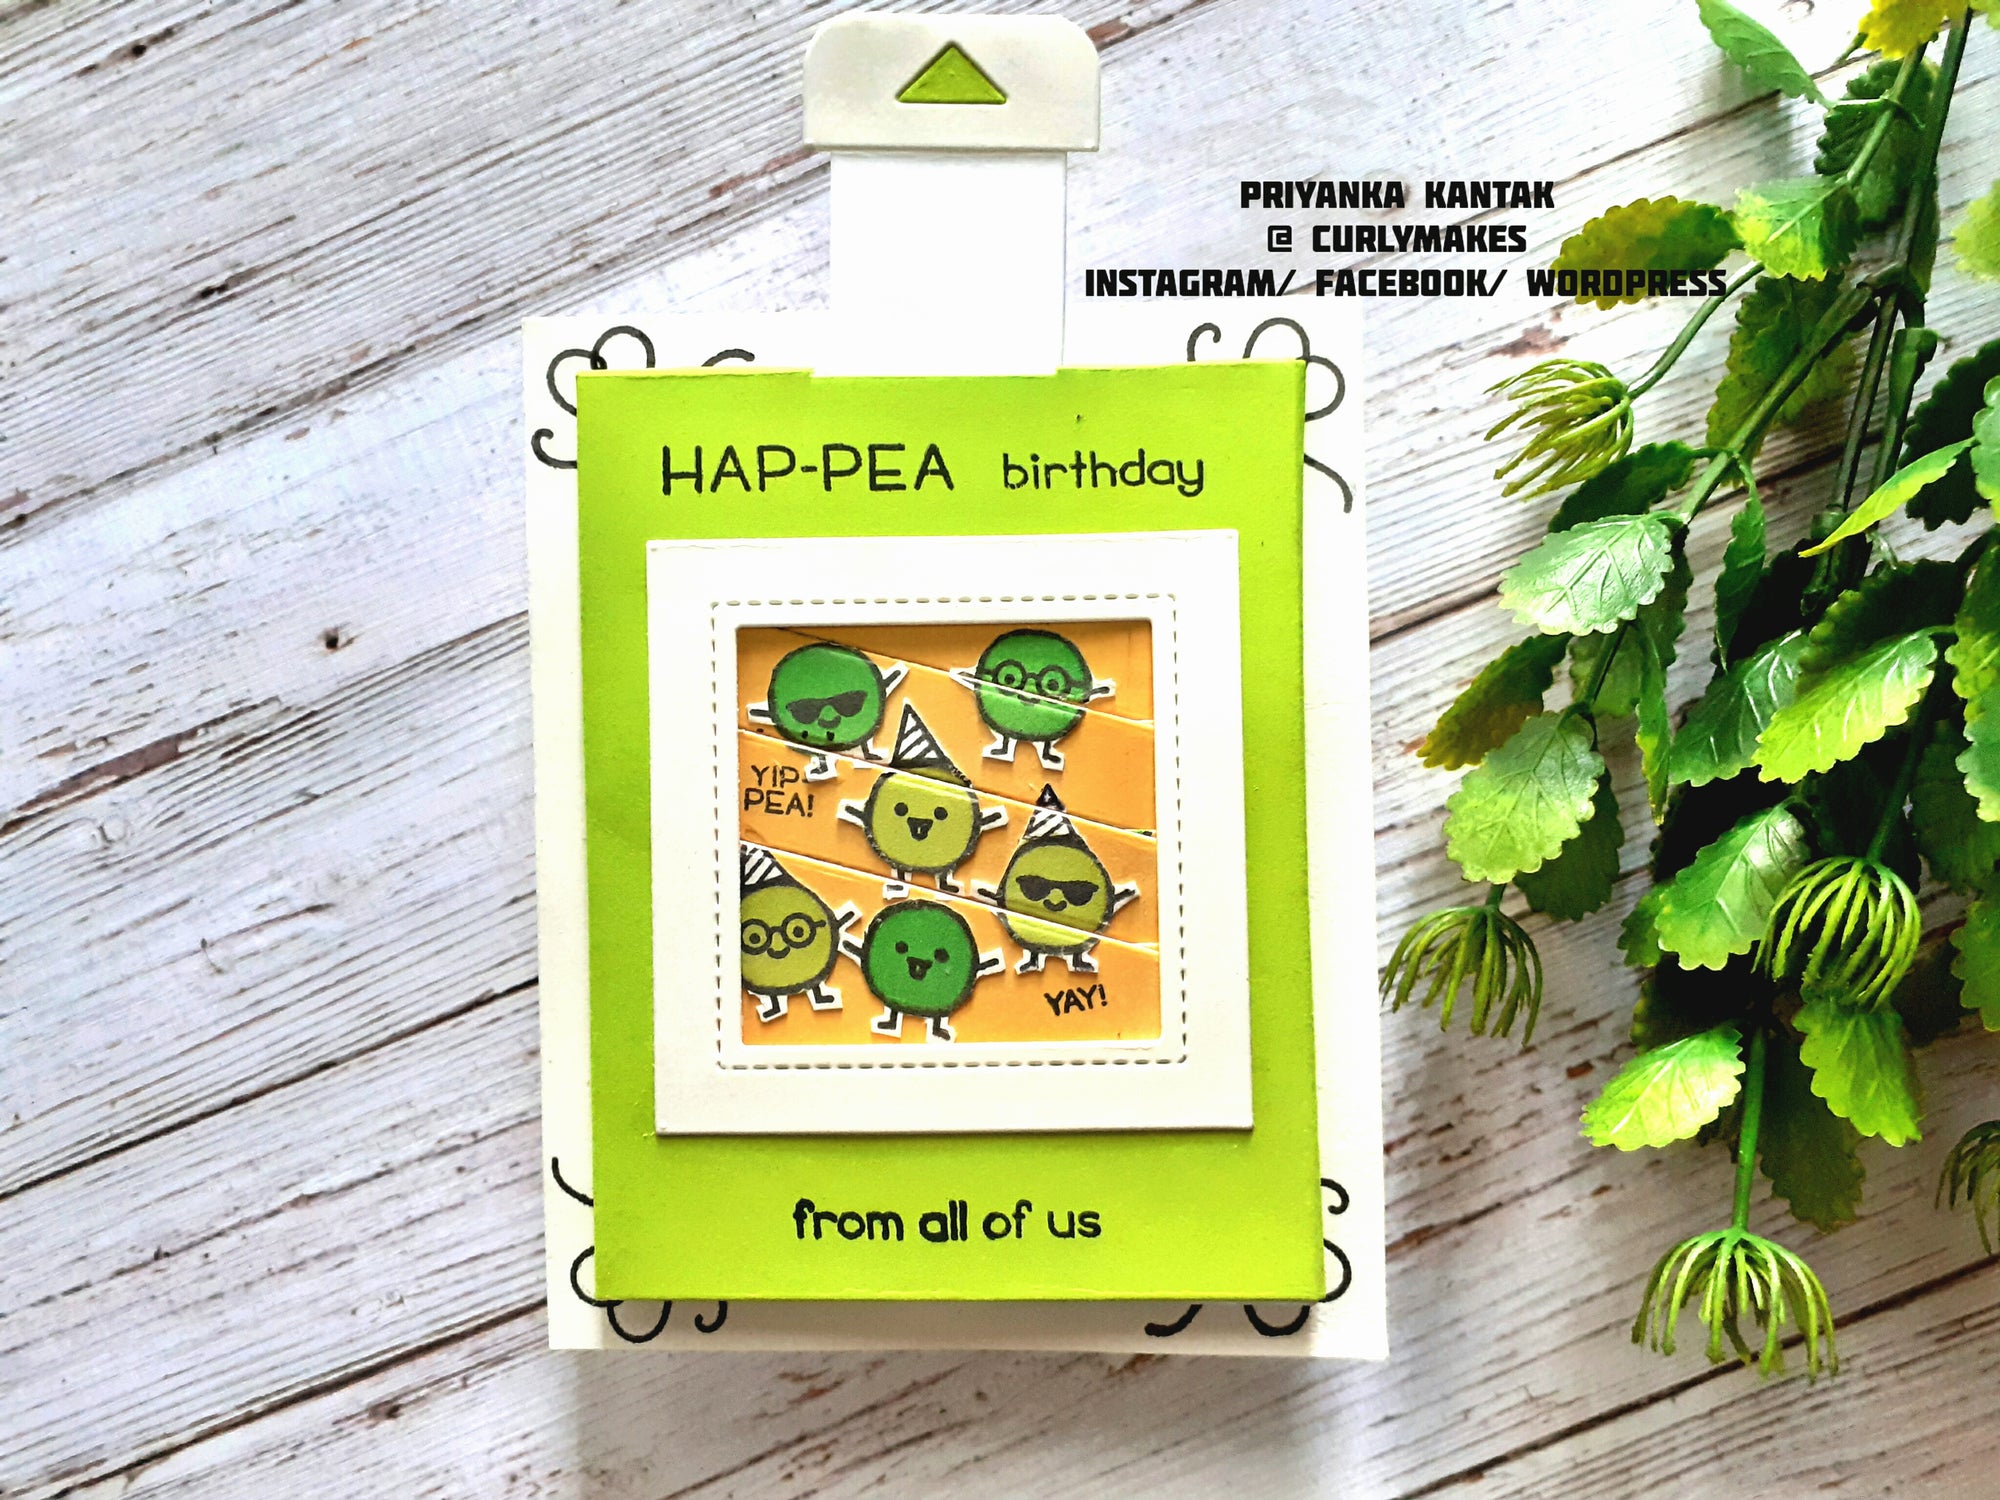
Hi Everyone!
I have a tutorial for a magic picture changer card for you today.
I have made it using Lawn Fawn products.
Lets start!
Step 1:
I took the bigger die from the Magic Picture changer die set and marked its window on white cardstock. In that window, I blended Wild honey distress oxide ink.
Step 2:
Next, I stamped the leaf stamp from the Be- Hap-pea stamp set by Lawn fawn with black ink. I kept changing the direction of the leaf while stamping. I then colored the leaves with watercolors. Let's call it the 'first panel'.
Step 3:
I then took the next die in the picture changer dieset. And marked its window on another piece of white cardstock. I blended the same Wild Honey distress oxide ink. Lets call it the 'second panel'.
Step 4:
I stamped the peas on another white cardstock, colored them and then fussy cut each one of them.
I later adhered these on the 'second panel'.
Step 5:
I then diecut both the panels with the respective dies. I also diecut the square die from the same set with white cardstock. I assembled the whole set.
Step 6:
To get the green outer cover, I simply diecut the larger die using green cardstock. Then I cut the flaps in the middle and also the back. I adhered it to the front. I stamped the sentiments on it with black ink.
Step 7:
For the base, I stamped the heart swirl stamp image from the earlier stamp set on four corners and foam mounted the picture changer on it.
Ta da! My card is completed. Hope you like my card.
Instagram: https://www.instagram.com/curlymakes/
Blog: https://curlymakes.wordpress.com
Products used :
Lawn Fawn - Lawn Cuts - Magic Picture Changer - LF1903
Lawn Fawn Clear Stamps - Be Hap-pea - LF1890
Lawn Fawn - Lawn Cuts - Be Hap-pea - LF1891


