Hi crafty friends! Today I am sharing a card featuring the Spellbinders Arch Punch & Pierce Plate and Regal Blooms die sets. The Regal Blooms die set reminds me of those sophisticated, high-end floral arrangements you see at the florist, so I tried to bring that feeling to life by using some of those representative colors while creating this adorable Get Well Soon card.

Creating the Background Panel
I cut a piece of grey cardstock using the large arch die from Spellbinders’ Arch Punch and Pierce Plate die set. Then using both the dies from the set, I die cut a piece of black cardstock and used my Gina K. Designs Pick and Stick Tool to remove all the negative pieces from the die cuts. I adhered each of the three black die cuts to the grey panel using Bearly Art Precision Craft Glue.

Creating the Focal Point
Using the Spellbinders Regal Blooms die set, I die cut all the floral elements from pale peach, pearlized orange, wildberry, and pearlized silver cardstocks. The greenery elements were die cut from light green and dark green cardstock. I glued the flower heads and leaves to the stems using liquid glue and began positioning them on my background panel until I was happy with the arrangement. Once I was satisfied with the placement, I used a piece of Press ‘n Seal onto the flower arrangement so I could pick them up as one piece, turned them over onto my glass mat and placed Scrapbook Adhesives Black 3D Foam Squares onto the back of the flower heads and beads of liquid glue behind the stems and leaves. Once the adhesive application was completed, I picked up the entire flower arrangement and placed it onto the background panel.

Creating the Sentiment
For the sentiment, I selected the “Get Well Soon” stamp from the Gina K. Designs Elegant Thoughts stamp set. I placed a 1” x 6” piece of vellum into the My Sweet Petunia MISTI Stamping Tool and put a layer of anti-static powder onto the vellum using my Ranger Ink Anti-Static Pouch. I inked up the stamp with Versamark Watermark Ink and added a layer of WOW! Metallic Silver Super Fine Embossing Powder to the stamped image and melted the embossing powder using a heat tool.

Assembling the Card
Using the largest die from the Spellbinders Arch Punch and Pierce Plate die set, I die cut a piece of heavy weight white cardstock and another piece of grey cardstock. I positioned the vellum sentiment band over my card front where I thought it looked best and wrapped the two ends around to the backside and taped them with regular masking tape to keep them from moving. I used liquid glue to adhere the grey cardstock panel to the back side of the card front to make it look clean and neat. Next, I utilized the Scor-Pal Scor-Buddy tool to score the white cardstock panel at ½” from the end of the rounded edge. I applied Bearly Art Precision Craft Glue to the ½” side of the scored cardstock and adhered it to the reverse side of my card front so there would be a place to write a personal sentiment or note. I glued the smallest pearls from the Pinkfresh Studio Matte Silver Metallic Pearls to each of the centers of the exposed punched hole arrangements on the middle arch die cut of the card’s background panel to add some additional interest.
Thank you for checking out today’s blog post and be sure to check out ScrapbookPal.com for all your card making and paper crafting needs – until next time, happy crafting!
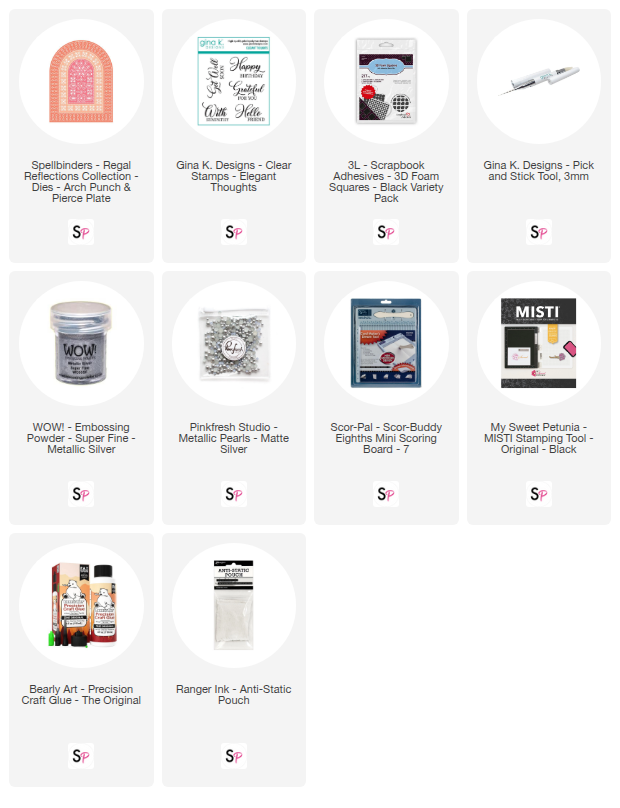
SUPPLY LIST: