
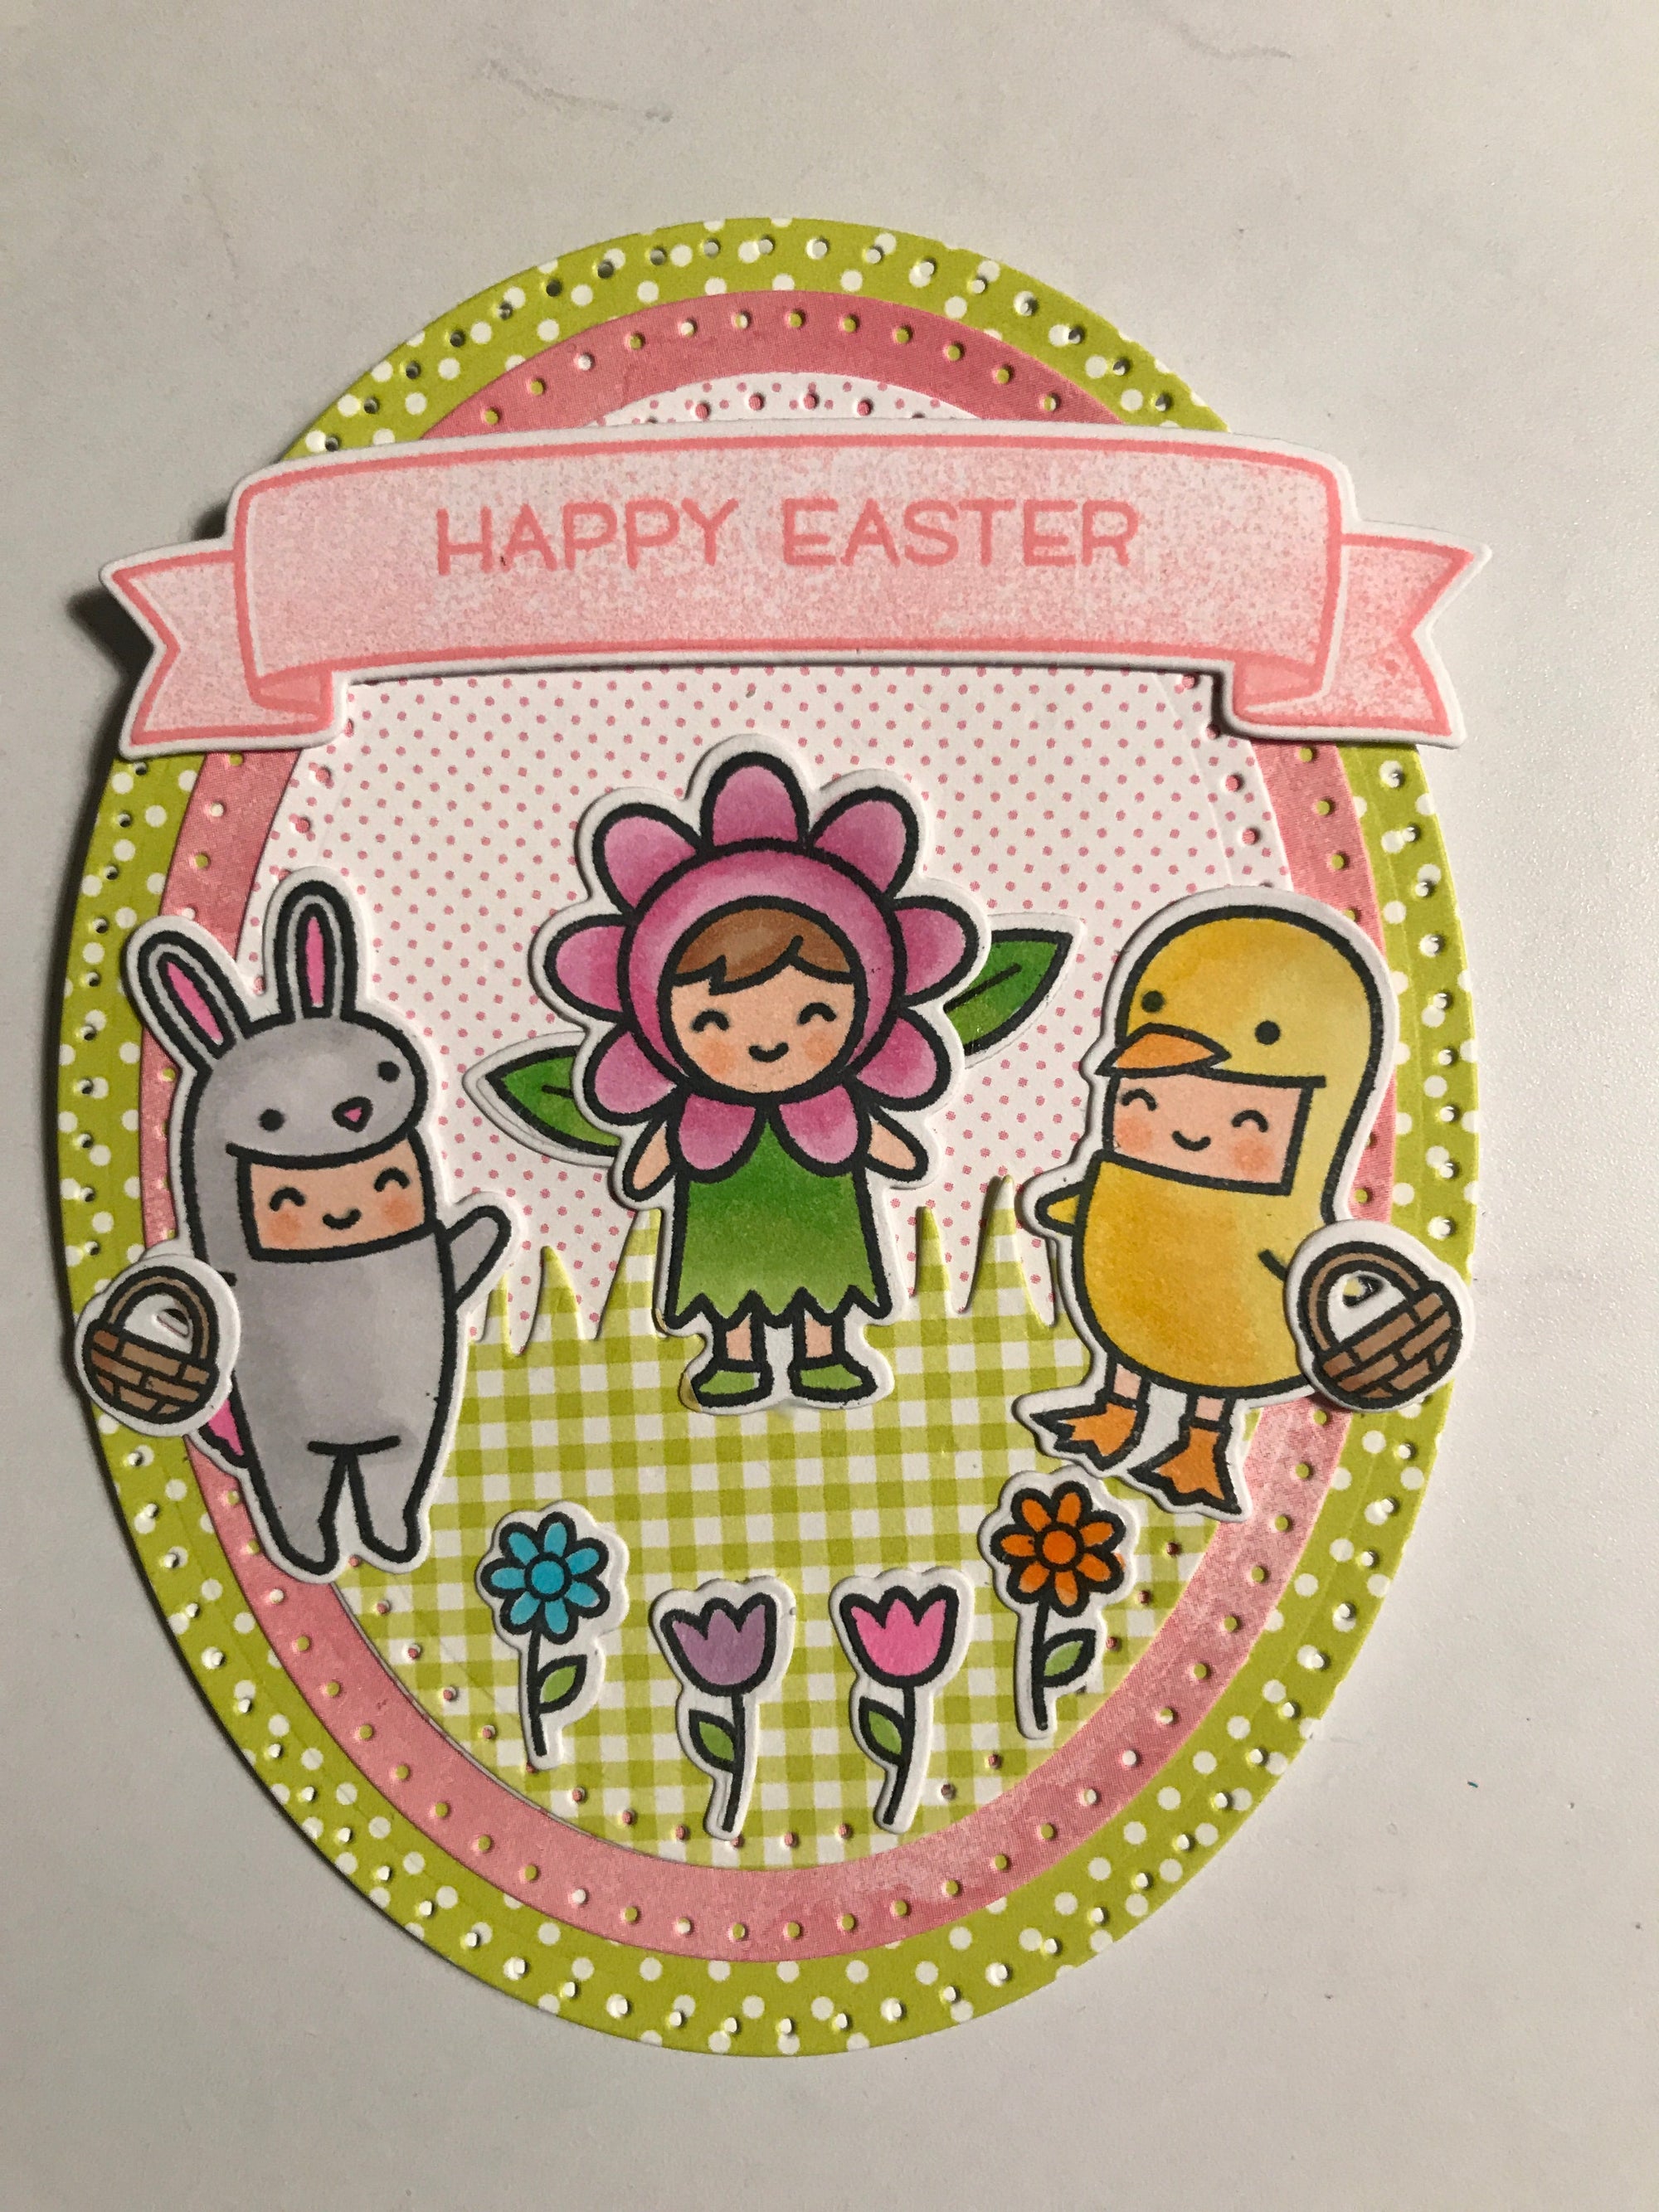
Step 1: Stamp, color and die cut the Easter Party
Step 2: For the card base, fold white cardstock in half and die cut the largest oval, placing the die slightly above the fold so the card will open from the bottom.
Step 3: Die cut 2 two more ovals in decreasing sizes. Cut an additional oval of the smallest size and then use the grass die to create an oval shaped grassy area.
Step 4: Stamp and die cut the banner.
Step 5: Adhere the largest oval to your card base, matching up the bottoms. Adhere medium size oval on top of that, then the smallest oval on top of the medium sized one.
Step 6: Adhere the adorable Easter kids where desired.
Step 7: Adhere the banner to the top portion of the oval using foam squares.
Items Used:
LF1589 Easter Party Stamps
LF1590 Easter Party Lawn Cuts
LF1336 Bannertastic Stamps
LF1337 Bannertastic Lawn Cuts
LF1355 Watercolor Wishes Petite Paper Pack
ME-000-900 Memento Tuxedo Black Ink
#1614 3-D Permanent Foam Squares
Non-Branded Alcohol Markers
White cardstock
Scraps of pattern paper
Sizzix Dotted Oval dies

