Hey everybody, a very happy Wednesday to you! We’re already a week into July… what happened to June, lol?! Leslie here, sharing a tutorial for making a corner fold card featuring the Gina K Designs Hedgehogs in Happiness Stamps & Dies. If you follow me on social media, you know I’m a huge fan of fun folds. Everywhere I turn, I see another one I want to try! There are at least three versions of the corner fold card out there that I’ve seen, and when I got these adorable hedgehog stamps and dies in my hands, I knew I had to use them for this particular card. It’s a fairly easy one, so let’s get started! 
CUT CARD BASE & LAYERS
Patterned paper (double-sided):
1. Folded card base (main element): 6-3/4” x 8”
2. Front decorative square: 2-1/2” x 2-1/2”
3. Inside decorate square: 2-1/4” x 2-1/4”
Ivory cardstock:
1. Front panel: 2-1/2” x 4”
2. Inside panel: 3-1/2” x 4-3/4”
Dark orange cardstock:
1. Flat card base: 4-1/4” x 5-1/2”
2. Inside panel: 3-3/4” x 5”
3. Inside decorative square: 2-1/2” x 2-1/2”
Dark green cardstock:
1. Front panel: 2-3/4” x 4-1/4”
2. Front embellishing strip: 1/8” x 2-3/4”

SCORE & FOLD MAIN ELEMENT
For illustration purposes, I cut, scored and folded a piece of white copy paper so the score lines would be easier to see than on the busy patterned paper. 
I straightened out the folds on the copy paper mock-up and marked the score lines with a pen.
This is what your folded card base (main element) should now look like. Note: I made my card to open from left to right, so if you would rather your card open the traditional way (from right to left), you’ll want to reverse the folds. Also keep this in mind when determining which print on your double-sided paper you want to show on the outside. 
ADHERE LAYERS
First, fold up the main element completely and adhere it to the flat card base using the My Sweet Petunia Glue Press with Bearly Art Precision Craft Glue.
Now unfold the main element and adhere the dark orange inside panel to the largest section inside the card base, once again using the My Sweet Petunia Glue Press with Bearly Art Precision Craft Glue (used for the entire project).
Adhere the smaller patterned paper square to the dark orange cardstock square.
Similarly, adhere the slightly larger patterned paper square to the bottom portion of the ivory cardstock. Add the green cardstock embellishing strip to the top edge of the patterned paper. Then adhere this piece to the green cardstock front panel. 
STAMP IMAGES & SENTIMENTS
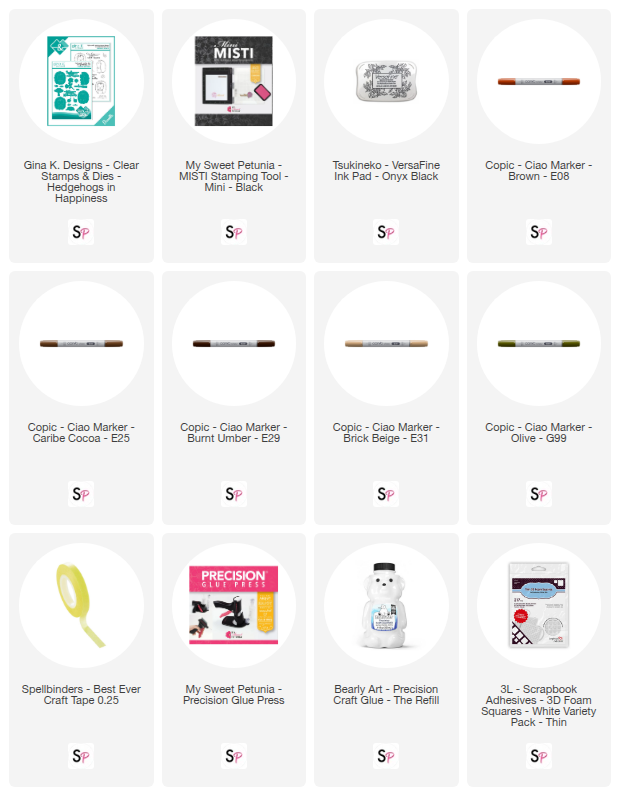
Using the Mini MISTI, stamp the hedgehog and flowers from the Gina K Designs Hedgehogs in Happiness Stamps & Die in Versafine Onyx Black ink on a piece of ivory cardstock. Color them with Copic Ciao E08 Brown, E25 Caribe Cocoa, E29 Burnt Umber, E31 Brick Beige and G99 Olive, and cut them with the coordinating dies in the Gina K Designs Hedgehogs in Happiness Stamps & Dies, securing the dies in place with Spellbinders 1/4" Best Ever Craft Tape. I adhered a very narrow sliver of dark green cardstock to the small flower, as I planned to have the hedgie holding it and smelling it.
Next, once again using the Mini MISTI, stamp sentiments from the Gina K Designs Hedgehogs in Happiness Stamps & Dies directly onto the front and inside panels in Versafine Onyx Black ink. 
ASSEMBLE CARD
Adhere the inside decorative square to the small square section on the top right.
Next, adhere the larger inside panel to the dark orange panel, adding the flowers.
Finally, adhere the hedgehog and the flower he’s holding and smelling to the front panel, popping the little flower up on a Scrapbook Adhesives Thin 3D Foam Square.
COMPLETE PROJECT
Fold up the main element once again, and adhere the front panel to the card front, applying adhesive only to the mid portion of the small square section. I use gemstones or pearls on most of my projects but opted not to do so on this card because of the busy patterned paper. 
I hope you've enjoyed this hedgehog friendship card tutorial and you’re inspired to check out the Gina K Designs Hedgehogs in Happiness Stamps & Dies. These hedgies are so stinkin’ cute! Be sure to visit Scrapbook Pal on Facebook, Pinterest and Instagram for more design team inspiration! And if you haven't yet subscribed to our YouTube Channel, be sure to do that, too, for tons of hands-on crafty inspiration! Thanks so much for stopping by today – we’ll see you next time!
Scrappy hugs,
Leslie
Supplies:


