

Hi crafty friends! Today I am sharing a cozy fall-themed card featuring an adorable cat from the Hero Arts Kitty Squeezer die set which is a part their Cozy Season Collection release. With warm autumn colors and a few simple die cut details, you can turn this playful feline into the perfect centerpiece for a handmade greeting. This project is easy to customize and is ideal for sending a little autumn cheer to friends and family.

Building the Background
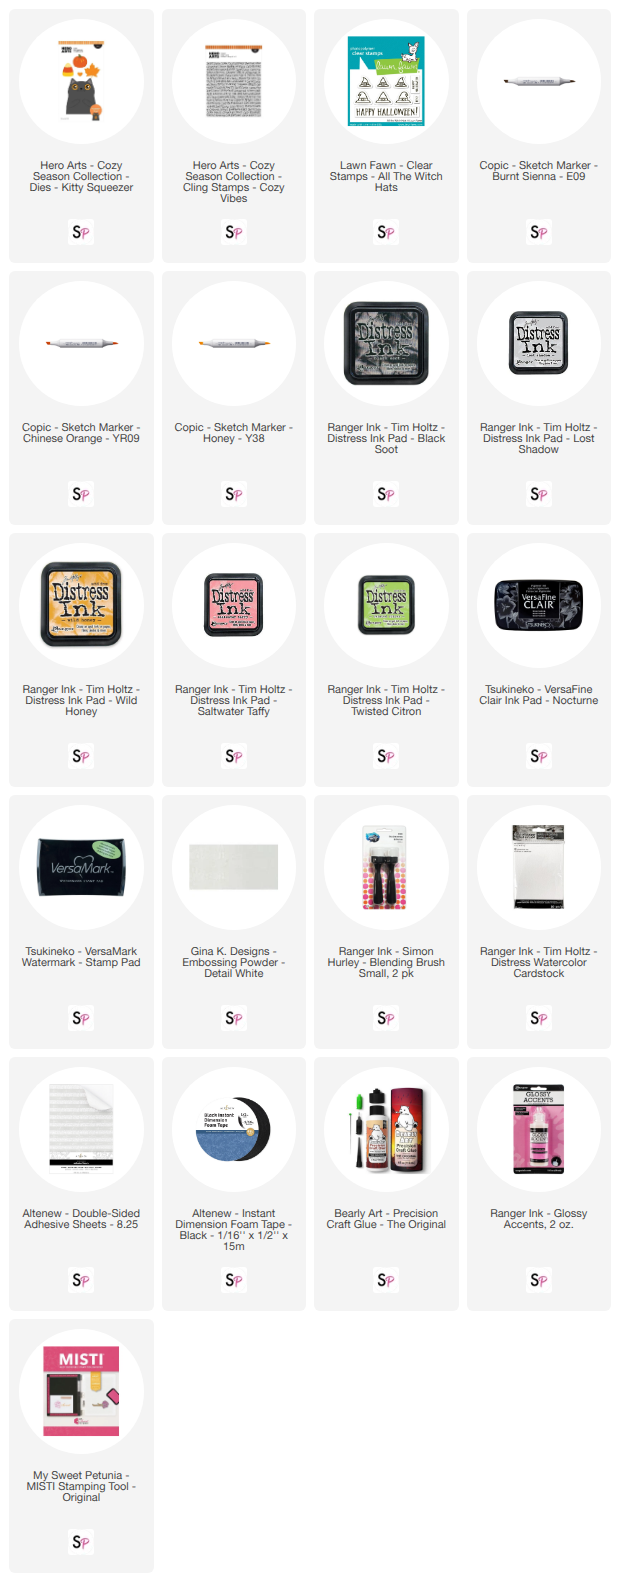
For the background, I trimmed a piece of dark blue cardstock to measure 4.25” x 6”. Using the Hero Arts Cozy Vibes red rubber background stamp, I stamped the text onto the blue cardstock using VersaFine Clair Nocturne Ink. To add depth to the background panel, I used the Simon Hurley Small Blending Brush and Distress Black Soot ink to ink blend the edges of the stamped panel. I used watered down gouache paint to add white and black spatter across the panel for interest. For the matting layer, I cut a piece of Distress Watercolor Cardstock to measure 4.5” x 6.25” and used the direct-to-paper method to add Black Soot ink to the outer edges until about 1/2” of the cardstock edges were black. When the ink on the matting layer dried, I used Bearly Art Precision Craft Glue to adhere the blue panel to the top, center of the matting panel.
Creating the Focal Points
Using the Hero Arts Kitty Squeezer die set, I placed the cat die onto a piece of Distress Watercolor Cardstock and used a pencil to lightly trace around the cat die onto the cardstock. This will give me a general idea of where the cat’s body parts will fall on the cardstock which I will be watercoloring. I used low-tack masking tape to adhere the watercolor cardstock panel to a small hard board to assist with keeping the cardstock flat as I added water to it.
I began the watercoloring process by smooshing Distress Ink pads onto my glass mat in the colors Crackling Campfire, Wild Honey, Black Soot, and Lost Shadow. Using a #8 round paint brush, I dipped the brush into clean water and simply began adding the water and ink to random locations on the watercolor paper (using the penciled outline of the cat as a guide) until I was happy with the outcome of creating a loose, base coat of ink to represent my calico cat coloration.

Once the panel dried, I removed it from the hard board and used the cat die to die cut the cat from the watercolored cardstock panel. Next, I added a piece Altenew Double-Sided Adhesive to the back side of a scrap piece of the Distress Watercolor Cardstock and die cut the rest of the dies for the cat’s head and face. Using Distress Twisted Citron ink and the paint brush, I watercolored the large, circle die cut that will be used for the cat’s eye color, Distress Black Soot ink for the eye’s pupil die cut, and I used Distress Saltwater Taffy ink to watercolor the nose and ear die cuts.

I used a very small paint brush to add white gouache paint the cat’s whiskers then used a thin black fine liner pen to trace over the whiskers and mouth embossing marks and, lastly, used a ¼” comb brush to add little quick strokes of watered-down, white gouache all over the cat’s body die cut that I had watercolored a calico pattern to represent fur. Once the kitty’s die cuts were all dried, I removed the adhesive backing from the face die cuts and adhered them to the cat’s body.
For the pumpkin the cat is holding, I used the pumpkin and stem dies from the Hero Arts Kitty Squeezer die set, and die cut the two stem pieces from a light and dark green cardstock and the pumpkin was die cut three times from white cardstock. I glued the two stem die cuts together using Bearly Art Precision Craft Glue and set them aside to dry while I colored one of the pumpkin die cuts. I decided to use Copic alcohol markers to color the pumpkin and the colors I used were Copic Sketch markers E09, YR09, and Y38. After the coloring was completed, I glued the three die cut pumpkin layers together, glued the stem to the designated location, and added some white gel pen accents.
Creating the Sentiment
I chose the Happy Halloween! greeting from the Lawn Fawn All the Witch Hats stamp set for the sentiment. I stamped the sentiment onto a piece of black cardstock using VersaMark watermark ink and white heat embossed it using Gina K. Designs Detail White embossing powder. I glued two additional pieces of black cardstock behind it for some dimension.

Assembling the Card
I added strips of Altenew ½” Instant Dimension Black Foam Tape to the back side of the cat die cut and adhered it to the lower bottom of the card background. I applied liquid glue to the back side of the sentiment and adhered it to the upper, center of the card above the cat’s head. Lastly, I added a thin layer of Glossy Accents to the cat’s nose for a bit of shine and that wraps up today card.

Thank you for checking out today’s blog post and be sure to shop at ScrapbookPal.com for all your card making and paper crafting needs – until next time, happy crafting!