Hello ScrapbookPal friends! I don't know about you, but I never seem to have enough masculine cards at the ready! These sets from Honey Bee Stamps showed up at just the right time to replenish my stash of "not another flower card" cards. On this card, I used the Honey Bee Stamps Dad's Garage stamp set, along with the coordinating Dad's Garage dies. I also used the Take a Ride stamps for the sentiment. The Take a Ride set has a whopping 18 sentiments - some of which are motorcycle themed, but some are more generic, for birthdays, retirement, or just plain fun. I really like that almost all of the sentiments have 2 different font styles. They complement each other nicely, and you can even mix and match to come up with your own phrasing.

I didn't have an idea for this card, so I started by stamping all of the images first. I chose some to emboss with Gina K. Designs silver embossing powder (after stamping in VersaMark ink), as that's the first thing I think of - all the chrome! The rest, I embossed with Gina K. Designs black embossing powder. After all of the images were heat set, I got out my Copic markers, and added some color.
If you've read any of my other blog posts, you might know that I am a total novice at Copic coloring. The good thing is that these images are quite small, and there wasn't really much to do in regards to shading, or at least that is what I told myself! When I was growing up, I remember my Dad always had a motorcycle. I remember one in particular that was blue, so I decided to color this one blue. I used some light gray markers, and black. I picked a red and a yellow that I thought would coordinate, and colored the other images in. After the coloring, I die cut everything, and started playing around with a layout.
I wanted to keep with the Dad's Garage theme. My Dad also owned a service station at one point, so that's what I was thinking of, instead of a home garage. I don't remember what it looked like, but I'm thinking it was brick, or maybe parts of it were. I have both of the Sizzix Tim Holtz brickwork embossing folders, the "regulation size", and the mini. The mini embossing folder looked to be a better size to go with the motorcycle. The mini folder is about the size of half of an A2 card, so if I wanted to use it for a background for the whole card, I would either have to try to piece it together, or run the A2 sized cardstock through twice. Which is what I did. Of course I messed it up the first time, but it's just paper! The second try came out much better.
I cut a piece of colored kraftstock (Tim Holtz – Warm) to 4 inches by 5.25 inches. This would fit the card front, leaving a small border. I used my Tim Holtz Distress Sprayer to lightly mist both sides of the paper, so it wouldn't tear when I ran it through my machine in the Mini Brickwork embossing folder. I then misted both sides of the other half of the paper, carefully lined it up in the embossing folder, and ran it through my machine again. The paper was still damp, and slightly warped. I put an acrylic block on top of it until the paper dried, and it dried flat.

I had an idea to cut out an "overhead door" from the brickwork, and have the motorcycle look like it was coming out of the garage. I decided the sentiment would go on a band of paper, across the top of the card. Then I just played around with the diecut pieces until I had a scene that I liked. I tried to add some more text and embellishments inside the garage, behind the motorcycle, but I thought the card got too busy. Sometimes I have a hard time knowing when to stop!
For the sentiment, I stamped "Lucky for you. vintage is in" from the Honey Bee Take a Ride stamp set on white cardstock, embossing with black powder and heat setting. I layered that onto black cardstock for the sentiment band at the top of the card. I used dimensional 3d foam tape from Scrapbook Adhesives to attached the brickwork embossed cardstock to the background (gray and black cardstock). and foam squares to attach the diecuts. This photo shows the shine of the embossing detail a little better.

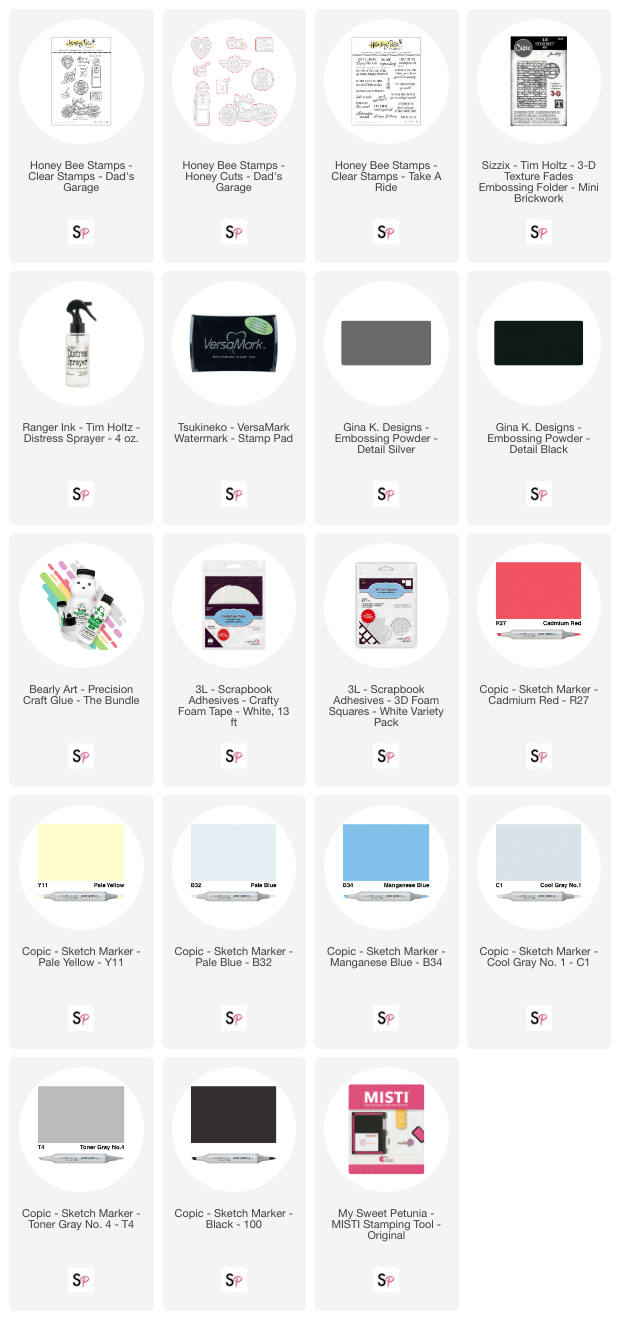
Thank you for reading my blog post. All of the supplies are listed below, and available at ScrapbookPal.com!
Supplies: