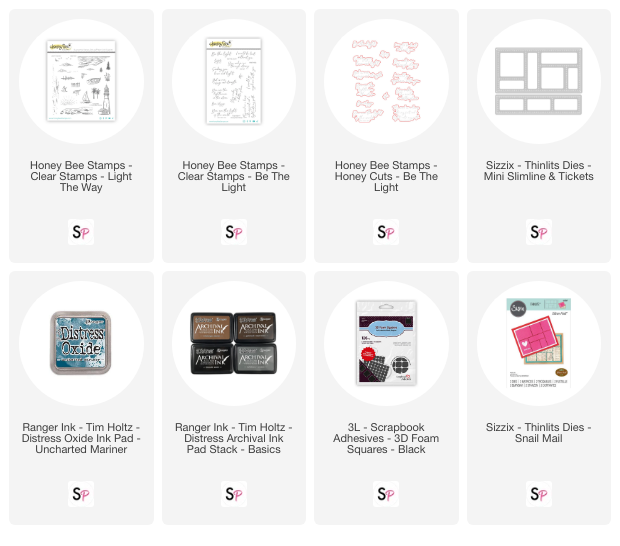
Hey friends! Tiffany here, and today I am sharing a vintage-inspired card featuring new products from Honey Bee Stamps, Light The Way and Be The Light and its coordinating dies. Normally, the Light The Way stamp set is not one that I would pick for myself because I am not good at scene building stamps like this one. But I challenged myself and found a way to make it work for my style. I choose to create mini scenes in the postage stamp style using the Sizzix Mini Slimline & Tickets die as the base. You could also use the Sizzix Snail Mail die as another option. Let's dive into the details.

Start by die cutting the Mini Slimline & Tickets die from cream cardstock. I die cut two just in case I messed up, but I only used one panel for the final card.

To add some texture in the background, I used one of the sentiment stamps from Be The Light and repeatedly stamped it in the background. I used Vintage Photo Archival Ink. I overlapped the stamping and used first, second, and third generation stamping for variation. It does not have to be perfect so a stamp block worked fine. I used masking tape for the panel edges as I tried to keep the edges free of any stamping.

Next, I worked on scene building. I placed my panel in my Misti and used Be The Light to stamp several mini scenes. I used Uncharted Mariner distress oxide ink for all of the stamping.

I ended up with three mini scenes that were easy to create: a small sky scene with clouds, the sea with the sun rays, and a beach and sea combo with a pier. Because I only used one color, it did not matter if some stamped images slightly overlapped.
In addition, I stamped a few more images on cream cardstock and fussy cut them out. There are coordinating dies for Be The Light, but I did not have them at the time.

If you know me, you know I love splatter and distressing so I added those details after finishing the background. I added splatter with diluted oxide ink and added vintage photo around the edges. This gave that vintage look to the card.

I popped up the images on the background with foam tape. For the sentiment, I white heat embossed a sentiment from Be The Light and then ink blended uncharted mariner on top. I used the coordinating dies to die cut the sentiment. I added a twine box behind the sentiment for a rustic detail and adhered it with foam tape.

Finally, I splattered with white ink and added the panel to a mini slimline card base measuring 3.25 x 6.25 inches. I ink blended the edges of the card base to match.

I hope this card inspires you to try scene building on your next card. Have a great day!
Supplies:


