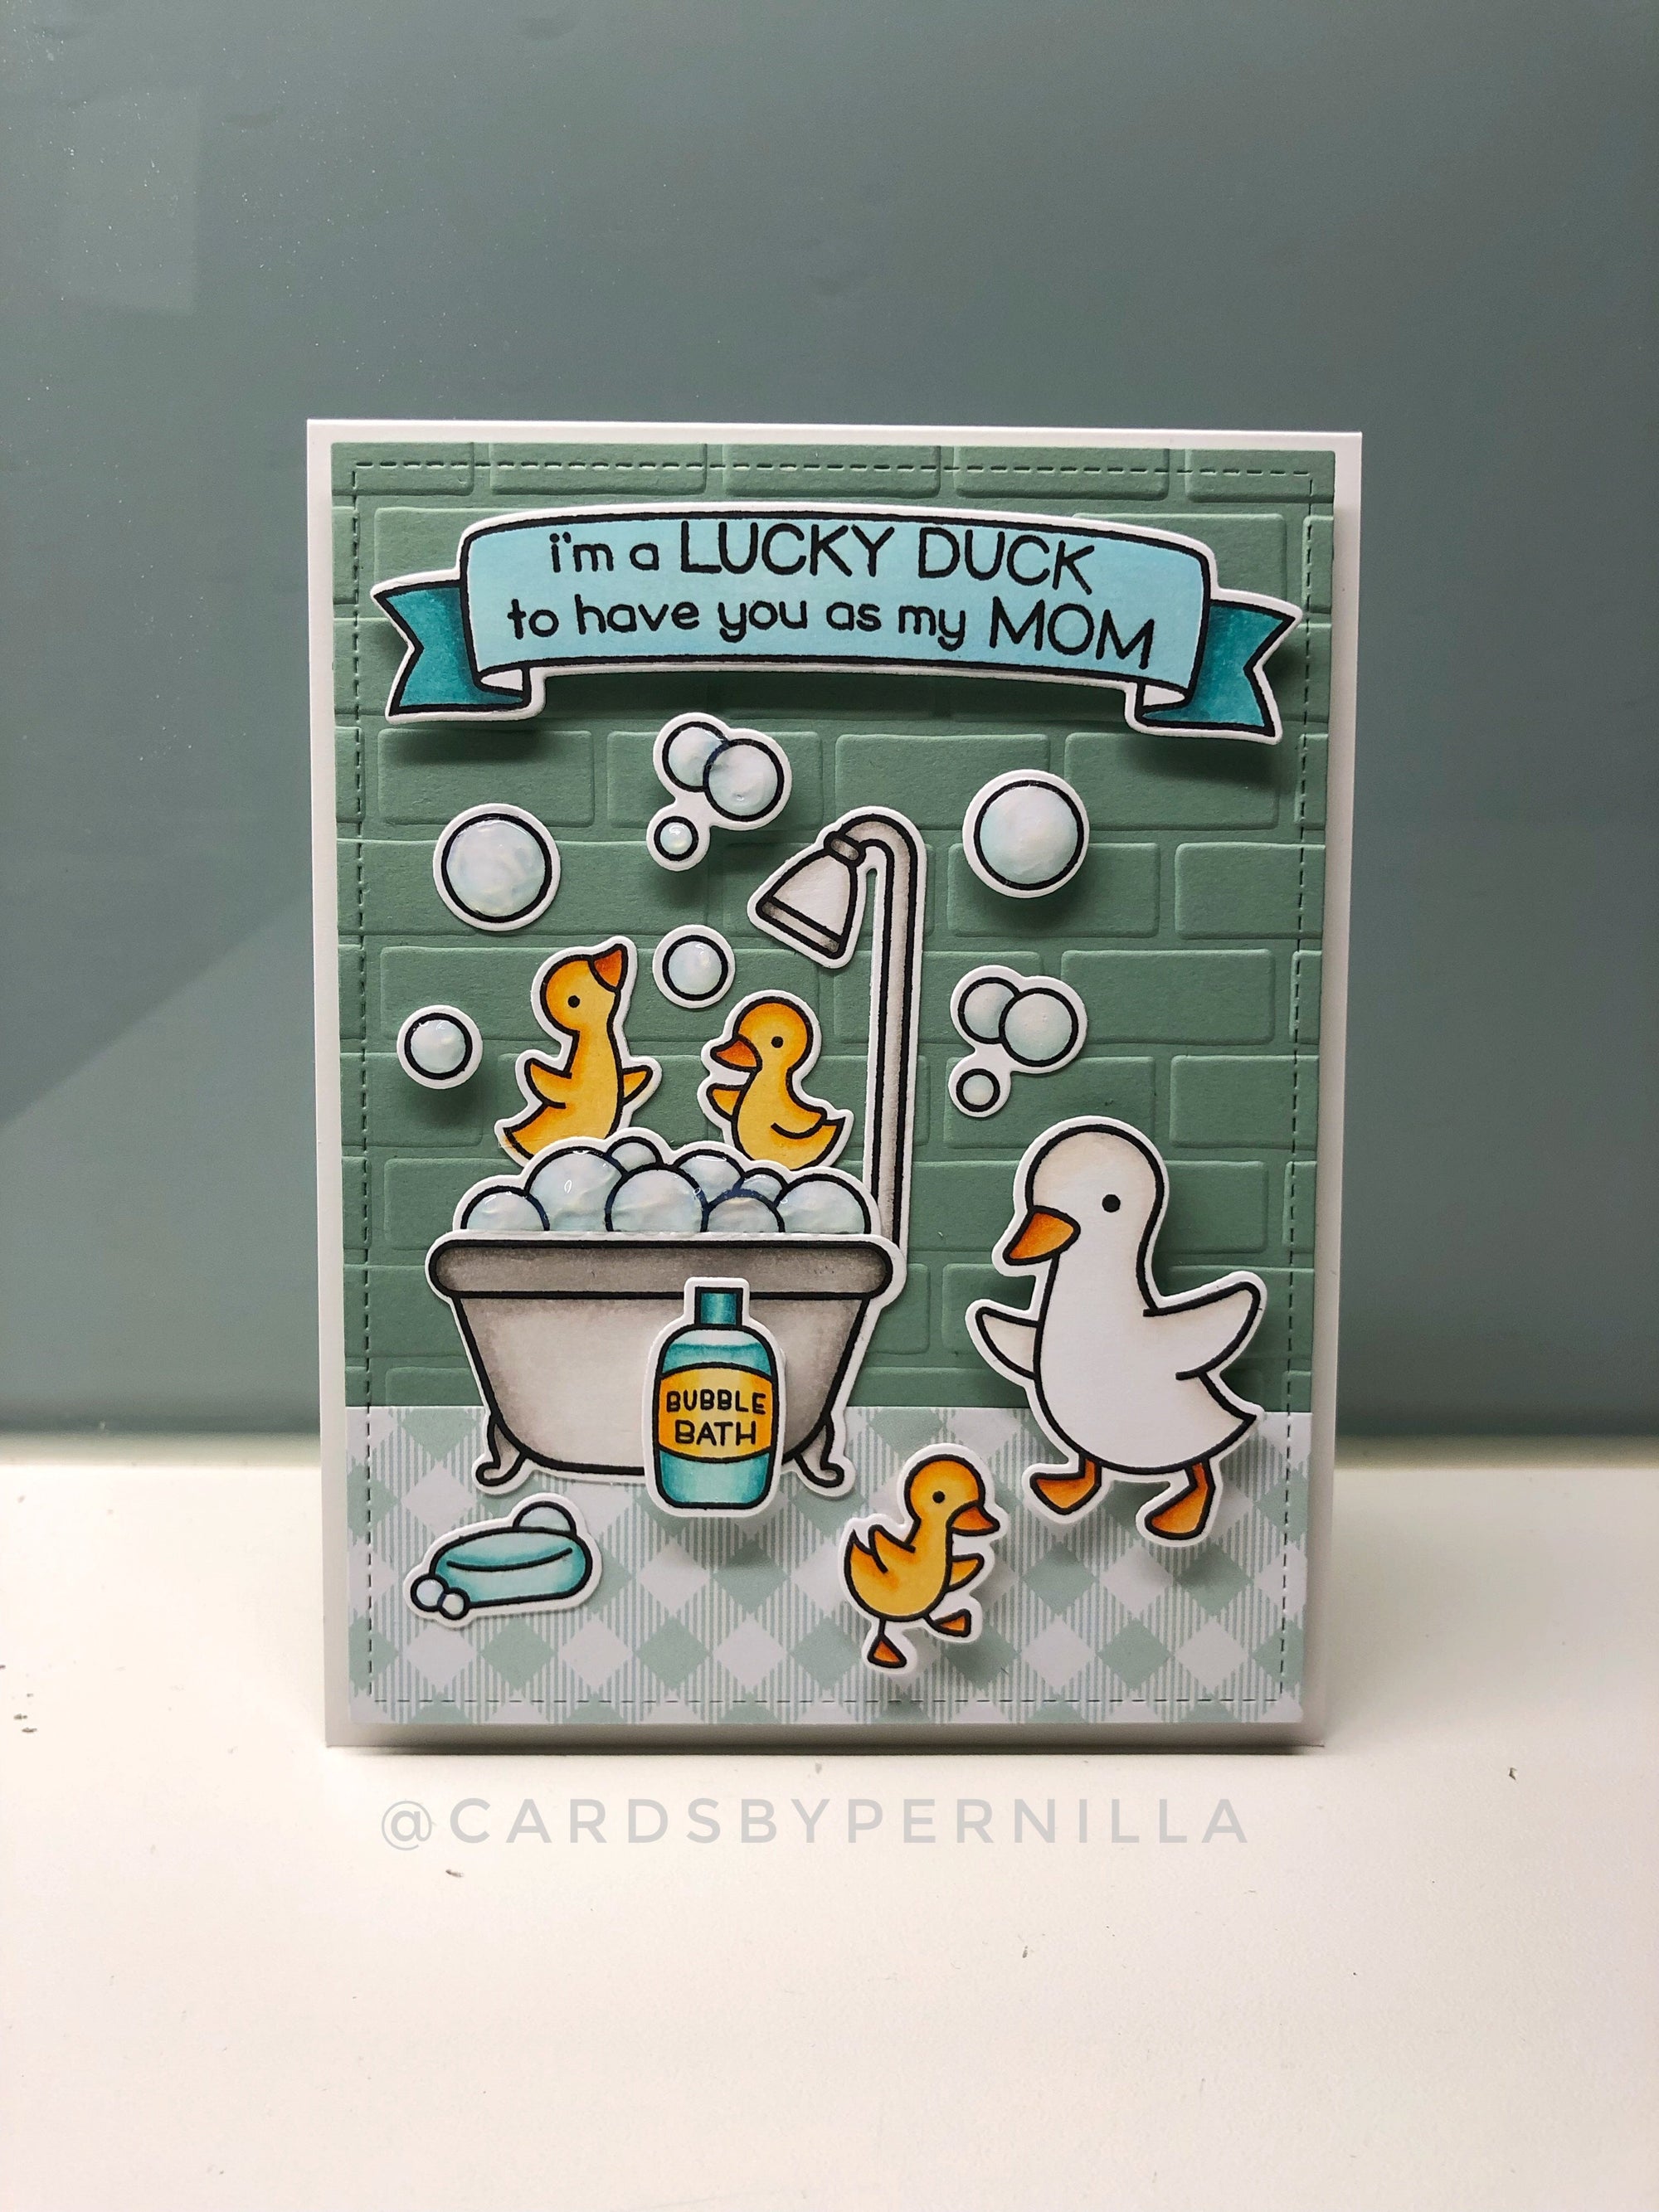
Step 1: I started with coloring all the images, including the banner, with Copic markers and cutting them out with the coordinating dies.
Step 2: Then I stamped the sentiment on the banner, curving the edges slightly on the stamping block so that the sentiment had roughly the same form as the banner. I cut the background out from card stock using a stitched rectangle die and then dry embossed the backdrop tiles using an embossing folder. I also cut out a smaller piece of the gingham paper using the stitched rectangle die and cut it down to an appropriate length using a paper trimmer.
Step 3: Then it was time to assemble my card. I glued the gingham paper directly on the tile background and then glued down all the colored images using a mix of liquid glue on some images and foam adhesive on others. I used foam adhesive on the banner also.
Step 4: Lastly I covered the whole background with foam tape and adhered it to the card base, making sure it was aligned properly. I finished it ff by adding glossy accents and transparent Nuvo Drops on all the bubbles.
Instagram: @cardsbypernilla
Blog Address: http://cardsbypernilla.blogspot.com/
Items Used:
Lawn Fawn Rub-a-dub-dub stamp set
Lawn Fawn Rub-a-dub-dub coordinating dies
Lawn Fawn Bannertastic stamp set
Lawn Fawn Bannertastic coordinating dies
Lawn Fawn Outside in stitched rectangle Stackables
Darice embossing folder
Lawn Fawn Sage Leaf cardstock
Lawn Fawn Gotta have gingham petite paper pack
Copic sketch markers BG11, BG13, BG18, B00, BG0000, Y32, Y35, Y38, YR12, YR15, YR18, E000, 0
Scrapbook adhesives 3D permanent foam squares
Foam tape


