Leave it up to Lawn Fawn to make 'cheesy' look 'Gouda' and super adorable! I love these little Lawn Fawn mice and the new Cheesy Christmas collection was a rockin' blast to create with!

For my first card...
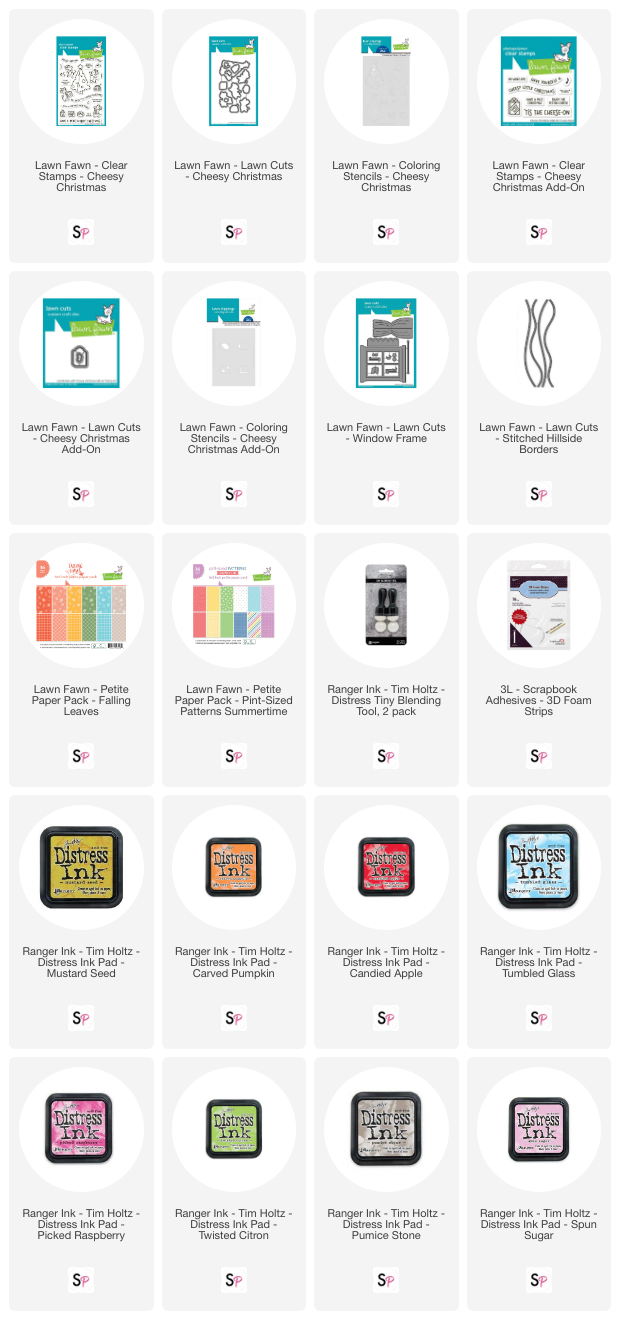
1) I layered black cardstock and then a pattern from the Lawn Fawn Falling Leaves Petite Paper Pack onto the card base.
2) Then I stamped all of the images (and the sentiment) from the Lawn Fawn Cheesy Christmas stamp set plus the cheese puffs image from the Cheese Christmas Add-on stamp set.
3) Next I used the coordinating stencils from both sets to color the images using Distress Inks (see colors below) and Distress Tiny Blending Tools. These are so much fun to use and the results are amazing!
4) Using the coordinating Lawn Fawn Cheese Christmas coordinating dies and Lawn Fawn Cheese Christmas Add-on coordinating dies, I die cut all of the colored images.
5) Before placing the die cut images, I cut an oval shaped 'rug' from Lawn Fawn Pint-Sized Patterns Summertime Petite Paper Pack and adhered it to the card base.
6) Lastly, I arranged the die cut images and popped them up with Scrapbook Adhesives 3D Foam Strips (which I use for all my projects) to create the scene.

For my second card...
1) I layered light blue cardstock and then a pattern from the Lawn Fawn Pint-Sized Patterns Summertime Petite Paper Pack and adhered it to the card base.
2) Then I stamped all of the images (and the sentiment) from the Lawn Fawn Cheesy Christmas stamps plus the cheese puffs image from the Cheese Christmas Add-on stamp set.
3) Next I used the coordinating stencils from both sets to color the images using Distress Inks (see colors below) and Distress Tiny Blending Tools.
4) Using the coordinating Lawn Fawn Cheese Christmas coordinating dies and Lawn Fawn Cheese Christmas Add-on coordinating dies, I die cut all of the colored images.
5) I used the Lawn Fawn Window Frame die, I cut the window from white cardstock and the curtains from a pattern from the Lawn Fawn Falling Leaves Petite Paper Pack.
6) Behind the window: I cut sparkle cardstock with Lawn Fawn Stitched Hillside Borders dies, arranged the cheese Christmas tree and little mouse on a piece of pattern paper from the Lawn Fawn Pint-Sized Patterns Summertime Petite Paper Pack. I eyed where the scene fit in the window opening then popped up the window frame onto the piece of pattern paper over the scene. Then adhered the window/scene to the card base.
7) Next, I adhered the curtains to the window, popping up the valance at the top of the window frame.
8) Then I arranged the remaining colored/die cut images and popped them up with Scrapbook Adhesives 3D Foam Strips
PRODUCTS USED: