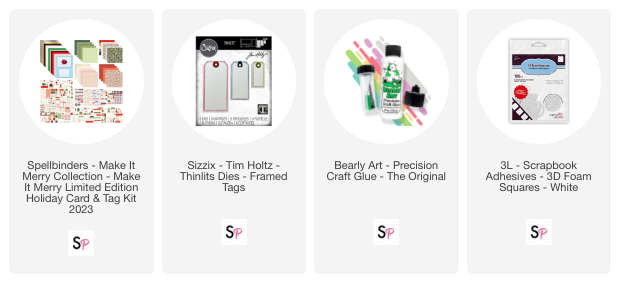


Have you ever purchased a card making kit? The Make It Merry Limited Edition Holiday Card & Tag Kit is one you won’t want to miss! Birgit here with you today, to show you how I get acquainted with, and create cards & tags using this Spellbinders kit.
Let’s get started.

There are loads of die cuts, stickers, sequins, gems, card stock and two sizes of pre-folded cards and envelopes included in this kit, plus so much more.

I start by removing all the pre-printed die cuts and sorting them out on my table so I can have a clear view of what’s included in the kit.

Just look at all that holiday goodness!

I then start layering the die cut elements together, creating cluster focal points using Bearly Art Precision Craft Glue and Foam Squares to secure the die cuts and add dimension.

Once I feel happy with the focal clusters, I add them to card fronts that have been covered with the design paper that is included in the kit.

I also like to add twine as well as other embellishments from the kit.

Some of the card fronts are layered with different papers. See how I added movement to the banner by giving it a slight bend and adding liquid glue to each side of the banner.


I do the same process to make the tags.

I used the Tim Holtz Framed Tags to cut the smallest size tag and added lots of die cuts and foam stickers, finishing them off with some twine.

I have so many supplies left over, enough to make oodles of cards and gift tags for the holiday season.
I hope you’re inspired to pick up this card kit today and let the fun begin.
Supplies: