Thank you so much for stopping by and checking out this beautiful project, let’s jump right into how it was made.
First, I like to cut down my cardstock to see what I am working with. I have an A2 base which is 4 1/4 by 5 1⁄2, I cut the gold matte to be about 1⁄8 of an inch smaller than the base, and my navy panel is about 1⁄4 of an inch smaller than the base. Next, I cut out two of the delicate snowflakes from the same navy cardstock and adhered them onto the panel for added interest. I cut out the base layer of the focal snowflake from some white glitter cardstock, then the next layer out of gold and finally I chose another snowflake to sit on top and cut it out of the same white glitter cardstock I used on the snowflakes matte, creating a beautiful layered look.
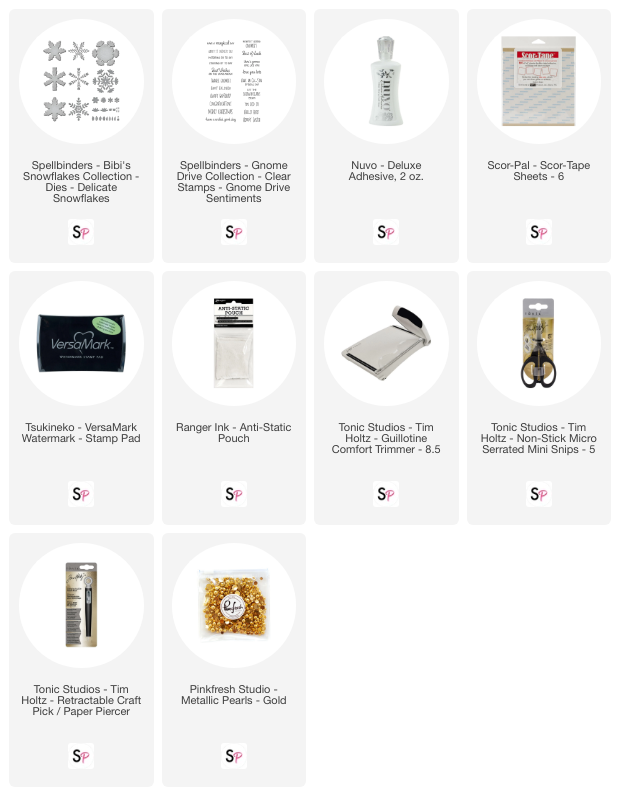
For the sentiment I gold heat embossed it on some of the same navy cardstock and trimmed it down then matted it with some white glitter cardstock to help it stand out against the navy panel. For a final touch after adhering all my layers I brought in some gold pearls and added them anywhere I thought it needed a little bling.
Thank you so much for taking this quick look at how this card came together. If you would like a more in-depth look please check out the video below, I also have a complete supplies list in case you want to know exactly what I used. I hope to see you again very soon!!
Supplies: