Hello, crafty friends! Irene, with you today with a fabulous Peacock card!

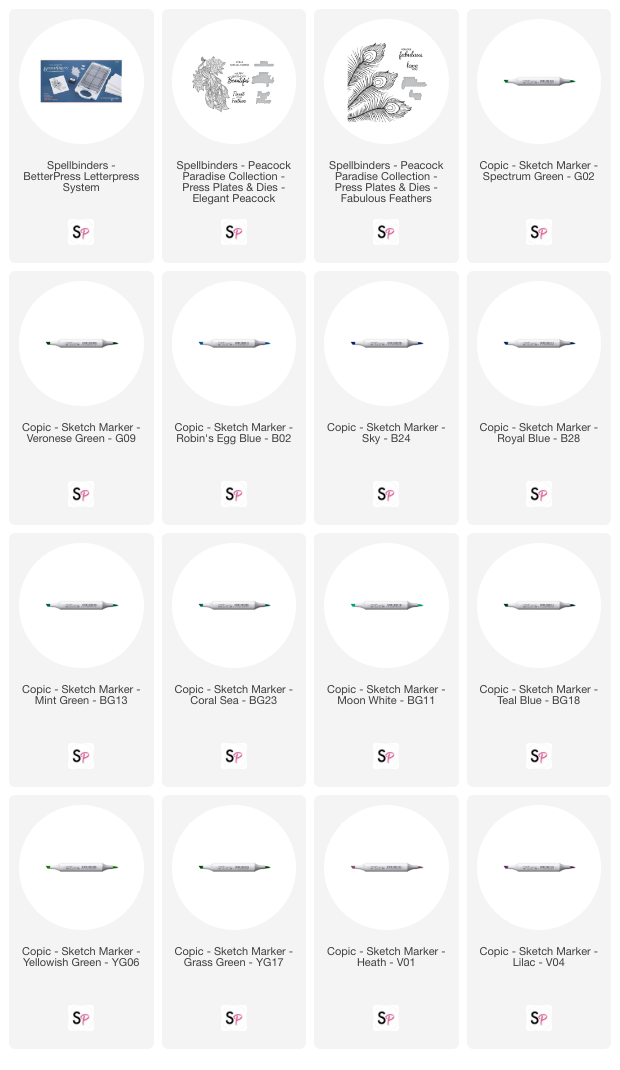
I used products from the Spellbinders Peacock Paradise line for my project. You will need the Spellbinders BetterPress System, Elegant Peacock Press and Dies, Fabulous Feathers Press Plates and Dies, and your favorite coloring medium.
On a personal note, I was reluctant to invest in a whole new system, but I gave in, and I am so glad I did! The results are beautiful! I broke one "rule," which I will explain further. Please proceed with caution, as I am a rebel, lol! Let's get started!

The BetterPress system includes a pack of cotton card panels and BetterPress ink. I used the ink and a gray panel included in the BetterPress system. I placed the plate onto the BetterPress system, ensuring the Elegant Peacock Press Plate fit into the A2-sized guide. I aligned the sentiment using the grid on the magnetic plate to line it up. I used the "You're fabulous" sentiment from the Fabulous Feather press set. I inked the plates with the BetterPress Black ink. I used the low-tack tape included with the system to secure the card panel on the clear acrylic plate and ran the system through my Sizzix Big Shot Switch Plus.
Watercoloring is recommended due to the oil base of BetterPress ink. I let the panel dry for 24 hours. I used to use Copic markers to color the peacock. (This is a broken rule, lol.) Since the ink had dried completely, I had no issues with smudging/feathering.
I used greens G02 and G09 to color the green areas. For the "eyes" of the feathers and the body, I used blues B02, B24, and B28. I used teals BG23 and BG13 for small details in the feathers and darker teals BG18 and BG11 for larger areas. I added YG06 and G09 for feathers and leaves. Lastly, I used V01 and V04 for the flowers and feathers. Please see the picture below for guidance. 

I added the panel to an A2-sized card base, and it's done! I hope you enjoyed this tutorial! Thanks for reading along!
Supplies:


