Thank you so much for stopping by and checking out this lovely project, let’s jump right into how it was made.

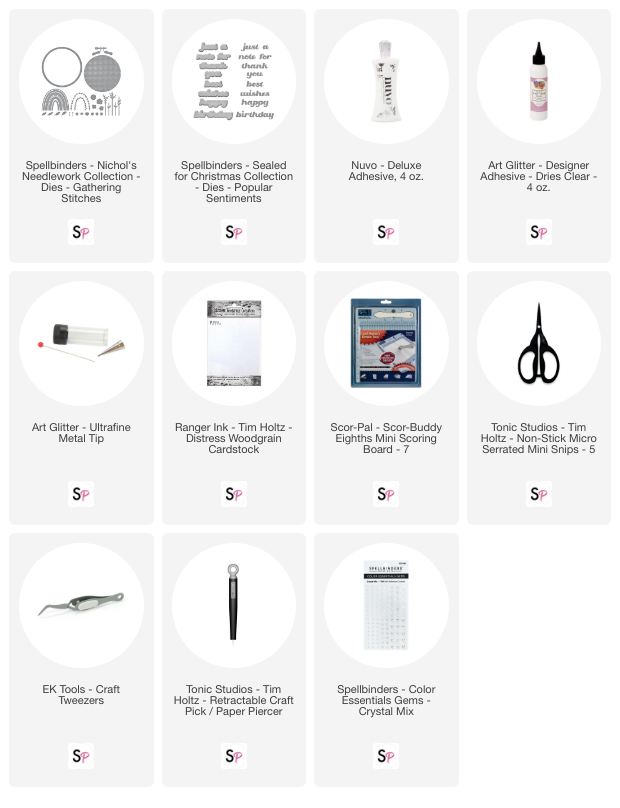
I started by creating a base for my Hoop shaped card, I used the hoop die from the set and a circle die from my stash and scored the top to create the base. Next, I used a bunch of scraps of colored cardstock from my stash to create the rainbow, I also used some gold cardstock for the sentiment, rainbow details and the top of the hoop and some woodgrain cardstock for the outside edge of the hoop.
After die-cutting all the pieces I needed all we have left to do is to put the card together, I like to use liquid glue so I have a few seconds to make sure everything is where I want it and then I added a few Crystal gems for some extra shimmer and shine and called this card done. I think this die set is super versatile and you could create so many variations of this design.
I am pretty happy with how this card turned out and I hope you enjoyed seeing it come together!!
Thank you so much for taking this quick look at how this card came together. If you would like a more in-depth look please check out the video below, I also have a complete supplies list in case you want to know exactly what I used. I hope to see you again very soon!!
Supplies:


