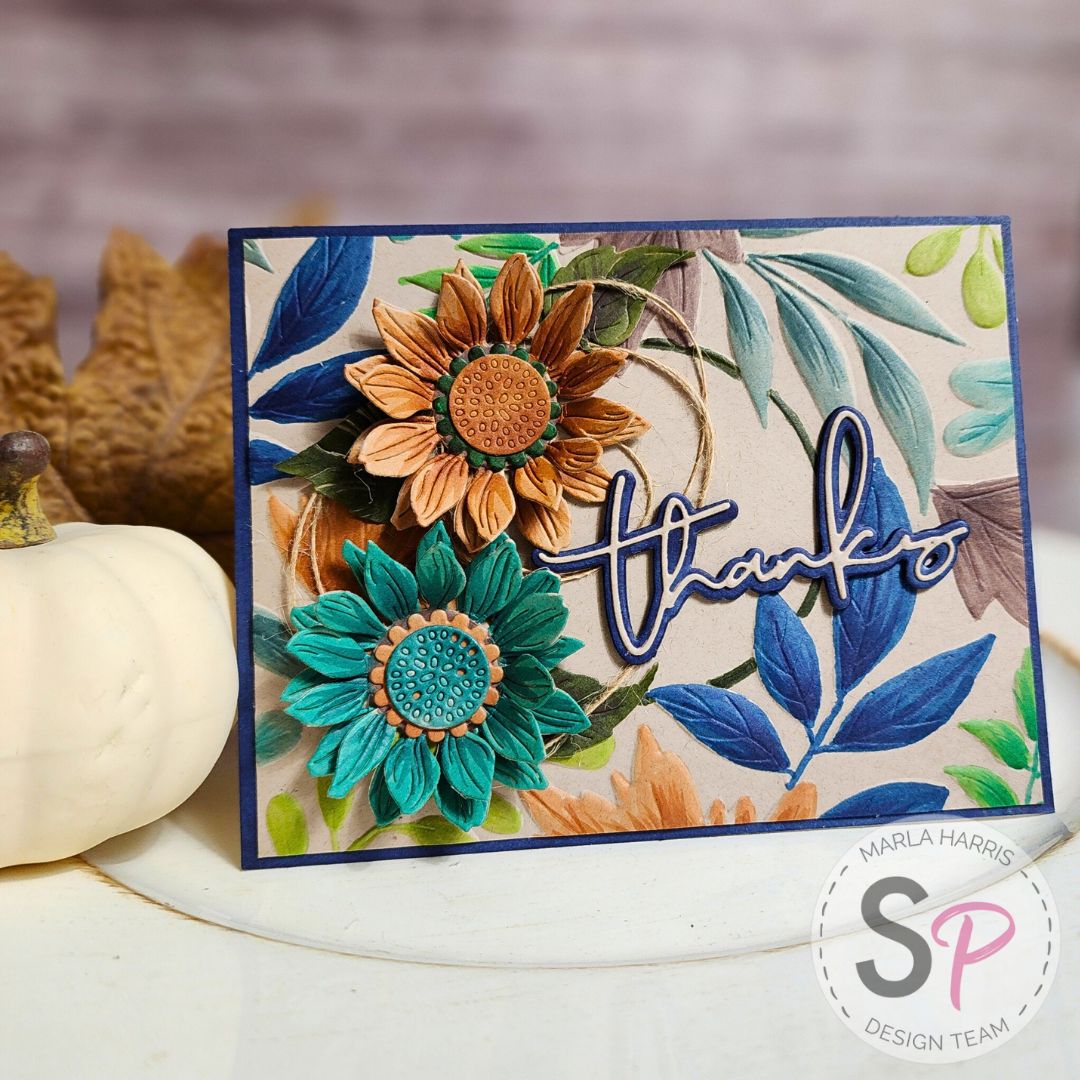
Hello crafty friends, it's Marla from MAD About Cards and Crafts here to share a card tutorial featuring a few of the new products from the Spellbinders Serenade of Autumn release. Many of you are in the midst of cooler fall weather with a shift in colors. Living in the Southwest, I am experiencing fall through my crafting, as the temperatures are still quite warm. Let's get to some fall crafting.

To begin, I embossed a 4.25" x 5.5" piece of kraft cardstock using the beautiful Autumn Serenade 3D embossing folder. The embossing folder is large, so it can be used to create many different sized cards. Next, I used my Copic markers to color in the beautiful foliage. The Copic coloring added the pop of interest to my design that I was looking for. Then, I trimmed my panel down to 4" x 5.25 and set it aside for later. I am sharing a pseudo before and after photo, so you can see how crisp the details are in the embossing folder without the coloring.
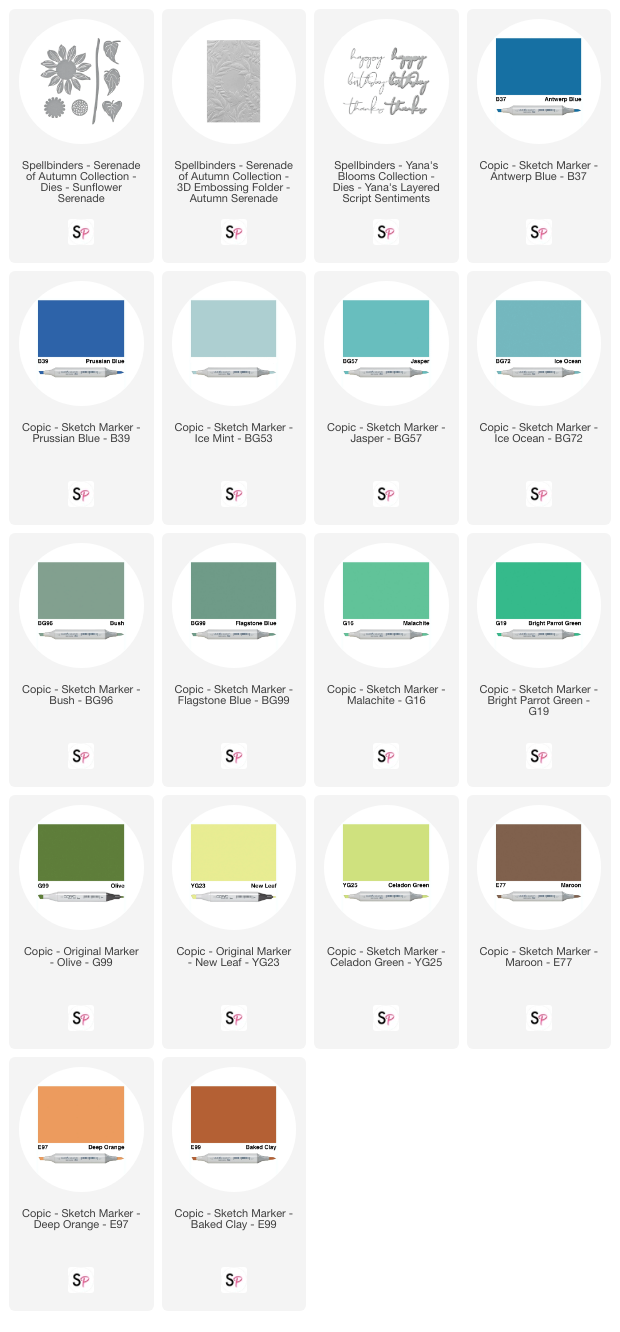
Copic Marker Key: B37,39 BG 53,57, 72,75 G16,19 YG23,25 E74,77, 97and 99

The Serenade of Autumn release offers two new sets of floral dies. I chose the Sunflower Serenade for my project. I cut the sunflower petals four times from kraft cardstock. Again, I colored the images, including the centers and leaves, using my Copic markers. When assembling my flowers, I made sure to off-set the petals. This fills in the flower and gives a fuller appearance. Then I adhered the remaining pieces.
Copic Marker Key: E97,99 BG53,57 G99 and BG96

My card needed a sentiment, so I cut both the thanks and the shadow from kraft cardstock. I used an older Spellbinder's die called Yana's Layered Script Sentiments. I cut the shadow three time for dimension and used my B39 Copic marker to color each of the layers. Then, I adhered all three shadow layers and the scripty thanks together.

Before assembling the card, I cut another 4.25" x 5.5" piece of kraft cardstock to mat my embossed panel on. I colored the outer edge using my B39 Copic marker. Then I adhered it to an A2 card base and centered my embossed layer to it. Before adding my flowers, I loosely wound some kraft thread, placed it on my embossed layer and glued the sunflowers on top. Finally, I adhered my sentiment to finish my card.

Thank you so much for joining me today. Until next time.... Marla
Supplies: