


Hi crafty friends! Today I am sharing an A6 size card showcasing the Spellbinders Spectacular Bear die set and Spellbinders Spectacular Holiday Sentiments stamp and die set. The adorable bear decked out in his holiday spectacles and winter accessories were such a treat to create with during the hot summer months and had me eager for Christmas and winter temperatures. I hope you enjoy this cute card and the Spellbinders Spectacular Christmas Collection.

Building the Card Base
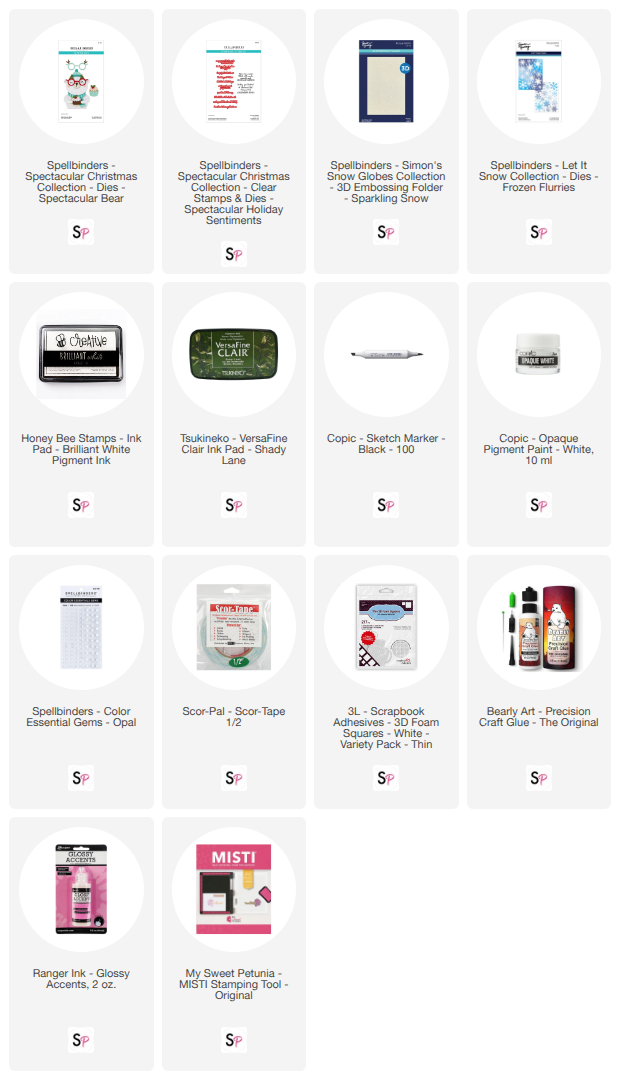
For the card base, I cut a piece of clear, heavyweight acetate to measure 4.5” x 7” and scored it at 6.25”. I also trimmed two pieces of fern green cardstock to measure 4.5” x 6.25” (these two pieces will serve as the back side of the card). To sandwich the .75” piece of acetate at the top of the card where it was scored, I applied ½” Scor-Tape along the top edge – the 4.5” length – of both pieces of fern green cardstock and applied Bearly Art Precision Craft Glue to the remaining portion of one of the pieces of fern green cardstock. I removed the Scor-Tape’s backing paper from the piece of the cardstock that only has the Scor-Tape at the top and adhered it to the .75” flap of the acetate and did the same for the second piece of fern cardstock that I added liquid glue to and aligned it with the first piece which will now sandwich the .75” flap of acetate between two pieces of fern green cardstock and complete the back side of the card base.

Building the Background
To create the background, I cut two pieces of the fern green cardstock to measure 2.75” x 6.25”. I placed one of these cardstock panels into the Spellbinders Sparkling Snow 3D Embossing Folder and used my Honey Bee Stamps Brilliant White pigment ink pad to lightly swipe across the raised parts of the cardstock to add a snowy effect to the embossed snowflakes. Once the pigment ink dried, I added white spatter using a small paint brush and Copic Opaque Pigment Paint across the cardstock panel for interest. After the spatter dried, I added Bearly Art Precision Craft Glue to the backside of the panel and adhered it to the center of the card base’s front panel. Next, I cut two 1/8” strips of brushed silver cardstock and adhered those on each side of the green snowflake panel on the card front. Next, I used the Spellbinders Frozen Flurries cover die to die cut a panel of white glitter cardstock to create little snowflakes that I glued over the remaining acetate left showing on the card front (to stretch the snowflakes further, they can be cut in half to fill in areas where half a snowflake will suffice). To finish the background, I placed Spellbinders Opal Color Essential Gems to the centers of all the snowflakes.
Creating the Focal Point
For the bear and its accessories, I used the Spellbinders Spectacular Bear die set and die cut the individual pieces from these colors of cardstock:
Bear Body: peach and pale peach
Scarf and Hat: pink and pale turquoise
Glasses and Antlers: fern green (die cut twice), clear acetate, and reddish brown
Cake: reddish brown, white glitter, red
Holly on Cake: fern green and red

For the glasses, I die cut them twice from the fern cardstock, took the lens negative, circular piece from the die cut and traced it onto clear acetate two times to create a glass lens effect, then fussy cut the small acetate circles. I put small beads of glue on the circular part of the glasses frame and placed the acetate circles onto the glasses frame and repeated this step for both lenses. Once the glue dried for the lenses, I glued the second frames die cut on top of the first and placed an acrylic block on top of them until the glue dried. Once the glue dried, I glued the little antlers in place. Super cute!
When it came to the bear’s nose and eyes, I took the negatives from the head die cut for the eyes and the nose from the muzzle die cut and colored those negative pieces using a Copic Sketch 100 (black) alcohol marker versus using the die cut specifically designed for those pieces to be die cut. I placed a piece of cello tape behind the die cut openings in the head where the eyes will be glued and where the nose will be on the muzzle die cut. I added a Scrapbook Adhesives Thin 3D Foam Square on the back side of the muzzle and adhered it to the designated location on the head die cut and used glue to adhere the black colored eyes and nose into place. Once in place, I added Ranger Glossy Accents to the nose. The other accessories (scarf, hat, and figgy pudding) were layered using the Spellbinders’ packaging as my guide and adhered with liquid glue. I placed Scrapbook Adhesives Thin 3D Foam Square on the backside of the pudding and positioned it between the bear’s paws and glued three Spellbinders Red Color Essentials Gems on the figgy pudding’s holly garnish. I also placed the Thin 3D Foam Squares on the back side of the bear and adhered it to the bottom center of the card front.

Creating the Sentiment
For the sentiment, I used the Spellbinders Spectacular Holiday Sentiments stamp and die set, selected the one I liked best and stamped it onto white cardstock using VersaFine Clair Shady Lane Pigment Ink, coated it with clear embossing powder and used scissors to fussy cut the sentiment. I placed Thin 3D Foam Squares on the back side of the sentiment and adhered it to the top center of the card front.
Thank you for checking out today’s blog post and be sure to shop at ScrapbookPal.com for all your card making and paper crafting needs – until next time, happy crafting!


Comment
Very generous giveaway…who doesn’t need another die cutting machine, especially when making multiple cards!