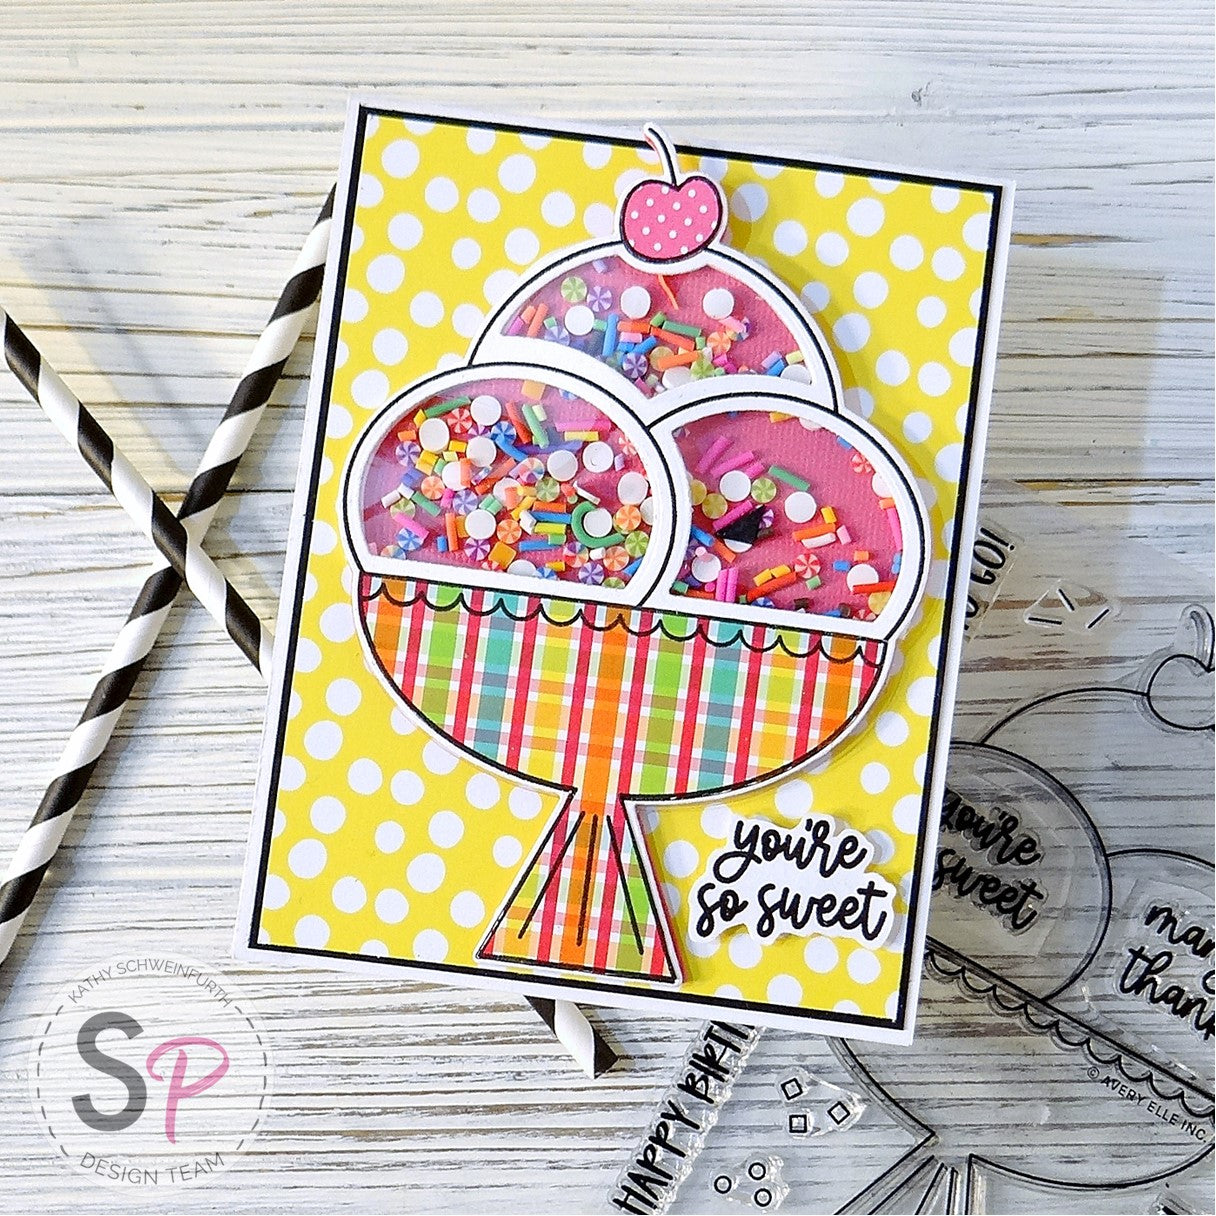
Here's the real SCOOP...Avery Elle's new Scoop stamp set and coordinating dies are super sweet and very fun to create with!!
Here are the steps I took to create this shaker card...

1) I first stamped the ice cream scoop/bowl image on white cardstock.
2) I then arranged the dies to cut out the images and kept them in place with low tack tape before running it through my diecutting machine.

3) I then stamped pattern paper with the 'bowl' and 'cherry' part of the stamp and cut out those images in order to paper piece the pattern paper onto the base image.
4) Using one of the solid dies, I cut pink cardstock which was used in a few steps down to 'enclose' the shaker.

6) On the back side of the paper pieced bowl/ice cream piece, I adhered a piece of acetate over the openings and trimmed as needed.
5) Over the acetate, I lined the outside of the scoops and the top of the bowl with Scrapbook Adhesive 3D Foam Strips.
6) I then sprinkled in some shaker elements then removed the backing from the foam strips.
7) Taking the pink cardstock diecut, I placed it on the back of the shaker piece thereby 'enclosing' the shaker elements while having a backing to the piece.

8) To complete the card, I layered black cardstock and yellow/white polka dot paper onto the card base.
9) I adhered the shaker element onto the card.
10) The sentiment is from the Avery Elle Scoop stamp set which I fussy cut and adhered it to the card.

Here's another version using the outer die to create a shaped card!
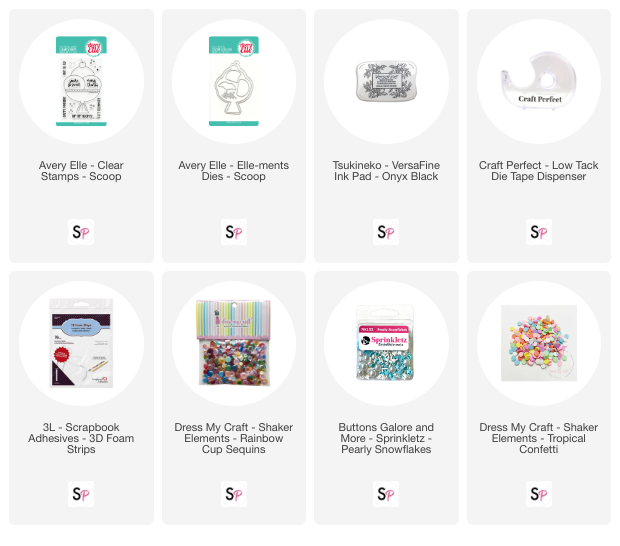
PRODUCTS USED:


