Hi crafty friends! Today I am sharing a delightful birthday card that will be certain to bring a smile to the recipient’s face.

Creating the Front Embossed Panel
I cut a piece of brown cardstock to measure 5” x 6” and lightly misted it with water. Using the Spellbinders Molded Frame Embossing Folder, I placed the misted cardstock into the embossing folder and ran it through my die cutting machine to add texture. After the panel was embossed, I lightly dragged a gold pigment ink pad across the panel to accent some of the raised areas. Next, I trimmed the embossed panel to measure 4” x 5-1/4” and added thin foam tape to the back side. Next, I cut a black cardstock panel that measured 4-1/4” x 5-1/2” and adhered the brown, embossed panel to the center of the black matting layer.
Creating the Floral Elements
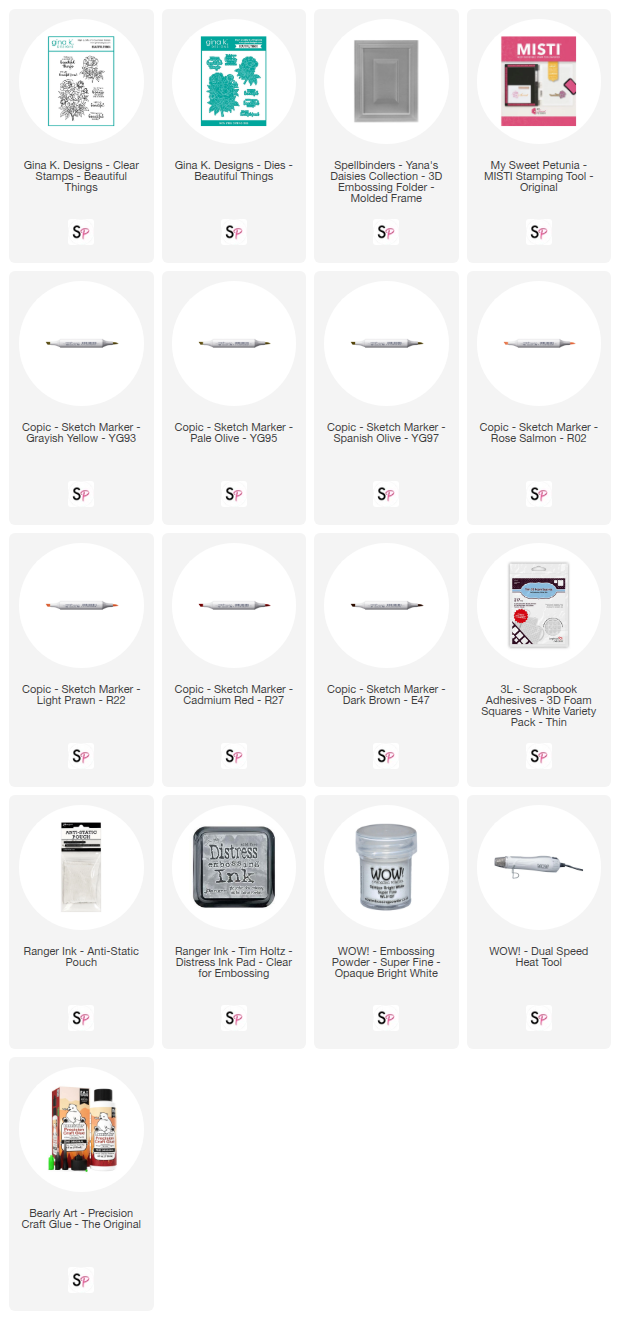
I used the Gina K. Designs Beautiful Things Stamp Set and grey, Copic-friendly ink to stamp the large floral image onto a 4-1/2” x 5-1/2” piece of white cardstock with the assistance of the My Sweet Petunia’s MISTI Stamping Tool and repeated this step one more time since I will be popping up the blooms with foam tape later in the process. Once the ink dried, I began bringing the images to life with Copic markers.

For the first stamped image, I colored the leaves and stems using Copic Sketch Markers YG93, YG95, and YG97 and applied a blanket coat of R02 to all the flowers and buds (no shading). On the second stamped image, I colored the flowers and the leaves attached to each flower head using Copic Sketch Markers R02, R22, and R27. After completing the coloring, I used the coordinating die from the Gina K. Designs Beautiful Things Die Set and die cut the colored image that had the leaves colored in and die cut two more pieces from plain white cardstock with the same die to adhere behind the colored die cut for dimension. Next, I fussy cut the flowers from second image and added a single layer of Scrapbook Adhesives Thin 3D Foam Squares behind the flower buds and the open flower at the top of the image and added two layers of the foam squares behind the large, central flower.
Preparing the Sentiment
For the sentiment, I chose the “Wishing You a Beautiful Birthday” stamp from the Gina K. Designs Beautiful Things Stamp Set and stamped it onto a scrap piece of the brown cardstock that I used for the embossed panel. I began by swiping Ranger Ink’s Anti-Static Pouch across the card front to apply anti-static powder, then applied Ranger’s Clear Embossing Ink onto the stamp before stamping it onto the cardstock. I used WOW! Opaque Bright White Embossing Powder over the ink, tapped off the excess and heat set it with my WOW! Dual Speed Heat Tool. After the embossing powder cooled, I wiped off any excess anti-static powder and die cut the sentiment using the coordinating die from the Gina K. Designs Beautiful Things Die Set.

Assembling the Card Front
Using Bearly Art Precision Craft Glue, I glued the two plain white cardstock die cuts behind the colored image of the flowers and leaves. Before adding it to the card front, I decided to color the background of the image to match my brown, embossed card front panel so I used Copic Sketch Marker E47 and filled in all the white spaces on the die cut. I removed the backing paper from the foam adhesive on the flowers and buds and adhered them onto the main image that has the Copic colored leaves and into their appropriate locations. Using a combination of thin foam squares and liquid glue, I adhered the floral image to the brown, embossed cardstock panel.
Finishing the Design
For the final details, I added some gold pearls to the upper left and lower right corners and used liquid glue to adhere the sentiment to the card front. For my last touch, I created a peach cardstock card base that was side folding and measured 4-3/4” x 6” (I’ll mail it in a 5” x 7” envelope) and adhered the decorative card front to the center of the card base to wrap up this beautiful floral card that was so fun to make.

Thank you for stopping by and be sure to check out ScrapbookPal.com for all your card making needs – until next time, happy crafting!


