Finding the motivation for masculine cards can sometimes feel like a creative roadblock, but the new Aged to Perfection release from Spellbinders is the perfect spark to get my gears turning. I’m sharing how I tackled this challenge by using one versatile technique—foam stamping—to create two distinct looks. Whether you prefer a clean and simple aesthetic or a grungier, textured vibe, these cards prove that "manly" designs can be both fun and easy to achieve.
![]()
For the first project, I leaned into a Clean and Simple (CAS) layout that focuses on repetition and soft color.
The Process:
Create Custom Stamps: Using the HBD Balloons Die, I cut the shapes from fun foam. I trimmed away the balloon "tails" to leave only the clean letter shapes.

Stamp the Background: I adhered the foam letters to a stamping block with temporary tape. I inked them with Speckled Egg Distress Ink, gave them a light mist of water, and pressed them onto an A2 white panel. I repeated this until the entire background was filled with a soft, stamped pattern.

The Sentiment: I set up the How Old? Press Plate and inked it with Sapphire BetterPress Ink before running it through my die-cutting machine. To add depth, I used Copic marker in B93 to color the shadow edges.

Assembly: I die-cut the sentiment at a "wonky" angle using a rectangle die and added a dark navy blue mat. I adhered the background to an A2 card base with Bearly Art Glue, then popped the sentiment panel on top with foam tape for a touch of dimension.

My second card uses the same foam stamping technique but dials up the texture for a completely different masculine feel.
![]()
The Process:
Embossed Background: This time, I used my foam die-cuts with Versamark Embossing Ink and Speckled Egg Distress Embossing Glaze on an A2 watercolor panel.
Add Grime & Shine: I ink blended over the panel using Frayed Burlap and Walnut Stain Distress Oxide Ink. I sprayed it with water to oxidize the ink, then added some "ordered chaos" with splatters of Crooked Broomstick Distress Mica Stain.
Focal Points: I die-cut the HBD Balloons from brown cardstock and stamped a witty sentiment from the Birthday Laughs Sentiments set.
Finishing Touches: I mounted the background to my card base. I attached the balloons and sentiment strip using foam squares. I added some white highlights to the balloons, but you could totally skip this step!
![]()
Whether you are Team Clean & Simple or Team Grunge, I hope you’ll give this technique a try and I hope it helps you extend your crafty supplies!
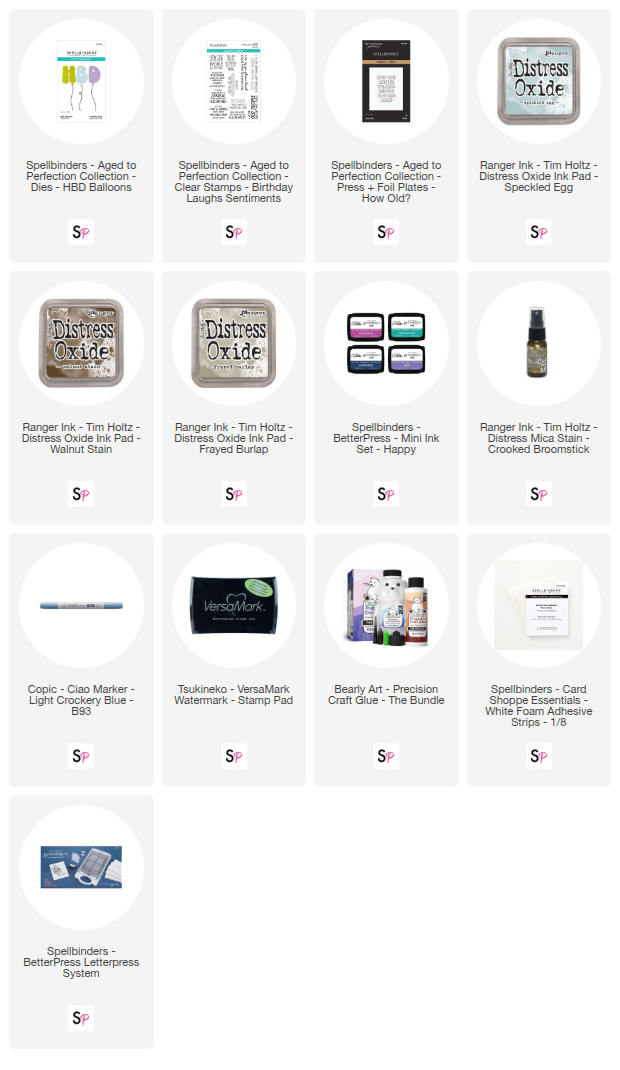
Happy crafting! — Sweta @Table_in_the_Attic
Supply List