Hi crafty friends! Today I am sharing a card featuring Pinkfresh Studio’s Bloomscape stamp and stencils and their On My Mind stamps and dies. The florals from Bloomscape combined with the heartfelt sentiments found in the On My Mind stamp set are a perfect recipe for sharing gratitude or supportive thoughts with someone in your life.

Creating the Front Background Panel
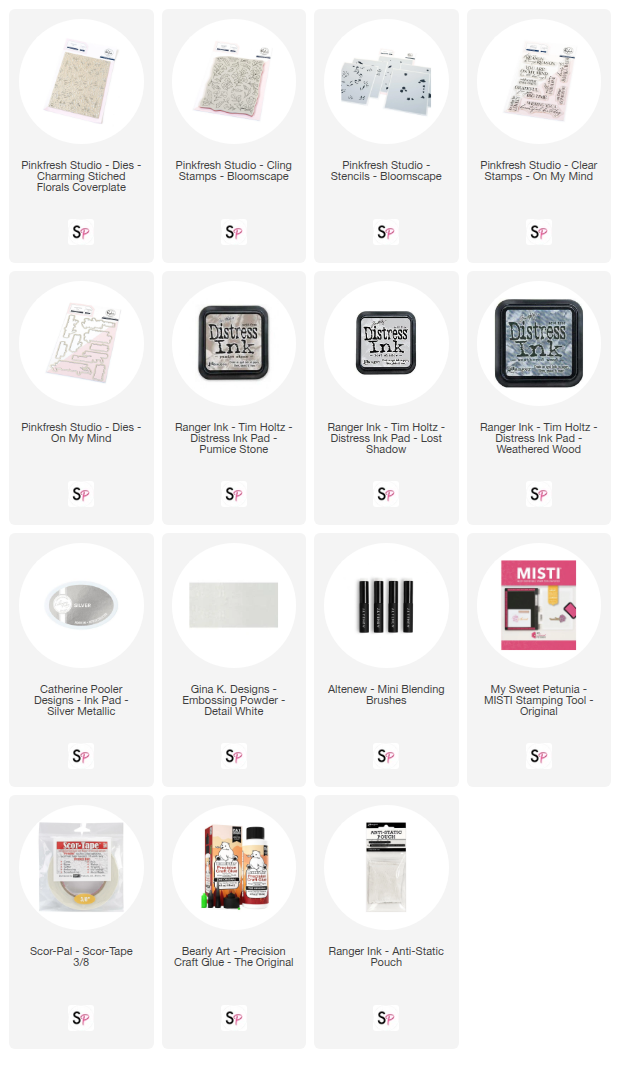
I cut a piece of dark blue cardstock to measure 4.25” x 5.5” and dry embossed it with my die cutting machine using the Pinkfresh Studio Charming Stitched Florals coverplate. I chose the area of the embossed panel I liked best and cut the dry embossed panel to measure 1.25” x 5.5”. I placed Scor-Tape to the reverse side of the 4.25” panel and adhered it to the left side of an A2 card base.
For the floral background panel, I used Pinkfresh Studio’s Bloomscape cling stamp, a grey ink pad, and the My Sweet Petunia’s MISTI Stamping Tool and stamped the floral image onto a piece of 4.25” x 5.5” white cardstock. I used the Pinkfresh Studio Bloomscape coordinating stencils to ink blend the stamped image using Altenew Mini Blending Brushes and Ranger/Tim Holtz’s Distress Ink Pads in these colors:
Leaves: Distress Ink Lost Shadow, Distress Ink Pumice Stone
Flower Petals: Distress Ink Speckled Egg, Distress Ink Weathered Wood
Flower Centers: Catherine Pooler Silver Metallic

To add additional interest to the background panel, I cut a piece matte silver cardstock to measure 1/8” x 5.5” and cut the inked floral background to measure 3” x 5.5”. I adhered the background panel and the silver matte cardstock strip to the card base using Bearly Art Precision Craft Glue and Scor-Tape.

Creating the Sentiment
For the sentiment, I used the Pinkfresh Studio On My Mind clear stamp set and the Pinkfresh Studio On My Mind coordinating die set and chose the “For No Reason & Every Reason” greeting. I placed the sentiment stamp and a piece of the dark blue cardstock that I used on the card’s background into the My Sweet Petunia’s MISTI Stamping Tool, prepped the cardstock with Ranger’s Anti-Static Pouch and stamped the image onto the cardstock using Ranger Ink/Tim Holtz’s Distress Embossing Ink. Once stamped, I applied a coating of Gina K. Designs Detail White Embossing Powder to the inked sentiment, tapped off the excess, and melted the embossing powder using my heat embossing tool. I die cut the sentiment with the coordinating die and die cut two extra sentiment shadows from dark blue cardstock to glue behind the sentiment for added dimension. To finalize the card, I adhered the sentiment to the card using liquid glue. The silver metallic flower centers add the visual interest I would normally add utilizing gems or pearls so that’s a wrap for this card design.

Thank you for checking out today’s blog post and be sure to check out ScrapbookPal.com for all your card making and paper crafting needs – until next time, happy crafting!