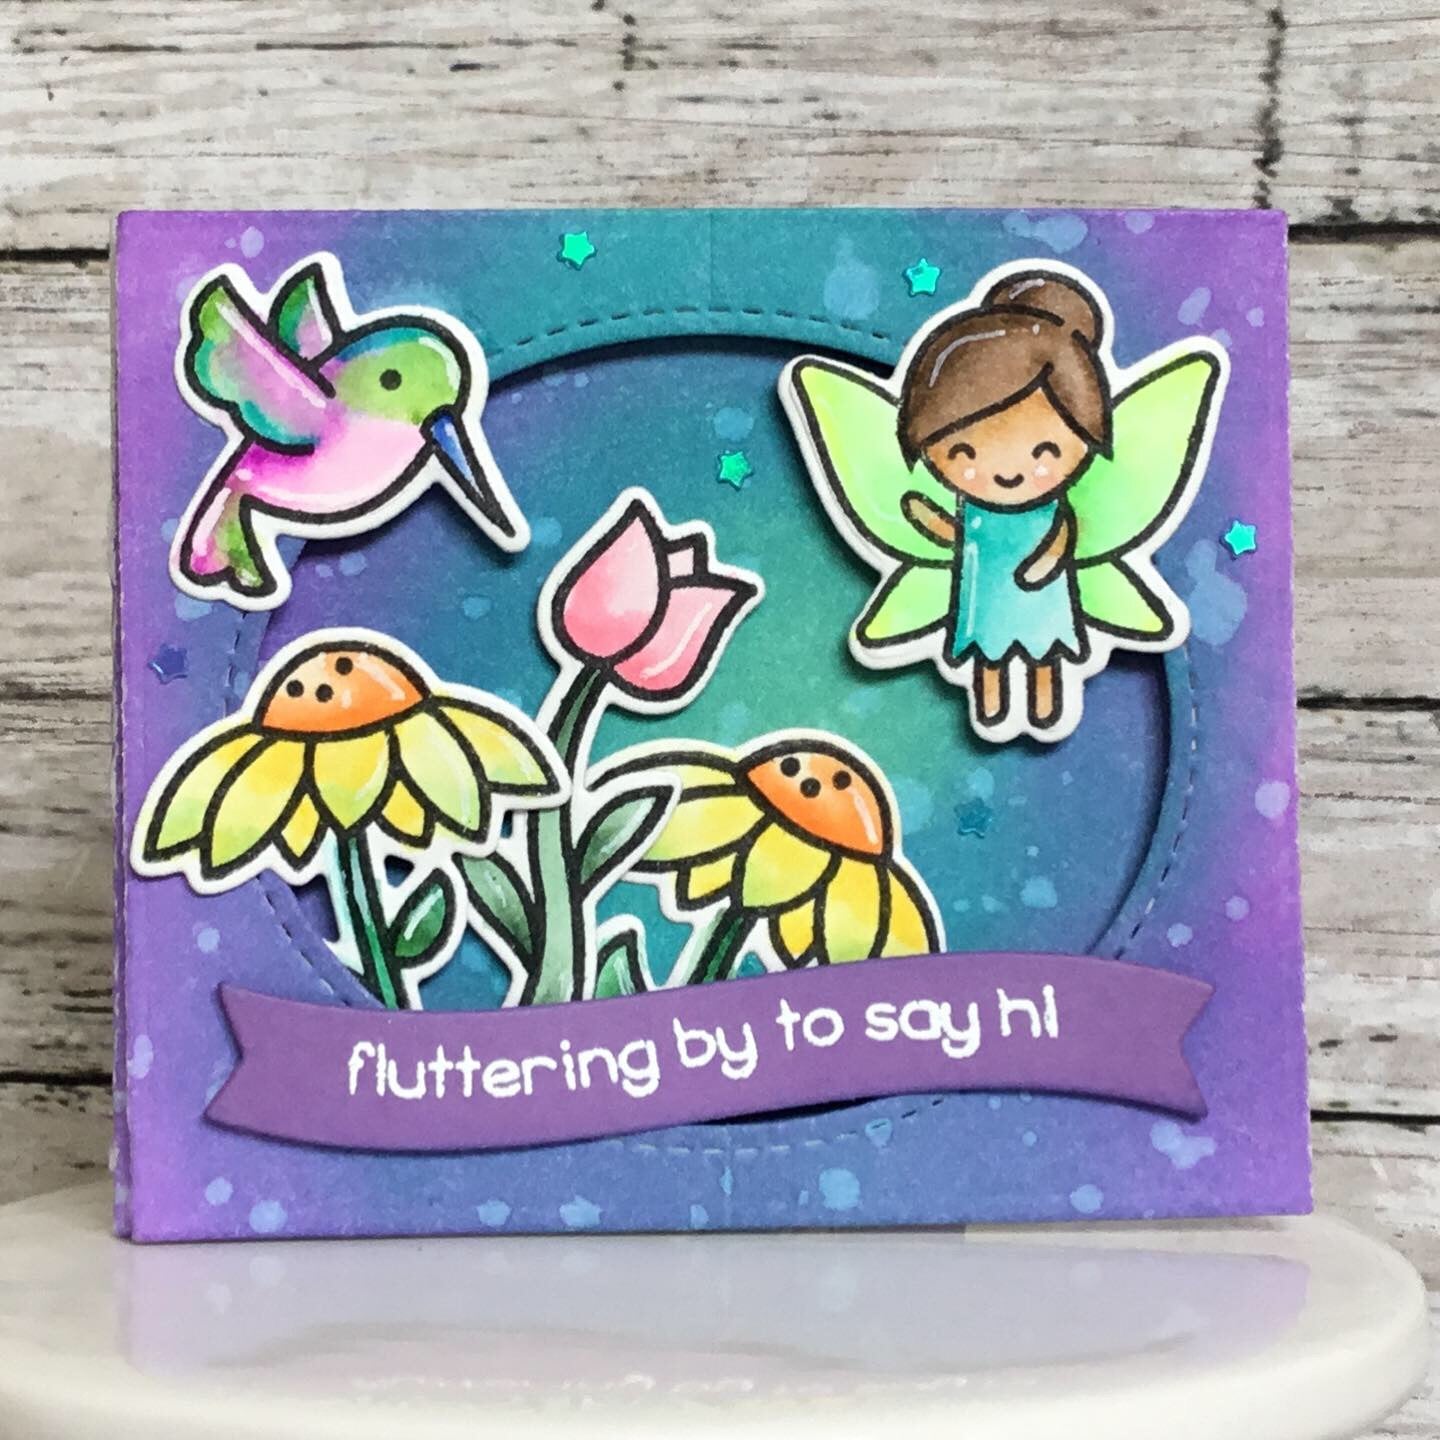
Hello, I’m happy to share with you this interactive card I made using Lawn Fawn products.
The instructions to make this card are as follows:
Step 1: I started the card by coloring the images from "Fairy Friends", “Gleeful Gardens” and “Butterfly Kisses” by Lawn Fawn using water color markers (in this case Zig clean color real brush markers). I used some fluorescent colors to add luminous details like in the wings of the fairies and the fairy house. I also die cut all of the images with their coordinating dies.
Step 2: I die cut (Out of cardstock) the main card pieces from the “Center Picture Window Card” One piece of the long die and two of the center rectangle die. I also cut the window in both of the center pieces with the stitched oval die that is included in the set which I positioned correctly by matching the center lines of the oval with the mark made by the die on the small rectangle.
Step 3: I colored the card pieces using Distress Oxide inks. I did this before gluing the card together. For the inside of the card, I started in the top central area of the large rectangle using my blending tool and added each color starting with a circle and expanding the colors around it. With a circular motion just making a small circle in "Cracked Pistachio", then I used "Peacock feathers" and expanded the circle, blending the colors for a smooth transition between them. I then finished the rest of the rectangle in "Wilted Violet". I was very careful not to move my piece of cardstock while working on it, to avoid staining the back of it with the distress ink left in my working surface. I also cleaned my working area constantly.
Step 4: I Splattered drops of water on top of the colored surface and dried off the spots with a dry paper towel. While this dried I worked on the two small rectangle pieces (the ones with the window) before I stated working in the front of the card.
Step 5: I repeated coloring in the same way, the two small rectangles, matching as much as possible the long rectangle I worked on before.
Step 6: I continued by coloring the front of the main card in the same way.
Step 7: I splattered some water drops on top of the colored surface of the card pieces and dried the spots with a clean paper towel.
Step 8: I cut out of thick acetate, one of the larger stitched corner components of the “Center Picture Window Card” die (I used the one curved but the straight one will work the same). In my case the acetate was too thick for the die to cut completely, so I finished cutting it with scissors, just following the marks left by the die, very easy since the shape is simple.
Step 9: I folded all the flaps of all the card pieces using a bone folder and guided by the marks left by the dies.
Step 10: I started constructing the card, working in the inside first. I added double sided adhesive tape to the flaps of the small rectangle with the oval window and adhered this piece to the large rectangle making sure the centers matched and the flaps were folded inwards.
Step 11: I began adding the images to the center of the card, inside the window beginning with tall grasses, I glued them on the back of it. I folded the little house in the center with the help of a scoring board and added acetate flaps to it. I adhere the house using strong double sided adhesive tape to the flaps and with the card open completely flat, I positioned it matching its center with the center of the card. I added the corner component I had die cut out of acetate the same way. I added the rest of the images inside the window with the help of tweezers. Gluing the stairs and some flowers and a mushroom to the clear acetate piece.
Step 12: I glued all of the other images to the rest of the inside panel of the card, making sure to fold the pieces that were to be positioned in the folded areas of the card, always using a scoring board.
Step 13: I glued some iridescent tiny stars around the scene to add some sparkle.
Step 14: The last part of making this card, was decorating the front of it using the small rectangle with the window and adhering it with foam squares. I also glued the rest of the images.
Step 15: For the banner I heat embossed the sentiment in white and finishing off, I glued it to the front and added some more sparkly stars.
Instagram: @allbygracec
Products Used:
-LF “Center Picture Window Card” die
-LF “Fairy Friends” stamps and Coordinating dies
-LF “Butterfly Kisses” Stamps and coordinating dies
-LF “Gleeful Gardens” Stamps and coordinating dies
-LF Ink pad in “Jet Black”
1/4" Scrappy Tape 1/8" Scrappy Tape
-LF Glue tube
-Distress Oxide Inks by Ranger in “Wilted Violet”, “Cracked Pistachio” and “Peacock Feathers”
-Ranger White embossing powder
Lawn Fawn Embossing Powder - White
-Versamark Emboss Ink Pad
-Foam squares
-Acetate
-Bone folder
-Tiny stars glitter


