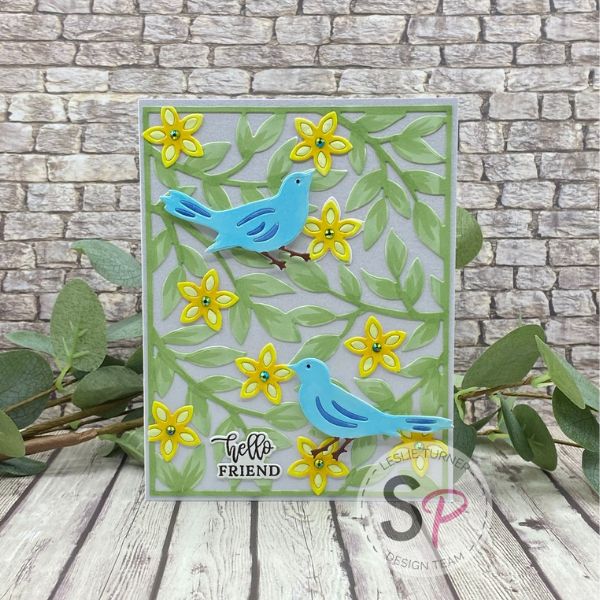
Hey everybody, happy Wednesday! Are you gearing up for Spring yet? We honestly thought ‘Spring had sprung’ here until Mother Nature threw us a little more snow a couple weeks ago. Hopefully that was our last snowfall for the year, but who knows?! Leslie here, sharing a tutorial for making a pretty friendship card featuring dies and stamps in the Hero Arts Blossoms & Birdsong Collection. I used the Branches & Blossoms Fancy Dies along with the Here For You Clear Stamps & Dies. I am a huge Hero Arts fan and these products carry the same upscale quality we all know and love! So let’s make a friendship card! 
DIE CUT THE BACKGROUND & ELEMENTS
Using the Hero Arts Branches & Blossoms Fancy Dies, cut the background and elements (birds, florals and leaf sprig) from white cardstock.
Leave all the die cuts in the negative spaces and position them onto a MISTI Sticky Mat and then secure it to the Ranger-Wendy Vecchi Make Art Stay-tion 7” with magnets. Color these pieces with Copic Ciao alcohol markers. Use G21 Lime Green and G82 Spring Dim Green for the background and leaf sprig. Next, color the bird pieces with B00 Frost Blue, B45 Smoky Blue and E29 Burnt Umber. And finally, color the loose flowers with Y02 Canary Yellow and Y21 Buttercup Yellow. There’s no need to color the flowers on the background because the loose flowers will be adhered over top of them.
CUT CARD BASE & LAYERS
Cut a standard A2 size side-folding card base from heavyweight white cardstock.
Additionally, cut a 4-1/8” x 5-3/8” front layering panel from shimmer white cardstock.
Next, cut a 4” x 5-1/4” inside layering panel from green cardstock.
Lastly, cut a 3-3/4” x 5” inside layering panel from lightweight white cardstock.
ADHERE LAYERS
Using Scrapbook Adhesives E-Z Runner Permanent Strips, adhere the shimmer white cardstock layer to the front of the card base.
Next, adhere the lightweight white cardstock panel to the green cardstock panel for the inside. 
ADD BACKGROUND & LEAF SPRIG
Using the My Sweet Petunia Glue Press with Bearly Art precision craft glue, adhere the background to the card front. Next, add the loose flowers, placing them over the top of the uncolored flowers incorporated into the die cut background. I had originally thought I’d leave the centers of the petals out of the flowers but then decided to add them, one by one, from my little pile of leftover die cut pieces. Once they were all glued in, I quickly colored them with Y000 Pale Lemon.
Adhere the leaf sprig to the inside panel. I had a couple leftover flowers, so I adhered them to the inside panel also.
ADD BIRDS, SENTIMENTS & CRYSTALS
Adhere the two die cut birds to the card front using Scrapbook Adhesives Crafty Foam Tape.
Using the MISTI, stamp the front and inside sentiments from the Here For You Clear Stamps & Dies on white cardstock in Versafine Onyx Black ink. Cut them with the coordinating dies and adhere one to the card front and the other to the inside panel using the My Sweet Petunia Glue Press with Bearly Art precision craft glue.
Add a green flat back crystal to the center of each flower on both the front and inside panels. 
COMPLETE PROJECT
Adhere the inside panel to the inside of the card base, once again using Scrapbook Adhesives E-Z Runner Permanent Strips. This completes the project. 
I hope you've enjoyed this friendship card and I hope I’ve inspired you to check out the Branches & Blossoms Fancy Dies and the Here For You Clear Stamps & Dies that I used for this card from the Hero Arts Blossoms & Birdsong Collection. Such a lovely way to let a friend know you’re thinking about them! Be sure to visit Scrapbook Pal on Facebook, Pinterest and Instagram for more design team inspiration! And if you haven't yet subscribed to our YouTube Channel, be sure to do that, too, for tons of hands-on crafty inspiration! Thanks so much for stopping by today – we’ll see you next time!
Scrappy hugs,
Leslie
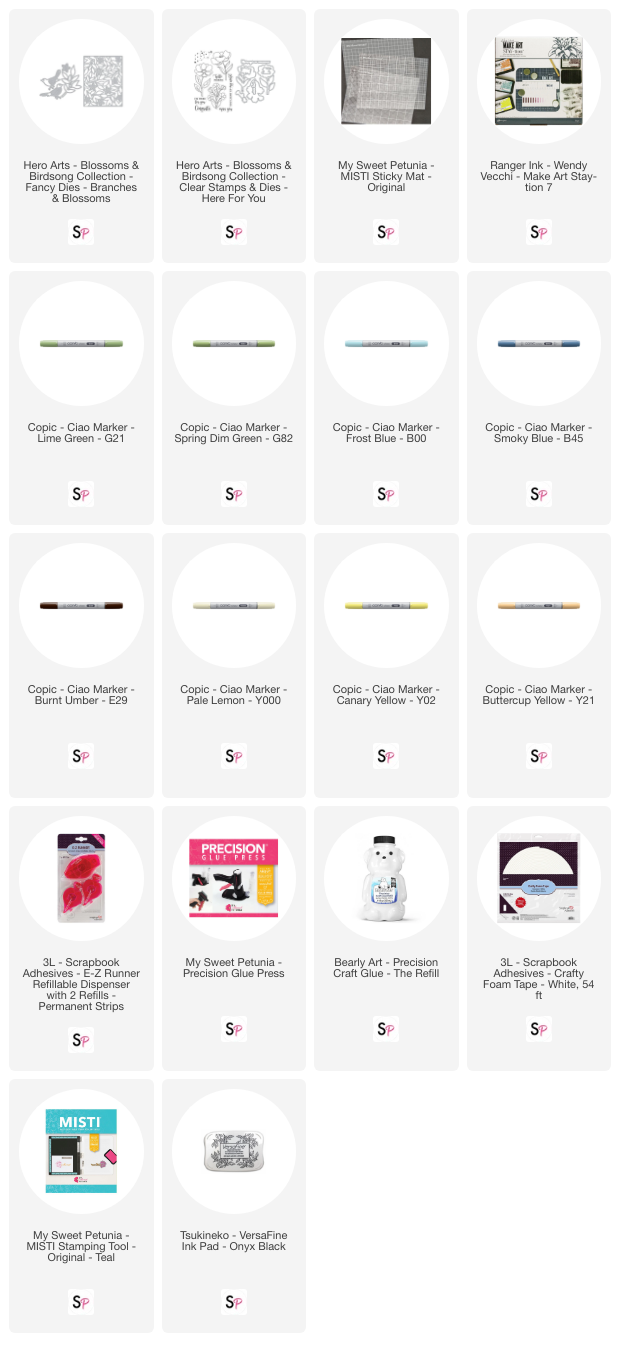
Supplies Used: