Hello crafty friends, and welcome back to the ScrapbookPal Blog!
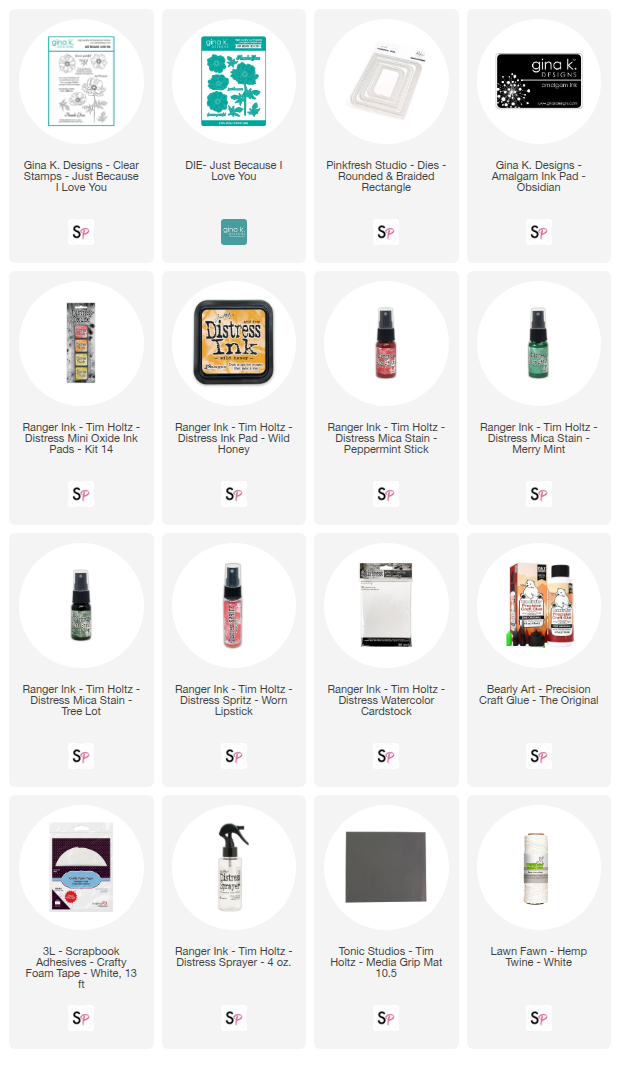
 Today I’m sharing a soft and elegant floral card featuring the newly released Gina K Designs Just Because I Love You Floral stamp along with its coordinating dies. This beautiful stamp set is perfect for showcasing watercolor-style techniques and mixed media coloring.

Creating the Background
To begin, I prepared my card panel using Distress Watercolor Paper, which is ideal when working with water and Distress products. On my mixed media mat, I smooshed Distress Ink in Scattered Straw and Wild Honey, then spritzed the inks with water using a Distress Sprayer. I pressed the watercolor panel into the inked surface to create a soft, blended background.

While the panel was still wet, I added splatters of Distress Spritz in Worn Lipstick for a touch of interest and subtle shimmer. I then set the panel aside to dry completely.
Stamping & Coloring the Florals
Next, I stamped the florals and a few extra leaves from the Gina K Designs Just Because I Love You stamp set using Gina K Amalgam Ink in Obsidian. This ink is perfect for projects involving wet mediums, as it won’t bleed or react with water. At this stage, I also stamped my sentiment.

For coloring, I reached for Distress Mica Stains and Distress Spritz—a fun and creative way to color large floral images. I used Peppermint Distress Mica Stain and Worn Lipstick Distress Spritz for the flowers, and Merrymint and Tree Lot Distress Mica Stains for the leaves. These products add beautiful shimmer and depth while keeping the coloring loose and organic.
Die Cutting & Assembly
Once everything was dry, I die cut the florals, leaves, and sentiment using the coordinating dies. While I had my die-cutting machine out, I also added texture to the background panel using the Rounded and Braided Rectangles Dies from Pinkfresh Studio.

To assemble the card, I adhered the die cuts to the background panel using Bearly Art Precision Craft Glue. I popped up the top flower with foam tape for added dimension. Finally, I finished the card with a few embellishments and a touch of twine for a soft, handmade detail.

Thank you so much for joining me today! I hope this project inspires you to revisit your stamps and try coloring with Distress Mica Stains and Spritz.
Happy Holidays!
Sweta
@Table_in_the_Attic
Supply List: