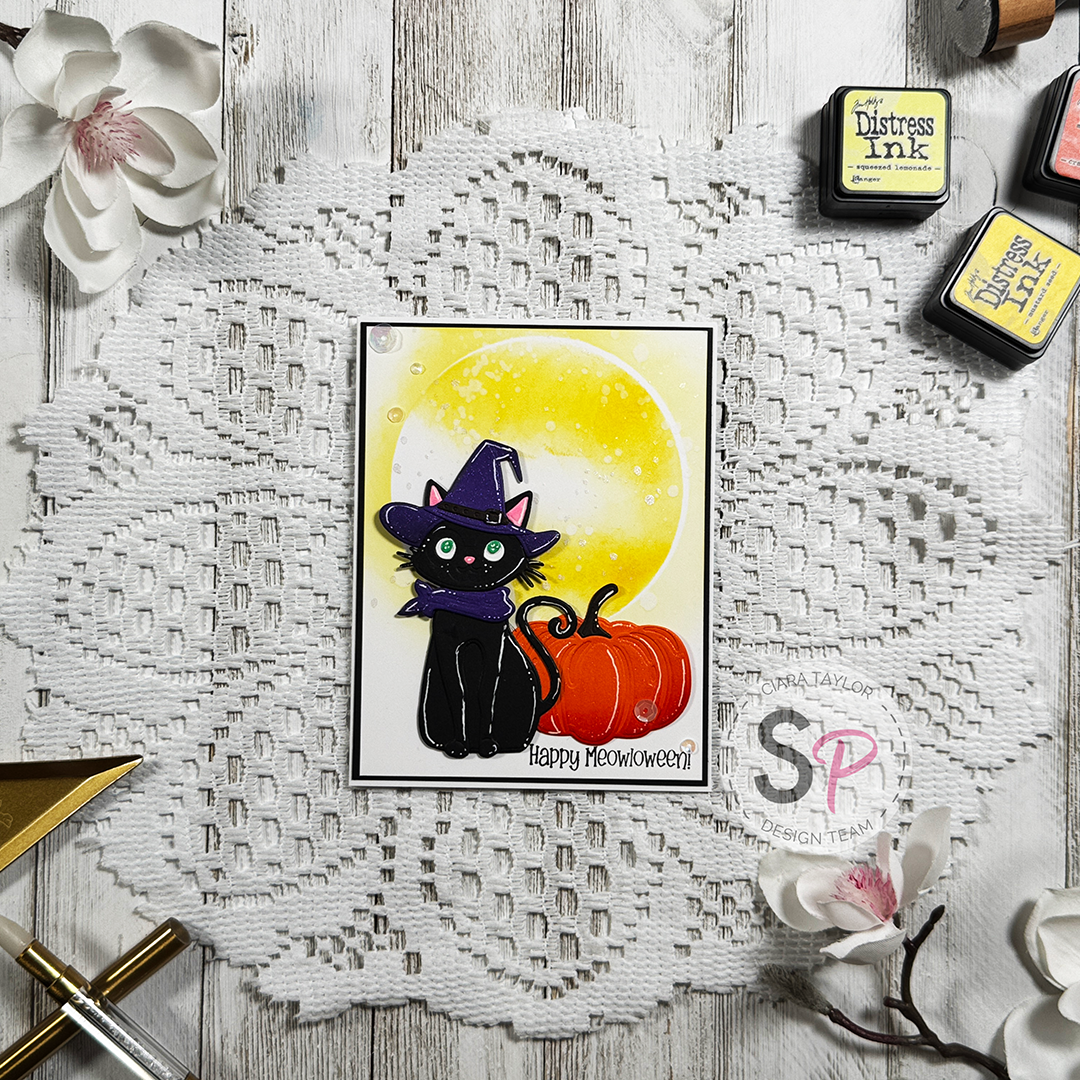
I like to start by cutting down my cardstock, I have an A2 sized base which is 4 1/4 by 5 1/2, the black matte is cut to 1/8th of an inch smaller and the card panel was cut to 1/4 inch smaller than the base, leaving me a thin border on each layer.
Next, I used a circle stencil I made and blended on a moon to the background use two Distress inks in Squeezed Lemonade and Mustard Seed, I splattered on some water and perfect pearls for a bit of added interest. Then I die-cut the Cat, Pumpkin, Hat and Scarf from the Honey Bee Lovely Layers Scaredy cat dies from solid coloured cardstock I had in my stash.
On the Cat I also cut the eyes and ears out of white and used two Copic markers to colour them in, I used G09 for the eyes and RV13 for the nose and ears. Then adhered all the layers of the die-cuts so I could see where I wanted to add some shading. I used Crackling Campfire on my pumpkin and Villainous Potion on the hat and scarf for added interest.
I stamped on a sentiment from the Honey Bee Sweet Halloween Stamp set and then started building the card. Once everything was adhered to the card I brought in a glitter pen and my white gel pen to add some extra details across all the elements. I also used a few sequins in the empty space for added shimmer and shine. I am really happy with how this card turned out and I hope you will give it a try.
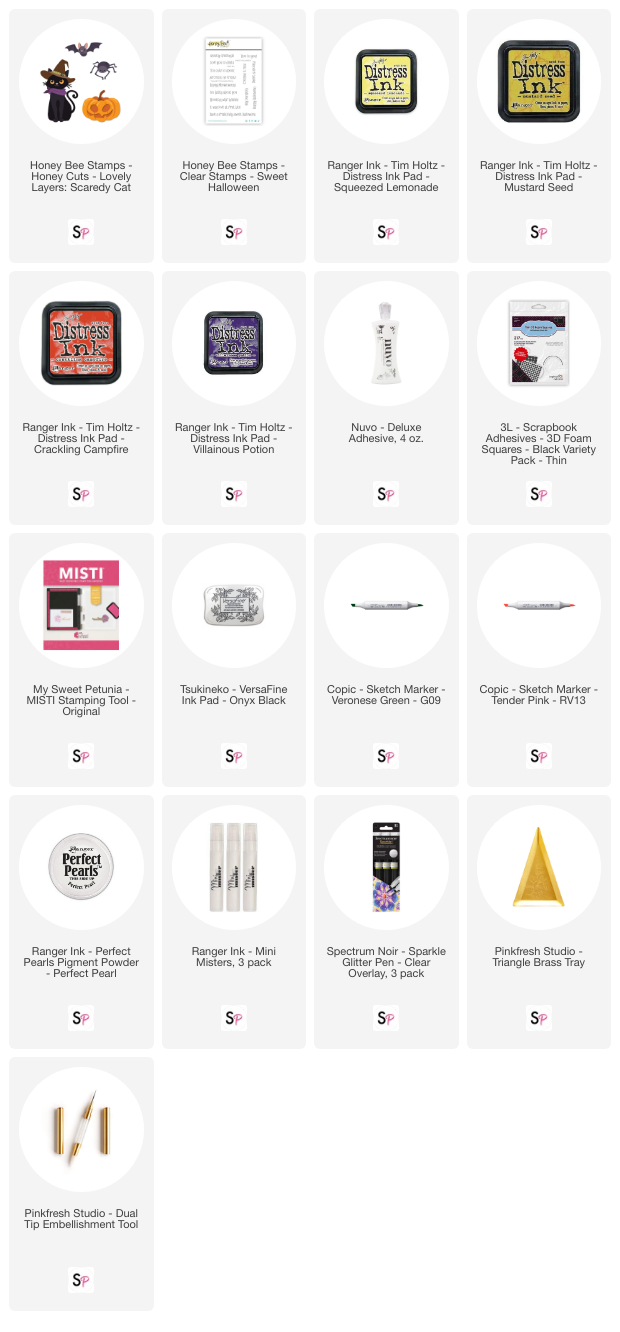
Thank you so much for taking this quick look at how this card came together. If you would like a more in-depth look please check out the video below, I also have a complete supplies list in case you want to know exactly what I used. I hope to see you again very soon!!
Supplies:


