
Hey friends! Welcome back to the blog. I'm here with my last post as a Scrapbook Pal design team member.

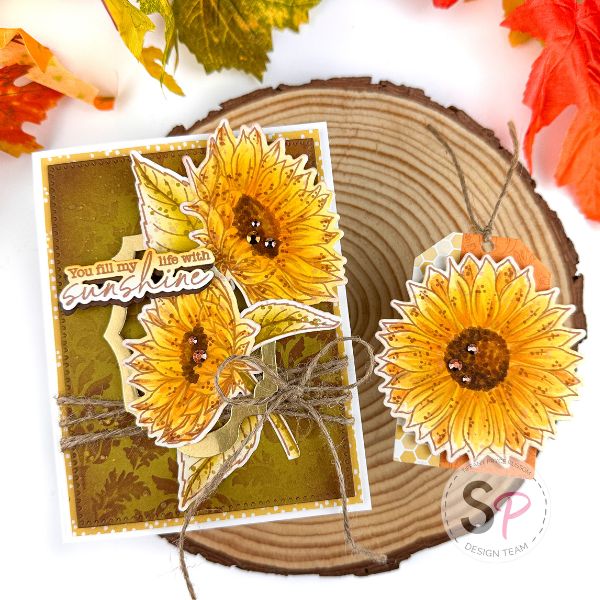
First, I started with creating a background. I wanted to go for a more rustic, vintage look. On olive green cardstock, I die cut a panel using the second to largest die from the Perfect Touch Rectangles and Tag. Next, I used Doe ink through the Vintage Flourish Background stencil. I purposefully used more pressure and ink in some areas over others to get a worn effect. I matted this panel with patterned paper and popped it up with foam tape. I splattered the panel with gold, metallic watercolor.

Next, I stamped the flowers and leaves in Doe ink. I colored the flowers with the coordinating stencils and die cut with the coordinating dies. I used the stencils as a base color and added more color and detail with simple copic coloring. I used a variety of yellows and oranges ink to color the flowers and yellow-greens to ink blend the leaves.

I die cut a frame from brushed gold cardstock using the Layering Vintage Labels die and adhered it with foam tape. I wrapped twine around the panel to add more texture to the card.
 I adhered the flowers and leaves to the card front with foam tape. I stamped a sentiment from Bloom with Grace and die cut additional layers to make it sturdier. I offset the sentiment with a layer of brown cardstock to add some contrast from the flowers. As a final detail, I added some gold gems to the flower centers.


For the tag, I used the remaining flower on a die cut tag. I added simple patterned paper to the tag and a couple more gold gems to the flower center.


It's been an honor to share my creations with you and I hope I've inspired you throughout the year. To stay in touch with me and follow my creative journey, please follow me on Instagram. I look forward to staying connected! Take care!
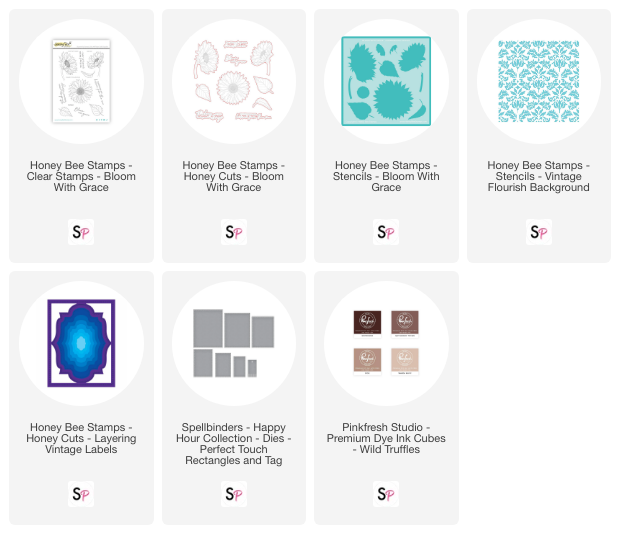
Supplies:


Comment
Beautiful card.