
Instructions:
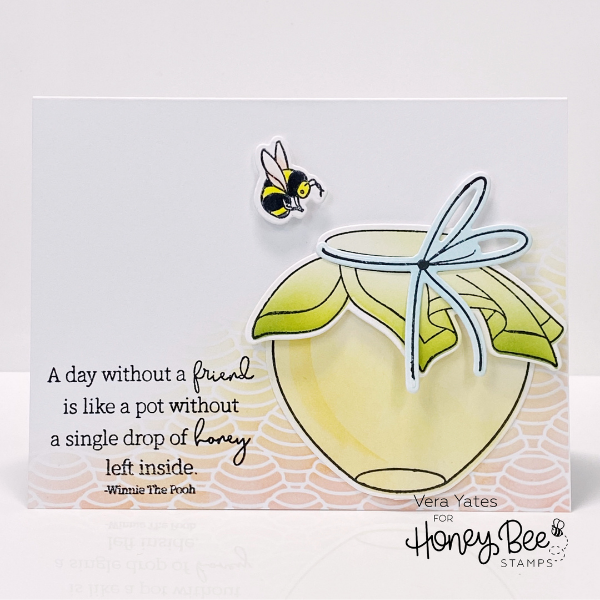
Start by stamping the honey jar, the top and the ribbon.
Then using the coordinating stencil, I ink blend yellow and green to color the images. Die cut the pieces. I adhere the top to the jar with foam adhesive to make the layering pop & not so flat.
Next, to ground the image, I stencil the card base using Honey Dipper stencil with soft pink and yellow on the lower part of the base. I like leaving white space as I feel it visually more interesting than covering the whole background.
Once this done, adhere the honey jar. Stamp the sentiment. Stamp the bee, colored, cut and adhere to card with foam adhesive.
Instagram: @wirianta
Blog: Ling's Design Studio
Products Used:
Honey Bee Stamps Just BEEcause Stamp
Honey Bee Stamps Just BEEcause Honey Cuts
Honey Bee Stamps Just BEEcause Stencil
Honey Bee Stamps Honey Dipper Stencil

