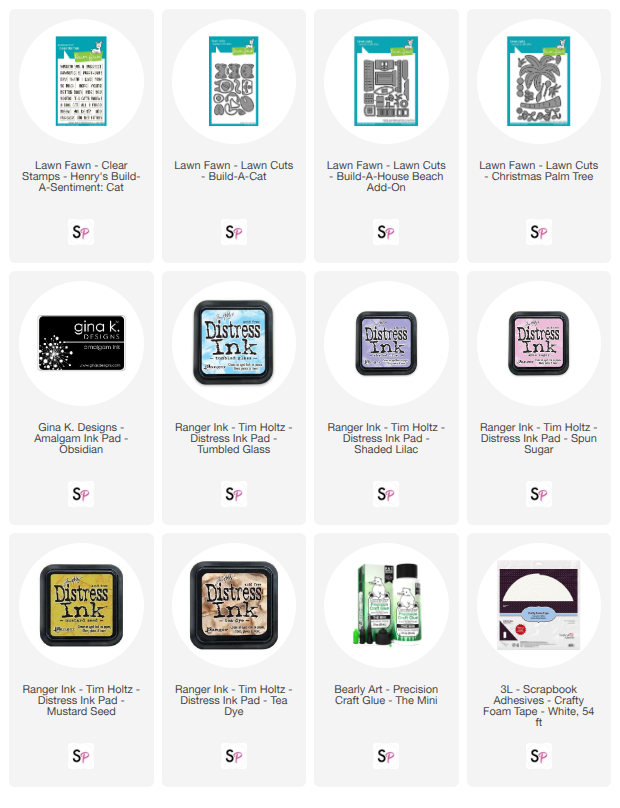


Hello everyone! It’s Sweta here, and I am so excited to be back on the ScrapbookPal.com blog sharing a sunny, summery card featuring some of our favorite feline friends enjoying a beach getaway! Today, I’m combining adorable scene-building sets from Lawn Fawn, including the brand-new Lawn Fawn Lawn Cuts Build-A-Cat—one of the newest must-have additions here at ScrapbookPal! I paired this adorable kitty with the Lawn Fawn Lawn Cuts Build-A-House Beach Add-On, Lawn Fawn Clear Stamps Henry's Build-A-Sentiment: Cat, and the versatile Lawn Fawn Lawn Cuts Christmas Palm Tree.
If you love die-cutting cute scenic pieces and creating soft ink-blended skies, grab your favorite blending brushes and let's jump into the tutorial!
Step 1: Die-Cutting the Scene and Assembling the Brand-New Build-A-Cat
To begin, I die-cut all the little components from cardstock. Using my die-cutting machine, I cut out the beach shack, porch, railings, door, roof accents, and the lush palm tree with coconuts.
Next, I focused on our star character using the newest Lawn Fawn Lawn Cuts Build-A-Cat die set. I cut out all the pieces needed to assemble our adorable tuxedo cat—the body, head, face markings, inner ears, and curved tail. Die-cutting everything first keeps your workspace organized before assembly!

Step 2: Blending the Sunset Sky and Shading the Dunes
Next came my favorite part: creating the atmospheric coastal background! On an A2 white cardstock panel, I blended a sunset sky transitioning through a soft pastel palette using Tim Holtz Distress Inks: Mustard Seed in the upper corner, moving into Spun Sugar, Shaded Lilac, and Tumbled Glass toward the horizon.
For the sandy shore at the bottom, I created my own masking stencil by hand-trimming a gentle wavy edge from a scrap piece of paper. I placed this handmade mask over the bottom of the panel and softly brushed on Scattered Straw and Tea Dye Distress Inks to create soft, rolling sand dunes. While my inks were out, I used the same shades to add rich shading along the trunk of the palm tree and texture to the coconuts.

Step 3: Stamping the Playful Sentiment
Before adhering the dimensional elements, I pre-arranged my pieces to find the perfect spot for the greeting.
From the Lawn Fawn Clear Stamps Henry's Build-A-Sentiment: Cat set, I chose "WISHING YOU A PAWSOME PURRTHDAY!" and stamped it in the top left corner using rich, crisp Gina K. Designs Amalgam Ink Pad Obsidian.

Step 4: Layering and Final Assembly
To pull everything together, I glued my finished ink-blended panel directly onto a white A2 card base using Bearly Art Precision Craft Glue.
Then came the fun part: layering the scene! I adhered the beach hut, porch, and palm tree onto the scene, tucking the trunk right behind the hut's roofline. To create realistic depth, I mounted our cute tuxedo cat from the Build-A-Cat dies using 3L Scrapbook Adhesives Crafty Foam Tape so he sits playfully in front of the shack and palm tree enjoying the seaside breeze!

I just love how easy it is to stretch your supplies—using a holiday palm tree die set for a breezy summer beach card and bringing in brand-new releases like the Build-A-Cat dies! I hope this project gives you plenty of inspiration for your next sunny scene card.
Happy crafting!
Supply List