Hello friends! It’s Sandy @SandyCogdillDesigns and I am so excited to share my first card on the Design Team with you today. How fun are these friends with their plaid flannel hats and scarves? I think that even snowmen like to be cozy.
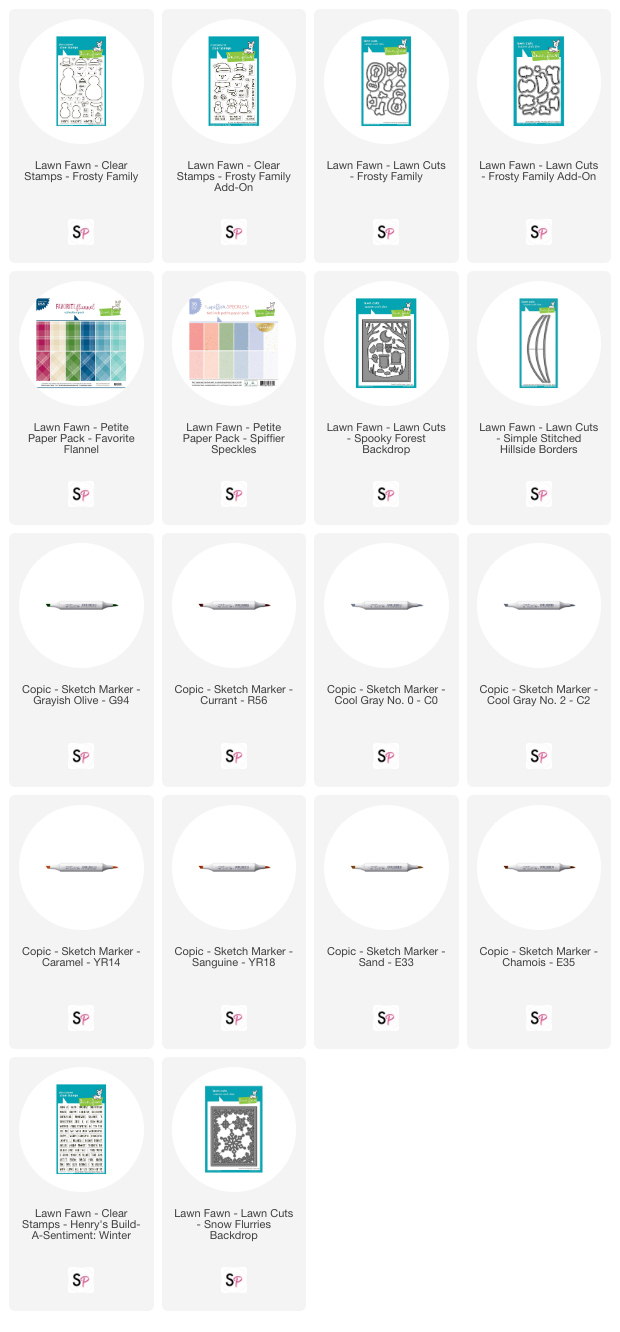
Today I have a card featuring Lawn Fawn’s Frosty Family and Frosty Family Add On stamps and Frosty Family and Frosty Family Add On dies. Instead of stamping and coloring the little snowman accessories, I decided to use Lawn Fawn’s My Favorite Flannel Petite Paper Pack printed paper for the snowmen’s hats and scarves instead of stamping and coloring them. I used Copic markers to add just a little shading to give them dimension. I also used the blue from Lawn Fawn’s Spiffier Speckles Petite Paper Pad, since it coordinates so well to finish building my scene.
To start out, I used Lawn Fawn’s Spooky Forest Backdrop to cut out my border from the blue plaid paper. I wanted a little dimension on my card, so I cut three additional backdrops from white cardstock. I will glue all of these together to created a nice frame for the inside of the scene. I do this technique often, especially if I am creating a shaker card. I feel like it gives the card a nice finish.

Next, I cut a small piece of pearlescent vellum using the Simple Stitched Hillside Border to create a ground for my snow family to stand on. I attached the vellum to the side of my newly created “frame” making sure that I keep the glue away from anyplace the vellum would be seen. Glue and vellum don’t play well together.
I stamped the hats and scarves on plaid paper and then used the coordination dies to cut them out. I used Copic markers in G94 and R56 to do a little shading to add some dimension to the pieces.

Once I have my snow people stamped, I place the little accessories where I will glue them later, so that I know where I want to stamp their little faces and his buttons. I find this is the best way to make sure that they are neither too high nor too low once the hats and scarves are applied.

I colored the Frosty Family using Copic markers in the fallowing colors:
Once they are colored and cut out, I will adhere them to the center of the card making sure I add their little arms.
For the sentiment, I used Henry’s Build A Sentiment: Winter. I stamped them on white cardstock and then trimmed them close to the lettering and then placed the trimmed sentiment on a scrap piece of plaid paper. I trimmed the plaid paper about 1/8” from the white cardstock. I adhered them to the upper and lower corner of the card. I also added the “Merry Christmas” sentiment to the inside of the card. I really like this stamp set because there are tons of ways to combine the words to create just the right sentiment for your card.

Once I got to this point on the card, I felt like it needed a little something, so I used the two extra snowflakes from Lawn Fawn’s Snow Flurries Backdrop. I used the plaids from the same collection.
I really like the cozy feel of this card. I hope you have found a little inspiration from this design. Thank you so much for taking time from you day to visit the blog. I hope you have an amazing day!
Sandy
Supplies:


Comments
Too cute.
I love this card – there’s nothing better than snowmen and flannel!