Hey everybody, happy Wednesday! Here’s to another great week of crafting! Do you love having extra all occasion cards in your stash? I sure do! Leslie here, sharing a tutorial for making a delightful retirement card, because who doesn’t want to party when they retire?! This card features three items from the Hero Arts Let’s Celebrate Collection. I used the Celebrate Color Layering Stencils and Celebrate Clear Stamps along with the It’s Our Anniversary Stamp & Cut XL. You can’t go wrong with any occasion or color palette you choose. This collection is super versatile and off the chain! Let’s make this card!
STAMP & STENCIL THE BACKGROUND
Using the MISTI, stamp the banners on a white cardstock panel in Memento Tuxedo Black ink with the Hero Arts Celebrate Clear Stamps. Don’t remove the stamp from the positioner yet.
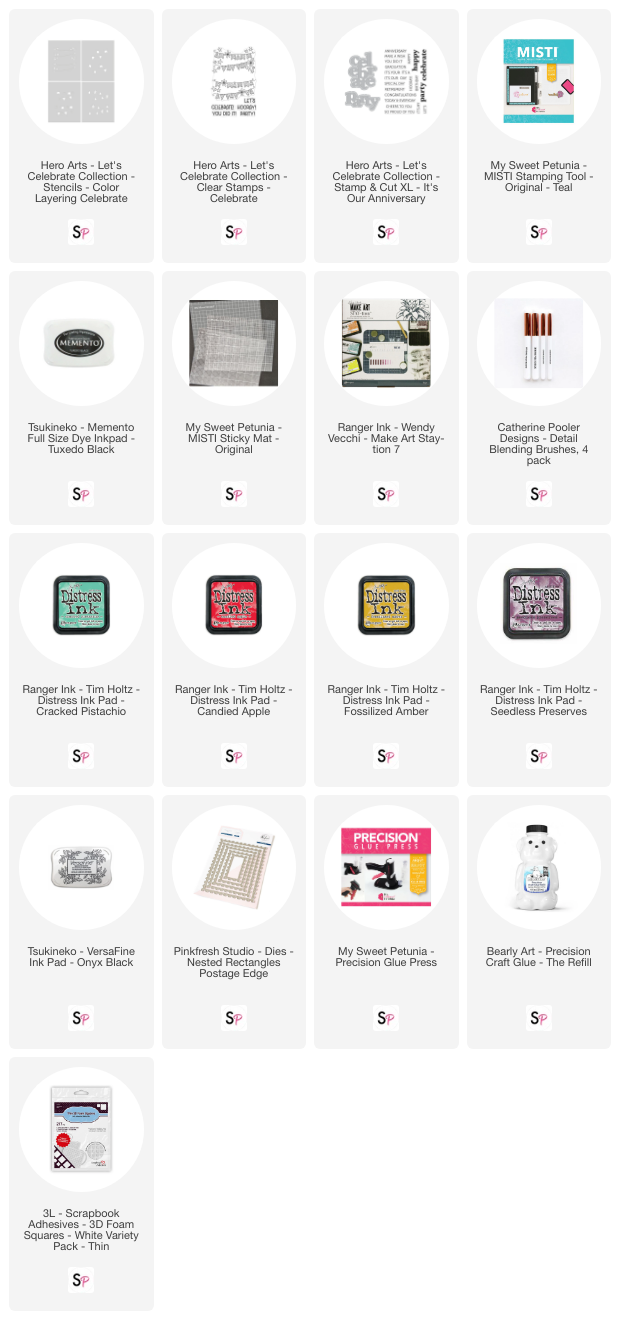
Position the stamped banners panel onto a MISTI Sticky Mat and then secure it to the Ranger-Wendy Vecchi Make Art Stay-tion 7” with magnets. Using the Hero Arts Celebrate Color Layering Stencils with Catherine Pooler Detail Ink Blending Brushes, ink the banners with distress inks. I used cracked pistachio, candied apple, fossilized amber and seedless preserves.
Place the panel back into the MISTI and stamp over top the stenciled banners in Versafine Onyx Black ink to crisp up the outlines. 
DIE CUT SENTIMENT & BACKGROUND PANEL
Using dies in the Hero Arts It’s Our Anniversary Stamp & Cut XL die cut the ‘Party’ word twice from dark purple cardstock and the outline once from vellum.
Cut the background banners panel with the largest die in the Pinkfresh Studio Postage Edge Nested Dies. 
CUT CARD BASE & LAYERS
Cut a standard A2 size side-folding card base from heavyweight white cardstock. I happen to have pre-cut and pre-scored A2 size heavyweight card bases in my stash so I grabbed one of those.
Then cut an A2 size panel of dark purple cardstock to cover the front of the card base.
Next, cut a 4” x 5-1/4” layering panel from dark purple cardstock for the inside.
Finally, cut a 3-3/4” x 5” panel from lightweight white cardstock for the inside sentiment. 
ADHERE LAYERS
Using the My Sweet Petunia Glue Press with Bearly Art precision craft glue, adhere the background banners panel to the purple layering panel.
Similarly, for the inside, adhere the white sentiment panel to the purple layering panel.
Lastly, for the front sentiment, adhere the two Party word die cuts together (for a tiny bit of dimension) and then to the vellum outline. 
ADD SENTIMENTS
Using the MISTI, stamp the first word of the sentiment (Let’s) from the It’s Our Anniversary Stamp & Cut XL in Versafine Onyx Black ink at the top of the background banners panel.
Then adhere the second word of the sentiment (Party) to the panel using Scrapbook Adhesives Thin 3D Foam Squares.
Now adhere this background panel to the front of the card base using the My Sweet Petunia Glue Press with Bearly Art precision craft glue. 
Let’s work on the inside panel now using the stamps from the It’s Our Anniversary Stamp & Cut XL. Using the MISTI once again, stamp the first word of the sentiment (happy) in Versafine Onyx Black ink and then stamp the second word (retirement) right underneath in your choice of ink. I stamped it first in cracked pistachio distress ink, masked off the top half, and stamped it again in seedless preserves for a little interest and to bring in two of the colors used on the front.
Adhere this panel to the inside of the card base, once again using the My Sweet Petunia Glue Press with Bearly Art precision craft glue. 
COMPLETE PROJECT
All that’s left now is to add a few iridescent gemstones, and your card is complete. I typically use sets of three or five with one just a tad larger than the others. 
I hope you've enjoyed this retirement card and I hope I’ve inspired you to check out these products from the Hero Arts Let’s Celebrate Collection, specifically the Celebrate Color Layering Stencils, Celebrate Clear Stamps and It’s Our Anniversary Stamp & Cut XL that I used. This is a very versatile collection that can be used for many different occasions. Be sure to visit Scrapbook Pal on Facebook, Pinterest and Instagram for more design team inspiration! And if you haven't yet subscribed to our YouTube Channel, be sure to do that, too, for tons of hands-on crafty inspiration! Thanks so much for stopping by today – we’ll see you next time!
Scrappy hugs,
Leslie
Products Used:


