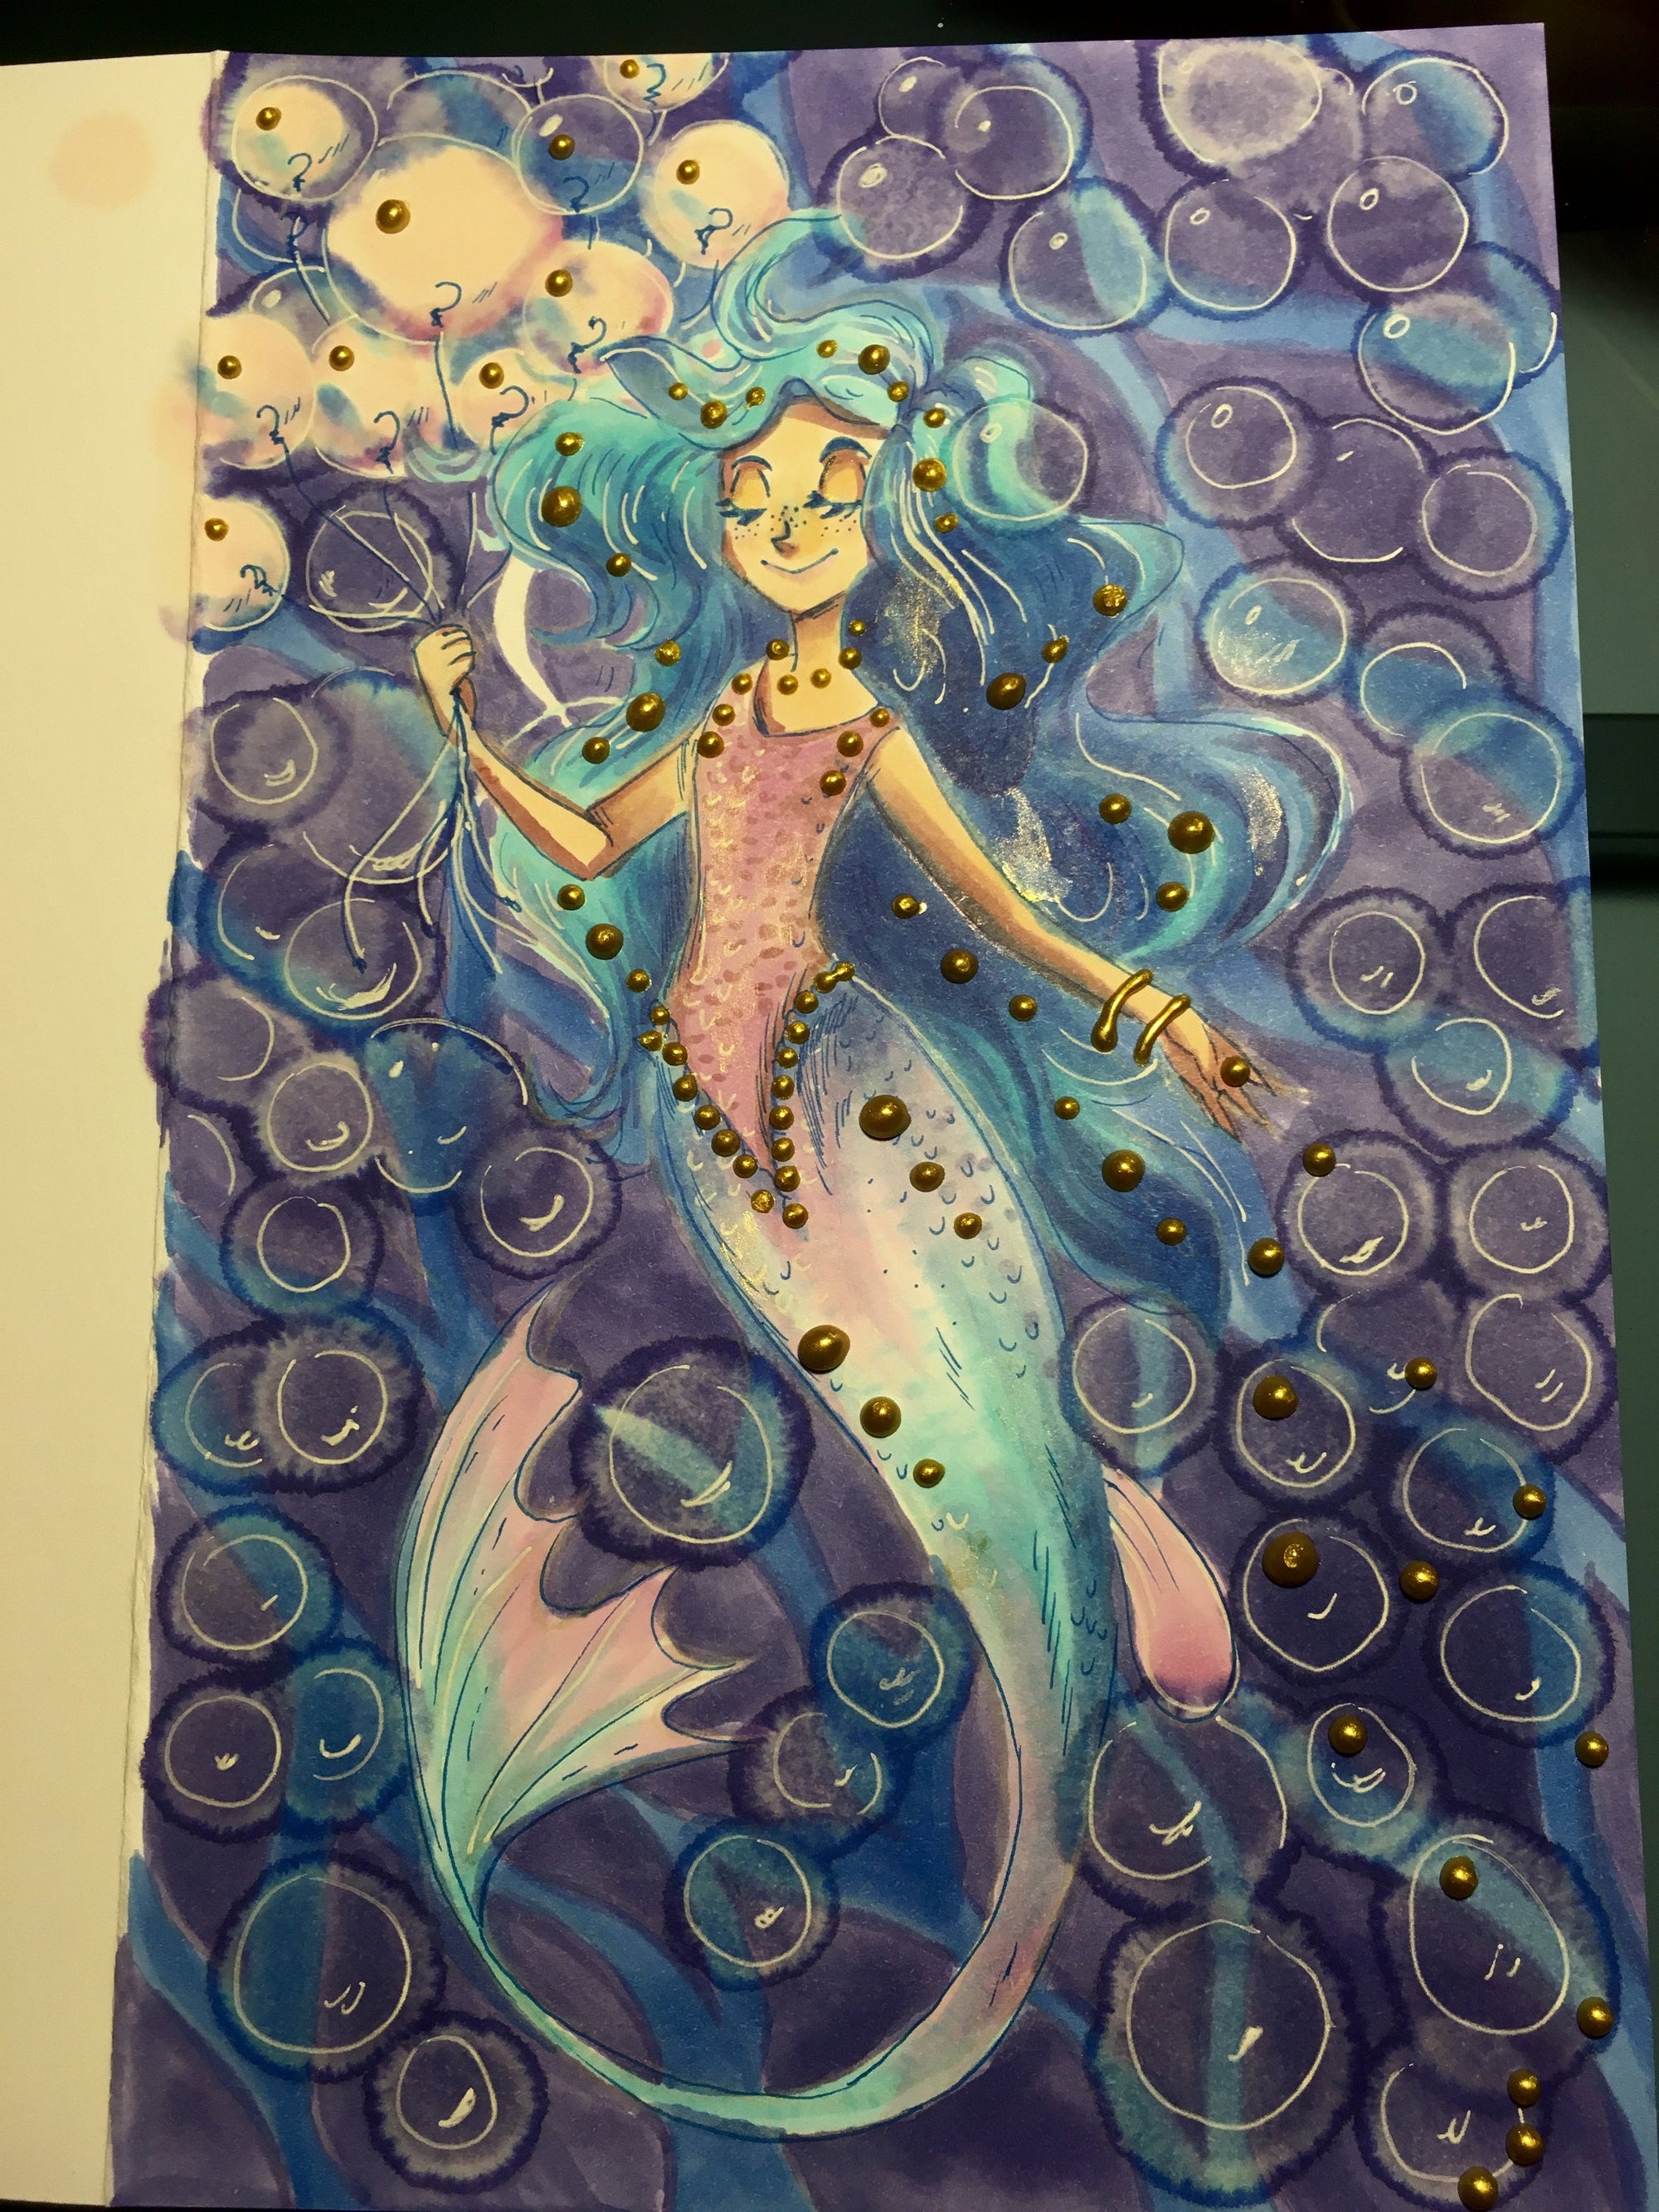
Step 1: Thumbnail some ideas, then sketch the design on cardstock. In the thumbnails, you can make quick decisions on what colors you want to use so you can reference your choices later. I'll list the products I used as I go along.
Step 2: Fill the hair's base color with Copic Ciao Aqua Blue.
Step 3: Use Copic Ciao Sky Blue to add shadow, using the brush to feather the color into the hair. Work back and forth with the lighter color (Aqua Blue) to blend.
Step 4: Using Copic Sketch Hydrangea Blue, fill in the background in a waving pattern, coloring in a pattern from the outside in.
Step 5: Add the Hydrangea Blue to the hair in the darkest areas.
Step 6: Color the mermaid's torso with Copic Sketch Heath.
Step 7: Add dabs of Sky Blue, Aqua Blue, Hydrangea Blue, and Heath into the bubbles.
Step 8: Color in the fin with the Aqua Blue, leaving some white space to create the appearance of shine. Soften the transition with colorless blender.
Step 9: Still with the Aqua Blue, add scales onto the fin, adding some texture to the white space. With Copic Ciao Baby Blossom, add scales to the torso, adding thicker lines where the shadow is.
Step 10: Add Hydrangea Blue to dab scales in the shadow of the fin.
Step 11: Add more shadow to the fin with Sky Blue, feathering towards the white space. Soften with Colorless Blender.
Step 12: Add a little Heath to the edges of the fin, feathering inward to create the appearance of iridescence. Fill the background white space with Sky Blue, then add small drops of Copic Refill Pale Pink Fruit to add a watercolor-like drip texture to the background.
Step 13: Using the Sakura White Gelly Roll Pen, outline the drips, then add a little shine to look like bubbles. Add highlight to the hair, adding the appearance of light hitting strands of hair.
Step 14: Add areas of highlight to the scales and fin.
Step 15: Using the Blue Micron, ink the face, then add little strings with hooks that attach inside the bubbles. Highlight the strings with the white pen.
Step 16: Using Copic Sketch Silk, fill a skin base color.
Step 17: Add shadow to the skin with Baby Blossom. Use Heath to add blush and a light lip color.
Step 18: Using the Blue Micron, add further details.
Step 19: Add expressive drops of gold using the Nuvo Crystal Drops: Mustard Gold, adding variation to the sizes. Add small dabs of gold to the hair and eyelids.
Products Used:
Nuvo Crystal Drops: Mustard Gold SKU: 1802n
Copic Ciao Aqua Blue SKU: BG01-i
Copic Ciao Sky Blue SKU: B24-i
Copic Ciao Baby Blossoms SKU: RV95-i
Copic Sketch Colorless Blender SKU: 0-s
Copic Sketch Hydrangea Blue SKU: BV13-s
Copic Sketch Silk SKU: YR000-s
Copic Refill Pale Pink Fruit SKU: E000-v
Hammermill 100lb Cardstock - White
Prismacolor Watercolor Pencil, Grey


