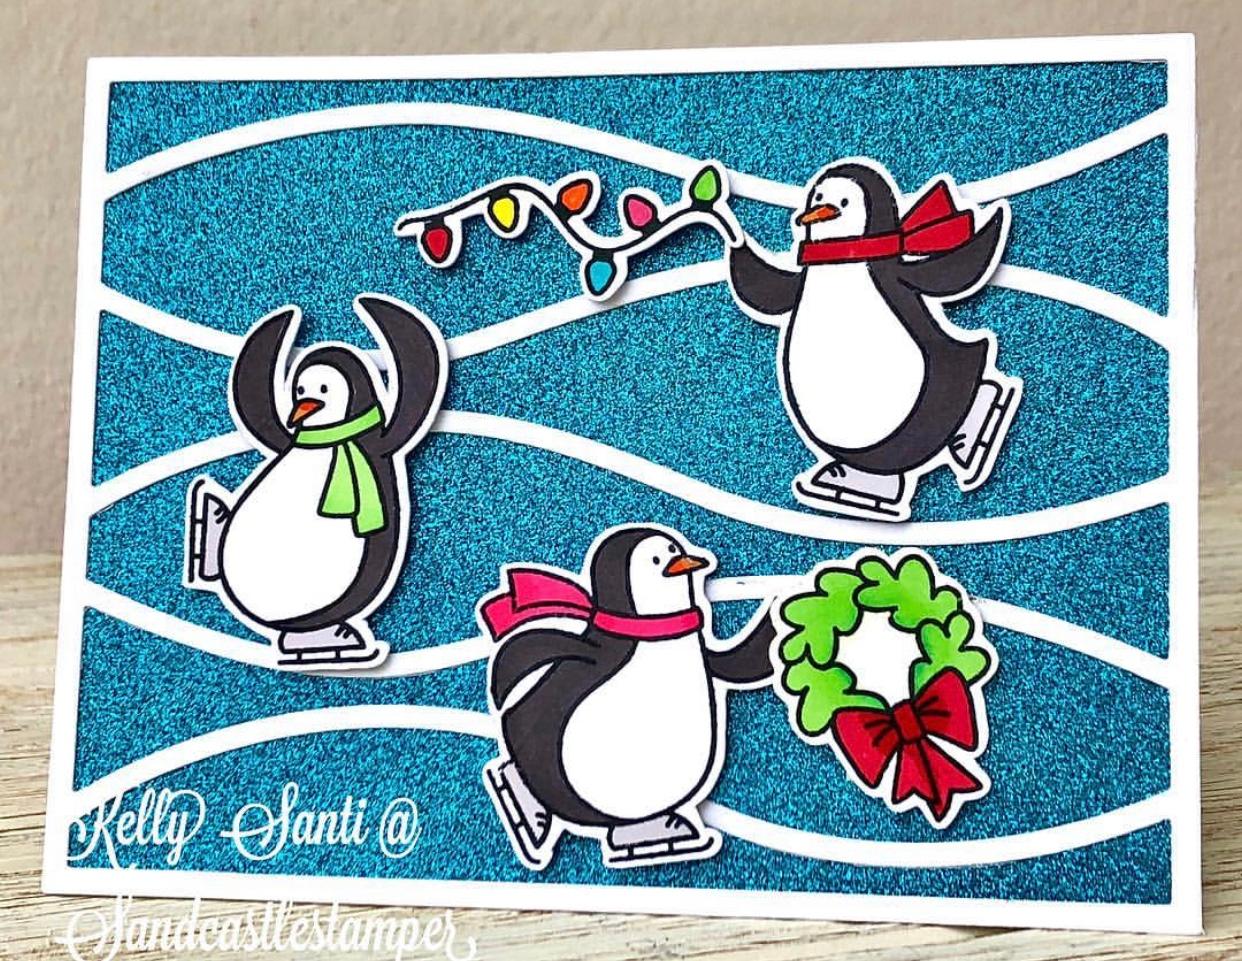
Hello everyone! I'm excited to share this jolly card with you today. Here's how I made it!
1. Using #110 white cardstock, I used my MFT Horizontal snow drift die to create a base pane by running it through the Cuttlebug. I've only used the outside frame as the inside will be filled with another color. I set it aside, along with a folded A2 size card base, also using Rec. #110.
2. Next, I repeated the process with American Crafts teal glitter cardstock and used only the inside panels, gluing them down with Tombow liquid glue.
3. Next, the stamped with Momento Tuxedo black ink and die cut images from Bring on the Jolly stamp and die set from Avery Elle. They were also run through the cuttlebug using the matching dies.
4. I colored each of the 3 penguins and the string of lights with prismacolor markers.
5. When they were ready for card assembly, I added 3D foam squares to the back of each and fastened them down to the teal card base.
6. Here's a look at most of the supplies:
7. And that's it for this whimsical and festive holiday card - perfect for winter or holiday cards!
Thank you for visiting today!
Kelly Santi
Instagram: @miamikel4
Products Used:
Avery Elle Stamp Set - Bring On The Joy - SKU: ST-17-32
Avery Elle Dies - Bring on the Joy - SKU: D-17-32
Tombow Liquid Adhesive - SKU: 52195
MFT Horizontal Snow Drift
American Crafts Glitter Paper
Cuttlebug/Plates
Scrapbook Adhesives - 3D Foam Squares - SKU: 1610
White #110 Cardstock
Memento Tuxedo Black Ink - SKU: ME-000-900
Prismacolor Markers


