

Hey everybody, happy Wednesday - I hope your week is going along nicely! Leslie here with you today, sharing a tutorial for making a 3D window card featuring the new Gina K Designs Hoots & Owls Stamps and Dies, along with the Spellbinders Scallop and Stitched Edge Ovals. All of these products are so versatile and I'm sure I’ll get lots of use out of them. The stamp set has five owls and tons of sentiments, and there are dies for every single one! So let’s make a fun fold! 
CUT CARD BASE & LAYERS
Navy blue cardstock:
1. Card base: 4-1/4” x 5-1/2” (cut 4).
2. Pop up element: 1” x 2-1/2”.
Patterned paper:
1. Card base panels (cut 7): 2” x 5-3/8” – cut 3 from owl print and 4 from floral print. You can use the same print for all of them if you want.
2. Front panel: 4-1/2” x 5” – cut from plaid print. Note: Disregard the second plaid panel in the photo below – only 1 is needed and I forgot to remove it from the pile. .
3. Embellishing strip for back: 1/2" x 2” – cut from plaid print.
White cardstock:
1. Back panel: 2” x 5-3/8”. 
SCORE PANELS
Score each of the 4 navy blue card base panels at 2-1/8” on the short side. Fold on the score lines and burnish with a bone folder.
Similarly, score the navy blue pop up element at 1/2" on the long side, rotate 180 degrees and score again at 1/2" on the other side. Fold on the score lines and burnish with a bone folder.
Next, score the plaid front panel at 1/2" on the short side, rotate 180 degrees and score again at 1/2" on the other side. Fold on the score lines and burnish lightly with a bone folder. 
ADHERE LAYERS
Using Scrapbook Adhesives E-Z Runner Permanent Strips, adhere the patterned paper panels to the card base panels. If you are using two coordinating prints as I did, be mindful of which panel you place which print on. I placed the floral print on the panels that will be seen from the front, and the owl print on the panels that will be seen from the back. 
ASSEMBLE BASE
Using the My Sweet Petunia Glue Press with Bearly Art Precision Craft Glue, adhere the four panels together in an ‘X’ fashion with placement as shown in the photo below. 
Your base is now complete. With the base flattened out, this is what the front should look like. 
The right side…
The back...
And the left side…
CUT APERTURE
Secure a die from the Spellbinders Scallop and Stitched Edge Ovals with a couple pieces of Spellbinders 5/8" Best Ever Craft Tape and run it through your die cutting machine to cut an aperture into the plaid front panel. Don’t toss that oval die cut – be sure to save it for another project. 
ADD FRONT PANEL & POP UP ELEMENT
Gently curve the front panel either by gently rolling it in your fingers or using gentle pressure with a bone folder. Apply glue only to the 1/2" flaps on both sides using the My Sweet Petunia Glue Press with Bearly Art Precision Craft Glue and adhere it to the front of the card base.
Additionally, gently curve the pop up element with your bone folder. Apply glue only to the 1/2" flaps on both sides and center it in the aperture. 
Here’s an overhead view of what the front of your card should look like so far. 
STAMP IMAGES & COMPLETE PROJECT
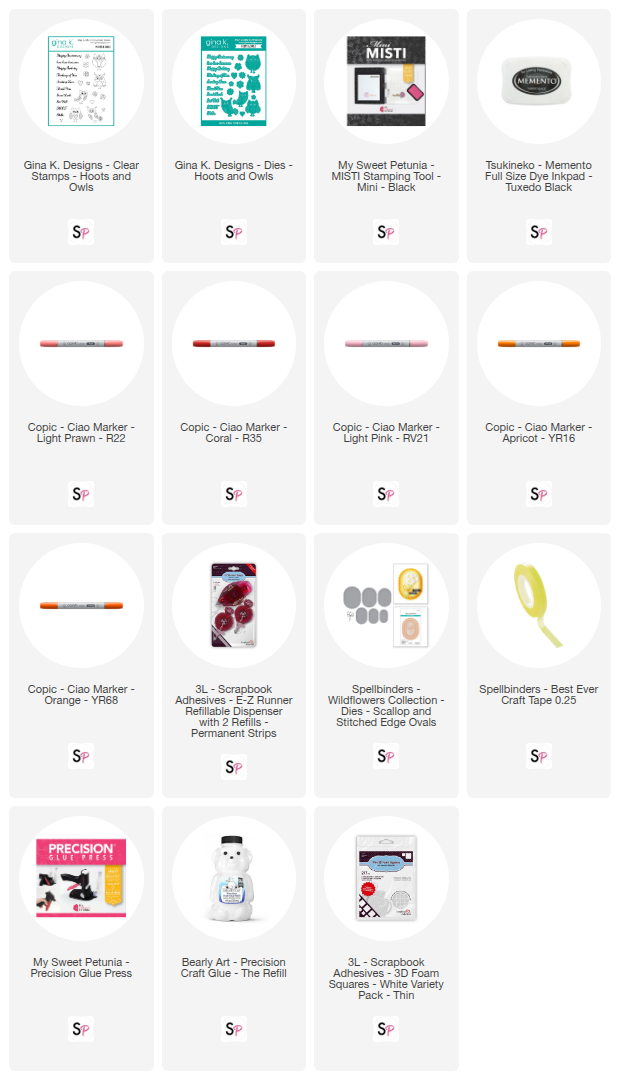
For the focal panel, position owl and sentiment stamps from the Gina K Designs Hoots & Owls Stamps in the Mini MISTI and stamp in Memento Tuxedo Black ink on medium weight white cardstock. Color the owl with Copic Ciao alcohol markers. I used R22 Light Prawn, R35 Coral, RV21 Light Pink, YR16 Apricot, and YR68 Orange.
Cut the owl and sentiment with a die from the Spellbinders Scallop and Stitched Edge Ovals that is slightly smaller than the aperture. Using the My Sweet Petunia Glue Press with Bearly Art Precision Craft Glue, apply a thin line of glue vertically down the center of the pop up element and adhere the focal panel, centering it in the aperture.
Next, stamp an additional owl and sentiment, two hearts and three flowers (also from the Gina K Designs Hoots & Owls Stamps) in Memento Tuxedo Black ink using the Mini MISTI. Color them with the same group of Copic Ciao alcohol markers used above, and cut them with the coordinating dies from the Gina K Designs Hoots & Owls Dies.
Adhere two flowers and a heart to the focal panel on the front, popping the flowers up on Scrapbook Adhesives Thin 3D Foam Squares. Reserve the remaining images for the back panel. 
Here is an overhead view of what the front of your card should look like with the focal panel added. 
Using the My Sweet Petunia Glue Press with Bearly Art Precision Craft Glue, adhere the remaining sentiment, flower, heart and owl to the back panel, popping just the flower up on a Scrapbook Adhesives Thin 3D Foam Square. Leave a little room for a signature, and this will complete your card. The best part is that it folds flat for mailing in a regular A2 size envelope! 
I hope you've enjoyed this 3D window card. I can’t think of a better way to showcase these cute owls and sentiments from the Gina K Designs Hoots & Owls Stamps and Dies than on a fun fold! Be sure to visit Scrapbook Pal on Facebook, Pinterest and Instagram for more design team inspiration! And if you haven't yet subscribed to our YouTube Channel, be sure to do that, too, for tons of hands-on crafty inspiration! Thanks so much for stopping by today – we’ll see you next time!
Scrappy hugs,
Leslie


Comment
So cute and neat really different