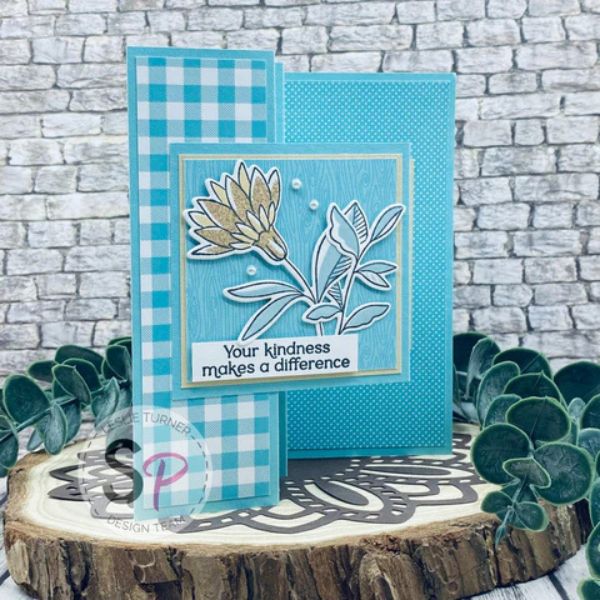
Hey everybody! Happy Wednesday – I hope your week is going along nicely! Leslie here, sharing my debut project as a new design team member for ScrapbookPal, and I couldn’t be more excited! I created this side accordion panel card using the absolutely gorgeous Pinkfresh Studio Kindness in Bloom stamps, stencils and dies. You are going to love this card, so let’s get started!
STAMP, INK & CUT FLORAL & LEAF IMAGES
Stamp the five floral and leaf images in the Kindness in Bloom stamp set in Memento Tuxedo Black ink using a MISTI stamp tool.
Using the Ranger-Wendy Vecchi Make Art Stay-tion 7” (to secure the white cardstock and Kindness in Bloom stencils) along with Ranger tiny blending tools and foams, apply Ranger speckled egg distress ink through stencil 1, Ranger antique linen distress ink through stencil 2 (and again with Ranger vintage photo distress spritz), and finally Ranger antique linen distress ink once again through stencil 3.
Cut the images using the Kindness in Bloom die set and set them aside.
CUT CARD BASE & LAYERING PANELS
TEAL CARDSTOCK:
Card base: 5-1/2” x 11” scored at 1-3/4”, 3-1/2”, 5-1/4” and 7”
Folded panel: 3” x 6” scored at 3”
GOLD PEARL CARDSTOCK:
Folded square panel: 2-3/4” x 2-3/4”
Card base inside/signature panel: 2-3/4” x 2-3/4”
PATTERNED PAPER:
Card base/vertical accordion panels: 1-1/2” x 5-1/4” (cut 3)
Folded square panel: 2-5/8” x 2-5/8” (cut 2)
Card base inside: 3-3/4” x 5-1/4”
WHITE CARDSTOCK:
Card base inside/signature panel: 2-5/8” x 2-5/8”
ADHERE LAYERS
Using the My Sweet Petunia Glue Press and Bearly Art precision craft glue, glue the patterned paper layering panels to the card base.
Next, glue the patterned paper to the gold pearl panel and then to the front of the folded square panel. Adhere the other patterned paper layering panel to the back of the folded square panel.
And finally, adhere the white cardstock for the inside signature panel to the gold pearl panel. 
ASSEMBLE CARD
Adhere the outside edges of the folded square panel to the first and fourth vertical accordion panels.
Adhere the inside signature panel, lining it up beneath the folded square panel so it’s hidden when the card is closed. 
ADD FLORAL & LEAF IMAGES
Adhere the stamped, inked and die cut floral and leaf images to the square panels as desired, partially popping up the large one on the front with white Scrapbook Adhesives Thin 3D Foam Squares. 
ADD SENTIMENTS
Stamp the front sentiment on a white cardstock scrap, trim it, and add it to the card front on several white Scrapbook Adhesives Thin 3D Foam Squares.
Stamp the inside sentiment directly on the inside signature panel. 
COMPLETE PROJECT
Add several small white pearls to the front, and this will complete the card. 
I hope you've enjoyed this fun fold and you’re inspired to check out the amazing Pinkfresh Studio Kindness in Bloom stamps, stencils and dies! Be sure to visit Scrapbook Pal on Facebook, Pinterest and Instagram for more design team inspiration! And if you haven't yet subscribed to our YouTube Channel, be sure to do that, too, for tons of hands-on crafty inspiration! Thanks so much for stopping by today – we’ll see you next time!
Scrappy hugs,
Leslie
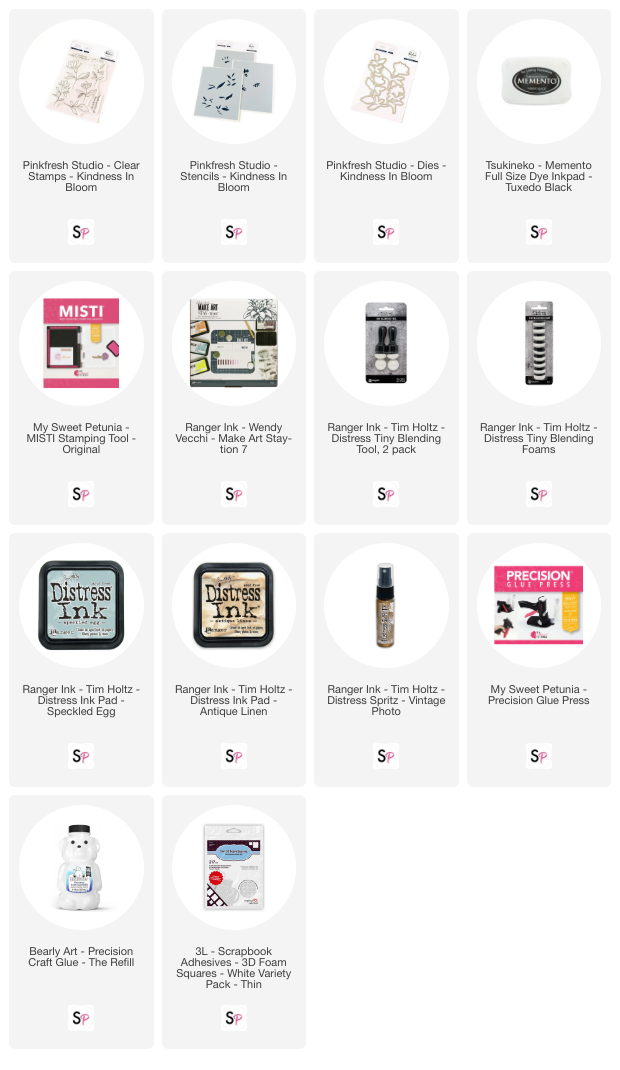
SUPPLIES USED:


