


Hello friends! Irene here with a fun Christmas card made with Spellbinders Handmade Holidays products.
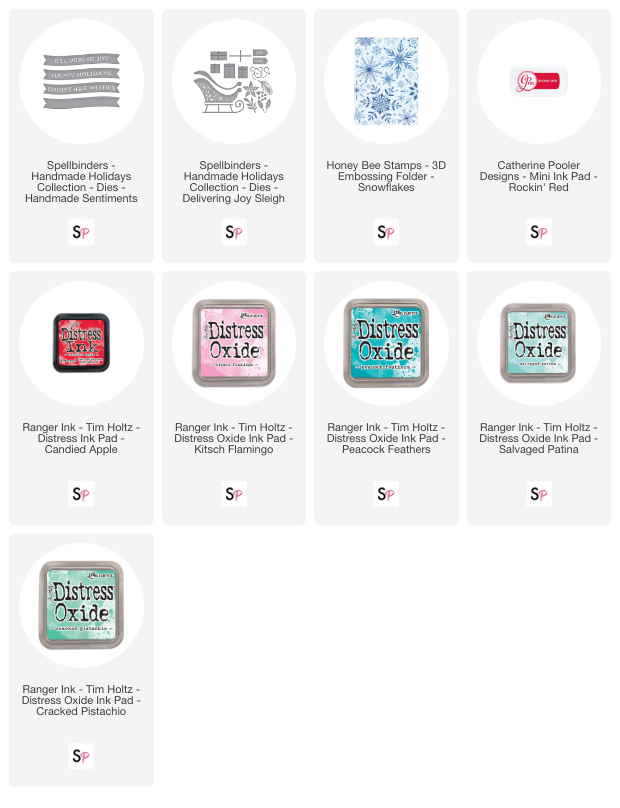
I began by selecting colored cardstock for my project. I used red, pink, teal, mint, green, and gold foil cardstock. If you dont have colored stock, you can use inks. Similar colors are Catherine Pooler inks in Rockin' Red, It's a Girl, Aquatini, In the Park, and Minted. Similar color Distress inks in Candied Apple, Kitsch Flamingo, Peacock feathers, Salvaged Patina, and Cracked Pistachio.
I die-cut all the pieces for the Delivering Joy sleigh. I used red and pink for the sleigh, teal, mint, pink, and red for the presents, red and green for the poinsettia, and gold foil for all the detail dies.

First, I assembled the sleigh. I used red cardstock for the background and pink for the detailed layer over it. I glued the sleigh rail behind the cardstock and the handrail over it. Then, I glued four leaves onto the sleigh. I assembled the poinsettia using three layers. I glued the poinsettia over the leaves and tucked the "Joy" tag under.
I glued gold foil ribbon onto two mint gifts: one in pink, red, and teal. I placed the long gift at the bottom of the sleigh with the teal to the left of it. I added the red gift next. I added a small pink gift to the top left and the second mint to the right. I glued the bow detail to the mint gift at the top.

Next, I embossed a 4x5.25 white cardstock using the Honey Bee Stamps—3D Snowflakes Embossing Folder and added it to an A2-sized Green cardstock (the same color as the leaf die-cuts). I added the assembled sleigh to the panel with foam tape.
To create the sentiment, I used the Spellbinders Handmade Sentiments. I chose "Christmas Wishes." I used the same red cardstock for the poinsettia. I carefully inked "Christmas wishes" on the sentiment, placed the outline and sentiment onto the cardstock, and ran it through my machine. I put the sentiment under the sleigh with foam tape.
All done! Thanks for reading along, and Happy Christmas in July!

Supplies:


Comment
This is so cute I just love all the great ideas