Things are starting to get a little spooky! You'll have a haunting good time creating with the Tim Holtz/Sizzix 2024 Halloween Vault collection!

I had a blast getting inky creating my cards and building wicked fun Halloween scenes! For my first card...
1) First, I took dark gray cardstock and embossed it with Tim Holtz 3-D Texture Fades Cracked Embossing Folder.
2) I then randomly applied some Tim Holtz Distress Crackle Texture Paste; letting it dry.
3) Once the paste was dry, I blended in some Distress Oxide Twisted Citron and Distress Oxide Hickory Smoke inks over the paste. Then blended Distress Oxide Black Soot ink over the entire piece. It was then adhered to a card base.

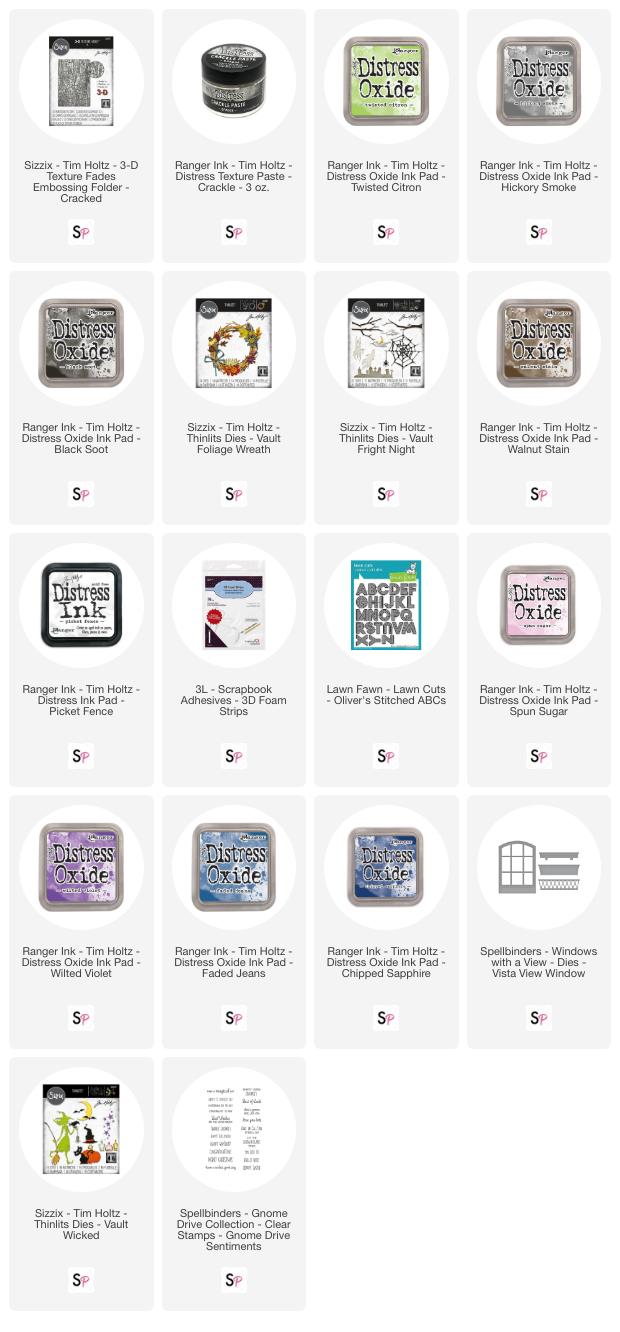
4) I used the Tim Holtz/Sizzix Vault Foliage Wreath dies and Tim Holtz/Sizzix Vault Fright Night dies for this card. I die cut the wreath from purple cardstock blending Distress Oxide Walnut Stain ink in random spots; cut the spider and web out of black cardstock blending Distress Oxide Picket Fence ink; cut the leaves/branches from ivory cardstock blending Distress Oxide Walnut Stain ink; cut the tomb stones out of dark gray cardstock.
5) After assembling all the pieces as shown, I splattered a bit of white paint over the assembled piece.
6) The ghosts were cut from white cardstock and I placed a piece of black cardstock behind the eyes/mouth opening.
7) The assembled wreath and ghosts were popped up with Scrapbook Adhesive 3D Foam Strips.
8) To finish, I cut the letters using Lawn Fawn's Oliver's Stitched ABCs dies from silver cardstock and blended on some Distress Oxide Black Soot.

For my next Halloween card...
1) First I adhered a piece of purple cardstock to the card base.
2) The background was created by blending Distress Oxide Inks: Spun Sugar, Wilted Violet, Faded Jeans and Chipped Sapphire then splattered some white paint.
3) Using Spellbinders Vista View Window dies, I cut the window and sill from kraft cardstock and blended with Distress Oxide Walnut Stain ink then put it to the side.
4) I then cut out/assembled all these super fun images from different colored cardstock using Tim Holtz/Sizzix Vault Wicked.
5) The witch, moon, bats and stars were adhered to the background; centered where the window would go.
6) I then popped up the window/sill die with Scrapbook Adhesive 3D Foam Strips over the images.
7) Taking the remaining die cut pieces, I arranged them on the card as shown.
8) The sentiment is from Spellbinders Gnome Drive Sentiments.
PRODUCTS USED:


