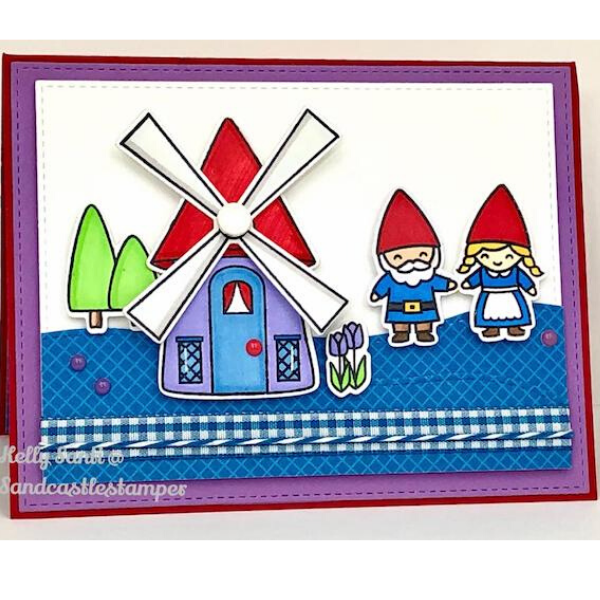
Hi everyone! Happy to share this bright and cheerful garden gnome card with you and here's how I made it!
Once they were all stamped and cut out with the matching lawn cuts, I colored them with Copic markers and prismacolor markers. I repeated this with the Avery Elle Windmill stamp set and go them ready for card assembly.
Using red cardstock, I cut and scored the paper for an A2 size card. I cut another piece of cardstock in purple, slightly smaller. at 4 1/8” x 5 3/8” for the base. I used rectangle stitched die cuts for the purple and white panels, and the white panel measures 3 1/4” x 4 1/2”. I used a hill die cut to create the hills using gingham jewel tones designer paper.
Next, I added foam tape to each of the stamped images - the gnomes, trees, flower and windmill. I secured the brad to the windmill so it could spin when added to the house. To make sure it spins, only add craft foam on the ends, leaving room for the brad 'arms' to clear.
Before adding the top white panel with the blue hills to the card, I added matching gingham ribbon and twine in coordinating colors and secured it - and then added some 3D foam to give the card a thicker, sturdier base. I love cards with dimension!
Once everything was secured into place and glued/foam added, I secured it to the red cardstock back and worked on the inside of my card where the matching sentiment was added. The cute sentiment is part of the Oh Gnome! stamp set and it's stamped in Tuxedo black ink and a small leftover hill was added to the bottom to complete the look!
Thanks for letting me share my garden gnome card with you today!
Kelly Santi
Blog: Sandcastlestamper.blogspot.com
Products Used:
Lawn Fawn Clear Stamps - Oh Gnome! - SKU: LF1880
Lawn Fawn Lawn Cuts - Oh Gnome! - SKU: LF1881
Tsukineko Memento FULL SIZE Dye Inkpad - Tuxedo Black - SKU: ME-000-900


