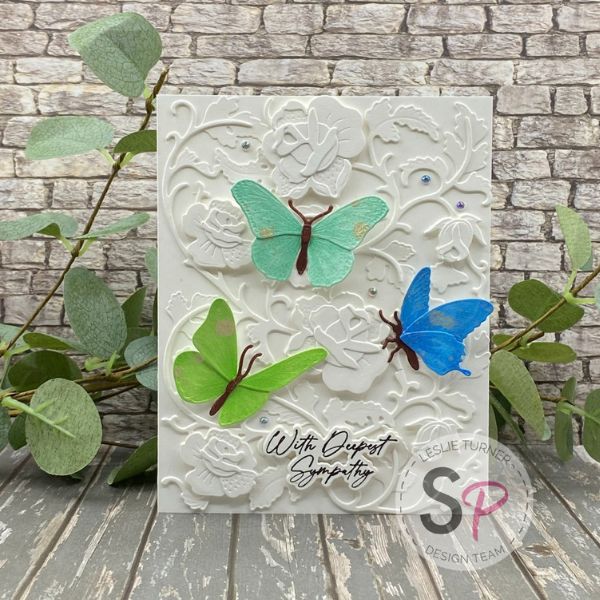
Hey everybody, it’s once again Wednesday… how is it they roll by so quickly?! Leslie here, sharing a tutorial for making a tone-on-tone sympathy card (with just a pop of color) which features the Honey Bee Bold Background: Chinoiserie Dies, Lovely Layers: Butterflies Dies and Heartfelt Condolences Stamps and Dies. Sympathy cards don’t come easy for most crafters but it sure helps to have beautiful products on hand to reflect the occasion. I feel like this card would make the recipient feel the love and power of prayer. So let’s get started!
CREATE CHINOISERIE BACKGROUND
Using the Honey Bee Bold Background: Chinoiserie Dies, cut all the elements twice from heavyweight white cardstock. Separate the pieces and assemble the background with the My Sweet Petunia Glue Press with Bearly Art Precision Craft Glue using the photo on the packaging as a guide. I layered two large background pieces for a bit of dimension and then popped up the large flowers on Scrapbook Adhesives Thin 3D Foam Squares. 
CREATE BUTTERFLY EMBELLISHMENTS
Using the Honey Bee Lovely Layers: Butterflies Dies, cut the butterflies from heavyweight white cardstock. Leaving the pieces in the negative spaces, stick the cardstock with butterflies to a MISTI Sticky Mat affixed to the Ranger-Wendy Vecchi 7” Make Art Stay-tion with magnets.
Color the butterfly pieces with Copic Ciao Y15 Cadmium Yellow, YG06 Yellowish Green, BG34 Horizon Green and B05 Process Blue, along with E18 Copper for the bodies.
Next, assemble the butterflies using the My Sweet Petunia Glue Press with Bearly Art Precision Craft Glue and spritz them with Ranger Antique Linen Distress Spritz. Set them aside to dry for a few minutes while cutting the card base and layers. 
CUT CARD BASE & LAYERS
Cut a standard A2 size side-folding card base from heavyweight white cardstock.
Next, cut a 4” x 5-1/4” inside layering panel from lightweight white cardstock.
Additionally, cut a 3-3/4” x 5” inside layering panel from lightweight white cardstock. 
STAMP SENTIMENTS
Using the Mini MISTI, stamp a front sentiment from the Honey Bee Heartfelt Condolences Stamps in Versafine Onyx Black ink on a lightweight white cardstock scrap. Cut it with the coordinating Honey Bee Heartfelt Condolences Die secured with Spellbinders 1/4” Best Ever Craft Tape.
Next, run the Copic Ciao Y15 Cadmium Yellow alcohol marker around the outside edge of the larger layering panel previously cut for the inside. You’ll be adhering the leftover yellow butterfly and this will yield an exact match of ink without using colored cardstock.
Stamp an additional sentiment from the same Honey Bee Heartfelt Condolences Stamps in Versafine Onyx Black ink on the smaller layering panel, and adhere the panels together. 
ASSEMBLE CARD
Once again using the My Sweet Petunia Glue Press with Bearly Art Precision Craft Glue, adhere the chinoiserie background to the card front. Next, adhere the butterflies and the sentiment.
Finally, adhere the inside panel to the inside of the card base and affix the leftover yellow butterfly. Don’t you love the ink-matching hack we used?! 
COMPLETE PROJECT
Add a few iridescent gemstones to the card front for a little bling, and your card is finished. 
I hope you've enjoyed this sympathy card tutorial and you’re inspired to check out the Honey Bee Bold Background: Chinoiserie Dies, Lovely Layers: Butterflies Dies and Heartfelt Condolences Stamps and Dies. These are some absolutely gorgeous products! Be sure to visit ScrapbookPal on Facebook, Pinterest and Instagram for more design team inspiration! And if you haven't yet subscribed to our YouTube Channel, be sure to do that, too, for tons of hands-on crafty inspiration! Thanks so much for stopping by today – we’ll see you next time!
Scrappy hugs,
Leslie
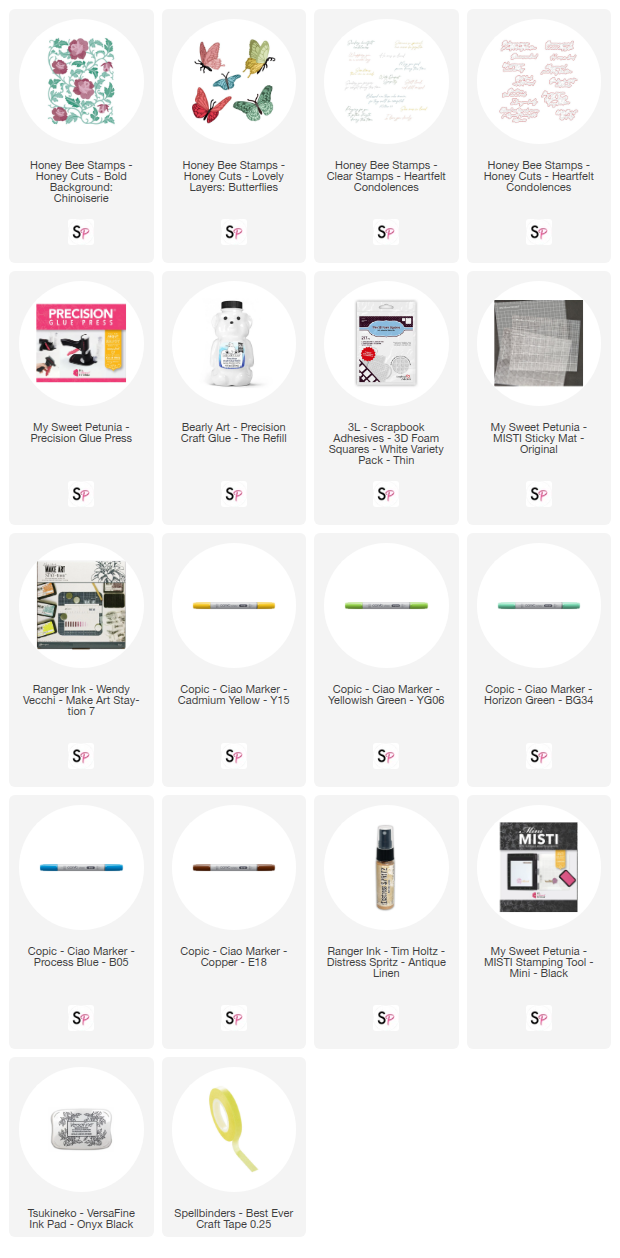
Supplies: