Hi crafty friends! Today I am sharing a card showcasing Lawn Fawn’s I Like Big Butterflies Clear Stamp Set and the coordinating I Like Big Butterflies Lawn Cuts as well as the Lawn Fawn Henry’s Build-A-Sentiment: Butterfly Clear Stamp Set. I wanted to add a springtime feeling to the card by using a cheerful palette as well as some beautiful flowers to provide a home for these cute, transformational wonders of nature.

Creating the Background Panel
I cut two pieces of watercolor paper that measured 6” x 6”. I adhered each piece to a hard board using low tack tape to prep them for water coloring and ink work. For the first panel, I misted it lightly with water and sporadically applied Ranger Ink/Tim Holtz Salvaged Patina Distress Ink with a size 16, round paint brush then dried the panel with a heat tool. Once dry, I applied Ranger/Tim Holtz Kitsch Flamingo Distress Ink with the same paint brush to fill in areas that I skipped when applying the Salvaged Patina. I set this panel aside to dry while I worked on the second watercolor panel that will serve as the cardstock from which I die cut the frame. For the second watercolor paper panel, I applied Ranger Ink/Tim Holtz Chipped Sapphire Distress Oxide Ink in a direct to paper fashion by swiping the ink pad over the entire panel until it was completely covered. Once the ink dried, I used Lawn Fawn’s Spring Flowers Backdrop die and die cut the frame from the Chipped Sapphire Oxide Ink watercolor panel. I trimmed the Kitsch Flamingo/Salvaged Patina watercolored panel to measure 4.25” x 5.5” and ran it through my die cutting machine with the Spellbinders Starshine Background die using the dry embossing, rubber mat versus the cutting plate to emboss the design on the watercolored panel. Lastly, I added a heavy dose of spatter to the panel with a small paint brush using Honey Bee Stamps Bee Shimmery Liquid Shimmer and mixed a few drops of water with some Ranger Ink/Tim Holtz Chipped Sapphire Distress Oxide Ink that I also spattered across the panel.
Using the large frame die from the Lawn Fawn’s Spring Flowers Backdrop die set, I die cut the Chipped Sapphire Oxide ink watercolor panel and die cut it two additional times from regular navy cardstock and glued the three frame layers together. To accent the frame, I used the individual flower dies from the Lawn Fawn Spring Flowers Backdrop die set to die cut all the flowers out of white cardstock and colored them with Copic Sketch alcohol markers in these colors:
Large Flowers: Copic Sketch Markers B01, B000, BG0000
Medium Flowers: Copic Sketch Markers B01, B000, BG0000
Small Flowers: Copic Sketch Markers YR20, E51
Tulips: Copic Sketch Markers RV34, RV11, RV00
The flower centers were die cut from Sparkling Peach and Dazzling Blue glitter cardstock from the Altenew Fairy Dust Glitter Cardstock Set. Once the flowers were Copic colored, I used Bearly Arts Precision Craft Glue to adhere the peach and blue glitter cardstock centers to each of the flowers. The flowers were glued to their coordinating location on the frame using liquid glue.

Creating the Focal Point
Using Lawn Fawn’s I Like Big Butterflies stamp set, I stamped four of the butterflies from the set onto a piece of white cardstock two times using the MISTI Stamping Tool and Lawn Fawn Jet Black ink. I will be using Copic alcohol markers for today’s coloring, so I will set the images aside to dry completely to help avoid smearing the black ink. Once the ink dried, I used Copic alcohol markers to color the entire image on one set of the four butterflies and only the body portion of the second set of butterflies. Listed are the Copic Sketch alcohol markers I used for coloring the images:
Peach: Copic Sketch Markers E97, YR20, E51
Light Blue: Copic Sketch Markers B01, B000, BG0000
Dark Blue: Copic Sketch Markers B39, B34, B91
Turquoise: Copic Sketch Markers BG49, BG45, BG10
Pink: Copic Sketch Markers RV34, RV11, RV00
After completing the coloring, I used the Lawn Fawn I Like Big Butterflies coordinating die set to die cut the images that I filled in completely. I utilized my EK Tools Cutter Bee scissors to fussy cut the images that only the body portion had been colored. Next, I used a black Copic 100 Sketch marker to lightly run around all the edges of the body pieces to hide the white edge left by the fussy cutting. To add dimension to the butterflies, I added Scrapbook Adhesives Thin 3D Foam Squares to the back of the fussy cut body pieces and adhered them to their coordinating fully colored butterflies. To accent the butterflies, I used a white Gelly Roll pen and Nuvo Aqua Shimmer Glitter Gloss pen over the wings.

Creating the Sentiment
For the sentiment, I selected the “HAVE A BEAUTIFUL DAY!” greeting from Lawn Fawn’s Henry’s Build-A-Sentiment: Butterfly stamp set. I die cut a piece of scrap Chipped Sapphire Oxide Ink cardstock using the smallest die from the Lawn Fawn Simple Wavy Banners die set and die cut a second one using white, heavyweight cardstock. I placed the blue diecut into my MISTI Stamping Tool, placed a piece of acetate over it so the sentiment stamps would temporarily stick to it while I positioned them along the wavy banner die cut. Once I had the stamps correctly positioned, I prepped the die cut with a dusting of anti-static powder using Ranger Ink’s Anti-Static Pouch and inked up the stamps with Honey Bee Stamps Brilliant White Pigment Ink to stamp the sentiment onto the wavy banner. Once inked, I removed the stamped banner from the MISTI tool and applied a coating of Lawn Fawn White Embossing Powder over the sentiment and melted the embossing powder with a heat gun. After removing the excess anti-static powder from the die cut with a microfiber cloth, I added glue to the back side and offset the position over the white banner die cut to glue them together.
Assembling the Card
Using Scor-Pal Scor-Tape, I applied double-sided adhesive on the back side of the Salvaged Patina/Kitsch Flamingo watercolored panel and applied it directly to an A2, side folding card base. The floral frame die cut was adhered on top of the watercolored card front using Bearly Art Precision Craft Glue.

After deciding the layout of my sentiment and butterflies, I added Scrapbook Adhesives Thin 3D Foam Squares to the back side of the butterfly die cuts and the left side of the sentiment banner and began adhering them to the card front. Once all the die cut elements were in place, I used liquid glue to adhere some iridescent baubles to the background panel to add a magical, fairy touch to complete the card.
Thank you for checking out today’s blog post and be sure to check out ScrapbookPal.com for all your card making and paper crafting needs – until next time, happy crafting!
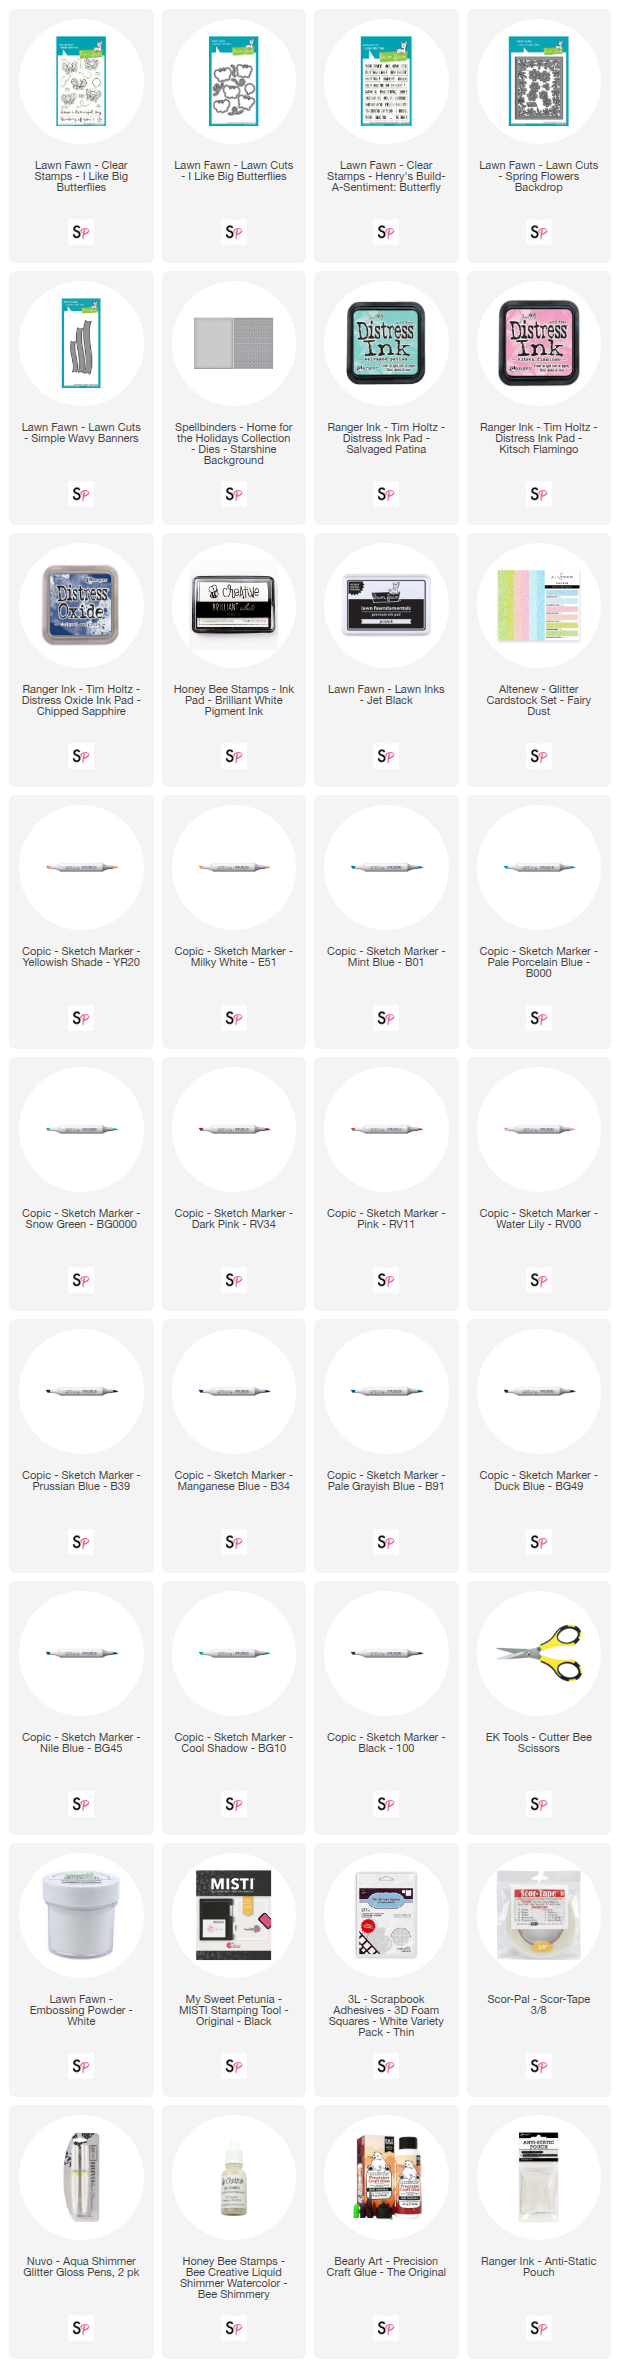
SUPPLY LIST: