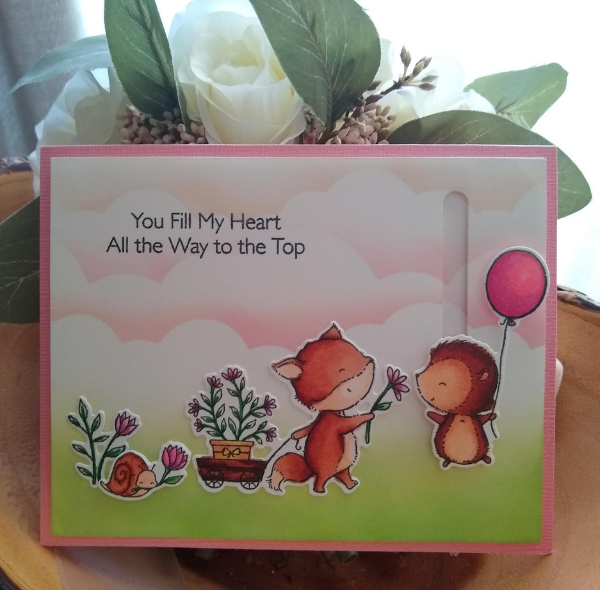
Step 1: Stamp and Die-cut the critters that will be used in the card.
Step 2: Color the critters with Copic Ciao markers.
Step 3: Prepare background panels for the sliding effect. I first used the Puffy Cloud Border dies to cut out some cloud shapes and used them as utensil to create the cloudy background. Then I added a few layers of green colors on the bottom part of the panel. Finally, for the top panel, I died-cut out the shape that will be used for the sliding effect.
Step 4: Assemble the two panels and the critter for the sliding effect.
Step 5: Add the sentiment and assemble all the pieces together.
Step 6: The card is done! Move the card around to see the critter slide up and down!!
Instagram: @owlmagination
Items used:
My Favorite Things Clear Stamps - Hooray Kind of Day (SKU:SY-22)
My Favorite Things Die-namics - Hooray Kind of Day (SKU:MFT-1766)
Lawn Fawn Lawn Cuts - Slide on Over (SKU:LF1202)
Lawn Fawn Lawn Cuts - Puffy Cloud Border (SKU:LF915)
Ranger Mini Ink Blending Tool (SKU:IBT40965)
Copic Ciao markers, ink pads, and cardstock of various colors


